Facility Web Pages
Let customers add their own cars
Turn on the Cars page setting so signed-in customers can add a vehicle from the customer app.
What you will accomplish
Signed-in customers will be able to add a vehicle from the Cars page in the customer app—without calling your front desk to type the year, make, and model.
When you finish, your team will know when this is on, what the customer sees, and where the new car appears in Cars.
When to use this guide
Use this guide when you want owners to add a second car, a newly purchased car, or a car that was not on the registration form.
You might need this when:
- A customer emails photos of a new car and asks you to “put it in the system”
- Families store more than one vehicle and the first car was added during signup
- You want customers to start the record, then your team fills in parking, plans, or documents
Before you start
- You can open Settings > Website & customer app.
- At least one customer can sign in. See Share customer login links.
- Your team has a plan for new cars (who assigns a parking spot, who reviews photos).
- You have a test customer email you can use in a private browser window.
Step 1: Open the Cars page in Customer app
- Go to Website & customer app
In the dashboard sidebar, open Settings, then Website & customer app.
You can also go directly to Settings > Website & customer app.
Expected result: The page title is Website & customer app.
- Scroll to Customer app
Scroll past Shareable links to Customer app.
Expected result: You see the phone preview and a page row with names such as Home, Events, Cars, Schedule, and Shop.
- Click Cars
Click Cars in the page row.
Why this matters: The add-cars switch lives on the Cars page. It is not on Home and not on Shop.
Expected result: The editor shows Add cars at the top, then Page sections.
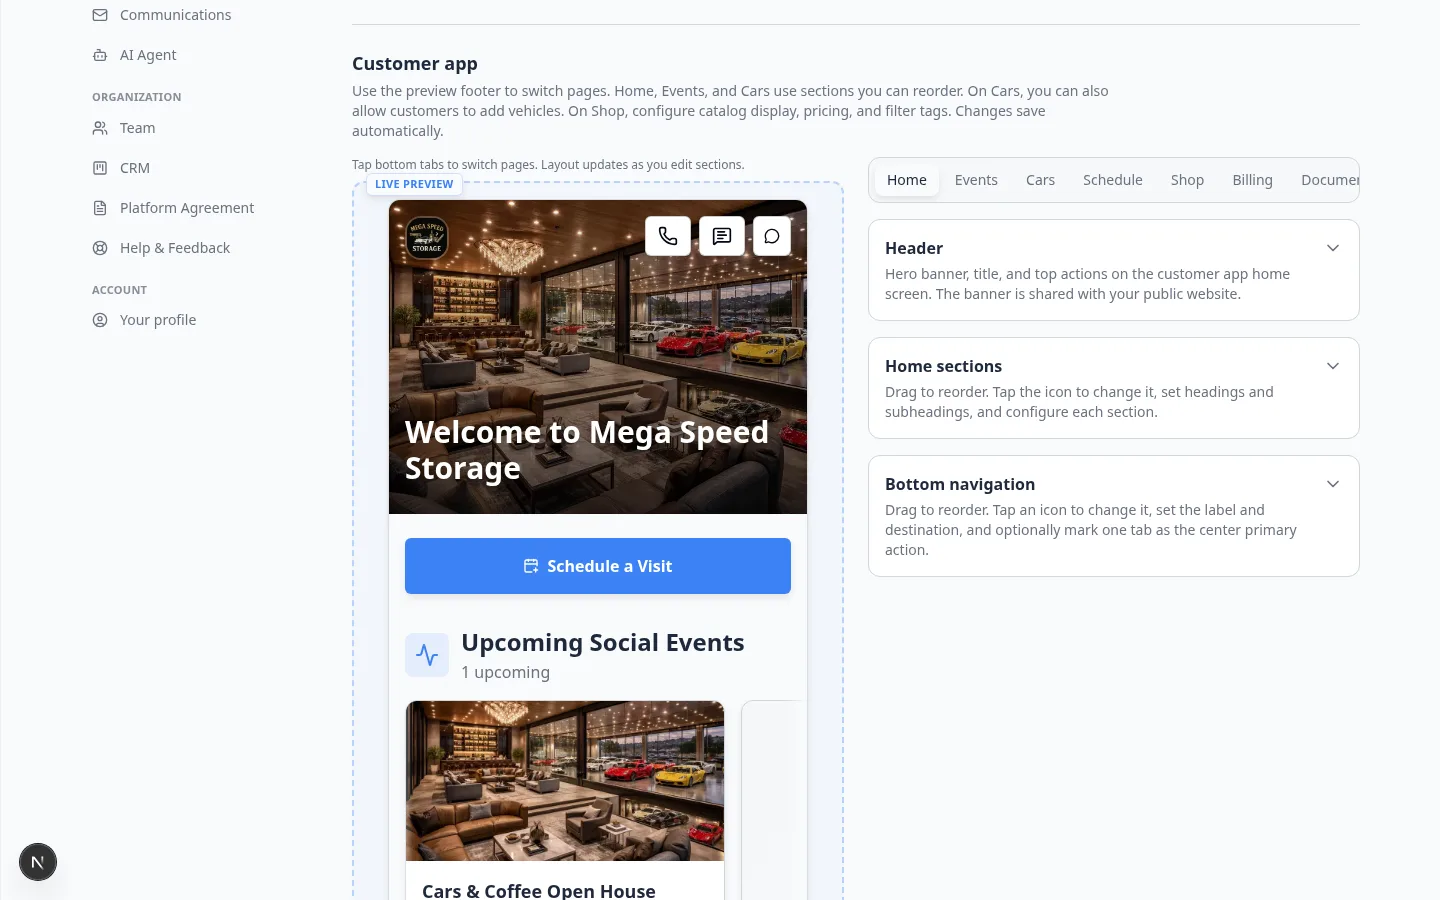
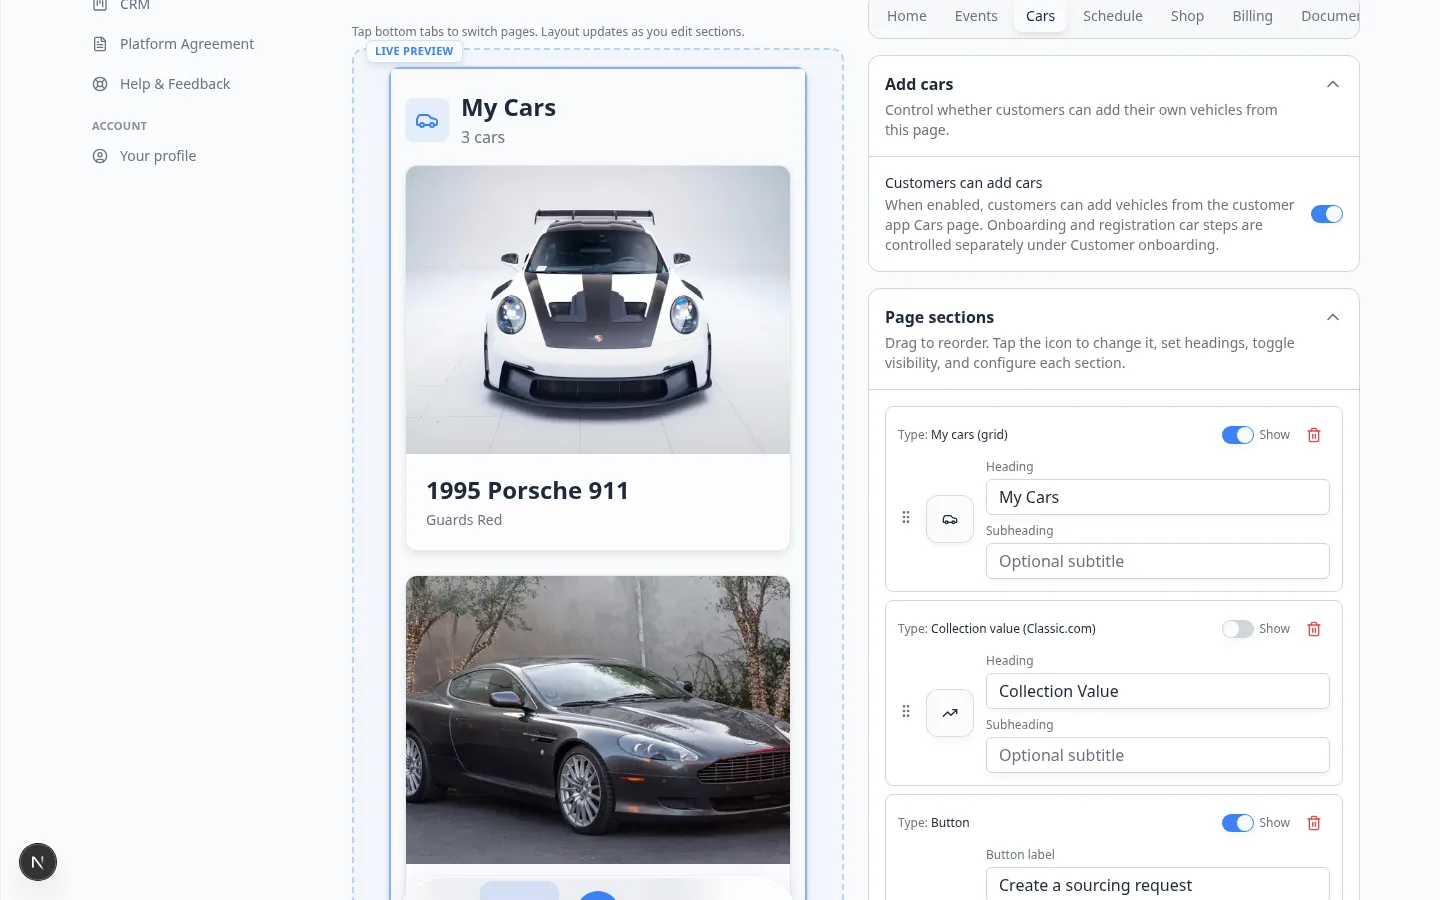
Step 2: Turn on Customers can add cars
- Find Add cars
Expand Add cars if it is collapsed.
Expected result: You see a switch labeled Customers can add cars.
- Read the helper text
The text under the switch says customers can add vehicles from the customer app Cars page.
It also reminds you that onboarding and registration car steps are controlled separately under Customer onboarding.
- Turn the switch on
Turn Customers can add cars on when your team is ready to review new vehicles.
Turn it off when only staff should add cars in Cars.
Expected result: The switch saves on its own. You may see a short success message such as Customers can add their own cars.
Step 3: Keep the Cars tab easy to find
If customers cannot open Cars, they cannot add a vehicle—even when the switch is on.
- Click Home
In the Customer app page row, click Home.
- Check Bottom navigation
Expand Bottom navigation. Confirm a Cars tab is present.
If you removed it, click Add nav item and add Cars back.
Step 4: Test with a customer login
- Copy Customer login
Scroll to Shareable links. Click Copy on Customer login.
- Open a private browser window
Use a private or incognito window so you are not signed in as staff.
- Sign in as a test customer
Use a test email from Contacts.
- Open Cars
Tap Cars in the bottom navigation.
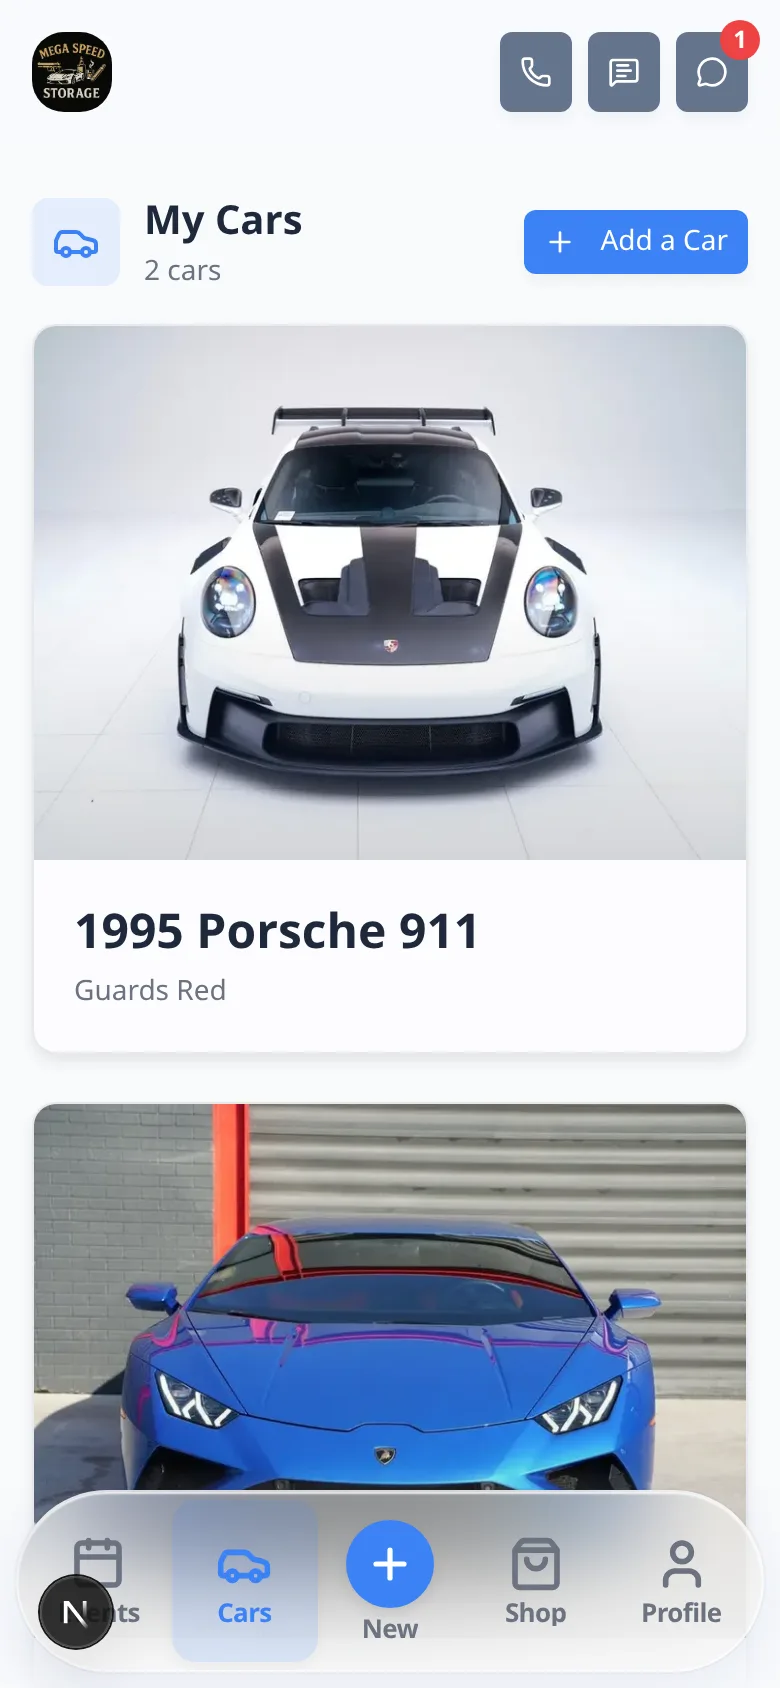
Expected result: You see the customer’s existing vehicles. When the switch is on, you also see a way to add a car (such as an Add button or add-car action).
- Add one test car
Use a clear test name such as Test Add Car and a year, make, and model your team will recognize.
Save the car.
Expected result: The new car appears on the customer Cars list.
- Find it in the staff dashboard
What your team should do after a customer adds a car
A customer-created record is a starting point. Staff still own facility details.
- Confirm the year, make, model, and VIN look correct.
- Assign a parking spot when the car is on site.
- Attach insurance or registration if your facility requires them. See Track insurance and registration on a vehicle.
- Add a service plan if the car should be on a recurring schedule. See Assign service plans on a vehicle.
What success looks like
- Customers can add cars is on only because your team is ready to review new records.
- Customers can find Cars in the customer app bottom navigation.
- A test customer added a car and it appeared in Cars.
- Your team knows who finishes parking, documents, and plans for customer-added cars.
Troubleshooting
What to do next
- Customize the customer mobile app to keep Cars easy to find
- Configure the customer shop if customers also buy plans in the app
- Guide a customer through the portal so staff can help on the phone
- Go live checklist for public pages before you announce portal features