Contacts
Contacts overview
Understand the customer and CRM workflows available from the Contacts section of the dashboard.
The Contacts section is where your team keeps customer records. A customer record connects a person or company to their cars, billing history, documents, portal access, tags, notes, and communication history.
What you will accomplish
After reading this overview and the linked how-to guides, your team will be able to:
- Add or import customers and keep contact details accurate.
- Find customers quickly using search, filters, and table, card, or board views.
- Organize leads and active customers with CRM stages, types, sources, and tags.
- Link the right cars and documents before billing or portal invites.
- Invite customers to the portal and help them sign in with confidence.
Use Contacts whenever you need to answer questions like:
- Who owns this car?
- What is the best email or phone number for this customer?
- Has this customer been invited to the portal?
- What will this customer see after they sign in?
- Which customers are leads, active customers, or former customers?
- Which documents, invoices, and cars belong to this customer?
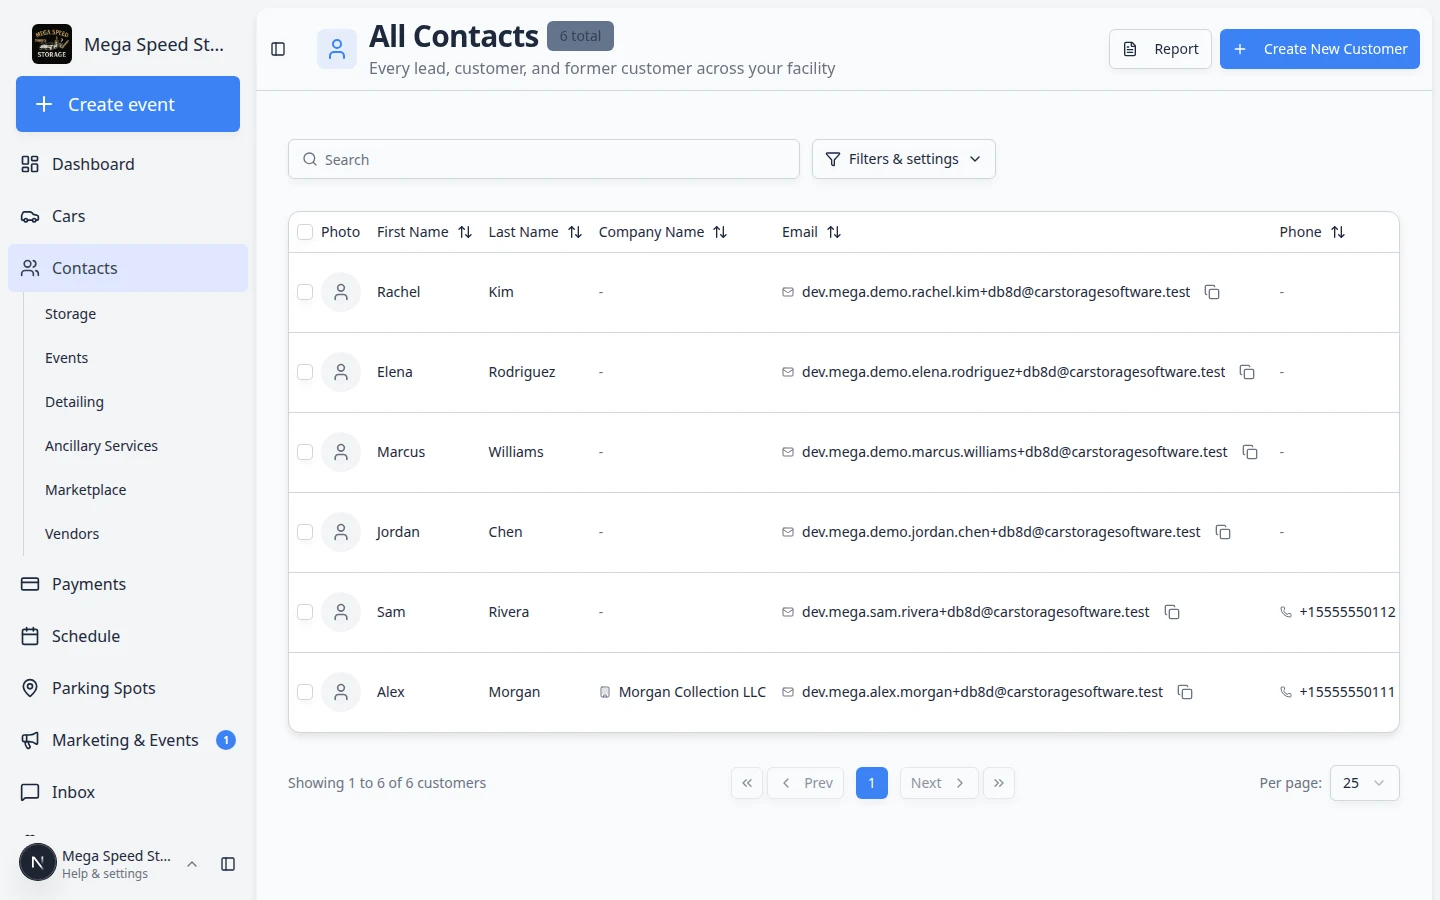
How the Contacts area is organized
The Contacts item in the left sidebar opens a whole area of the app—not just one page. Think of it as your customer directory with shortcuts for different kinds of relationships.
| Page in the sidebar | Best for | Direct link |
|---|---|---|
| All Contacts | Everyone—leads, active customers, and former customers in one list | All Contacts |
| Storage | Customers who use vehicle storage | Storage contacts |
| Events | Social event attendees and event prospects | Events contacts |
| Detailing | Detail, wash, and cosmetic service customers | Detailing contacts |
| Ancillary Services | Transport, maintenance, and other non-storage work | Ancillary Services contacts |
| Marketplace | Marketplace buyers and sales prospects | Marketplace contacts |
| Vendors | Outside companies you pay (detailers, transport, and similar) | Vendors — see Work with vendor contacts |
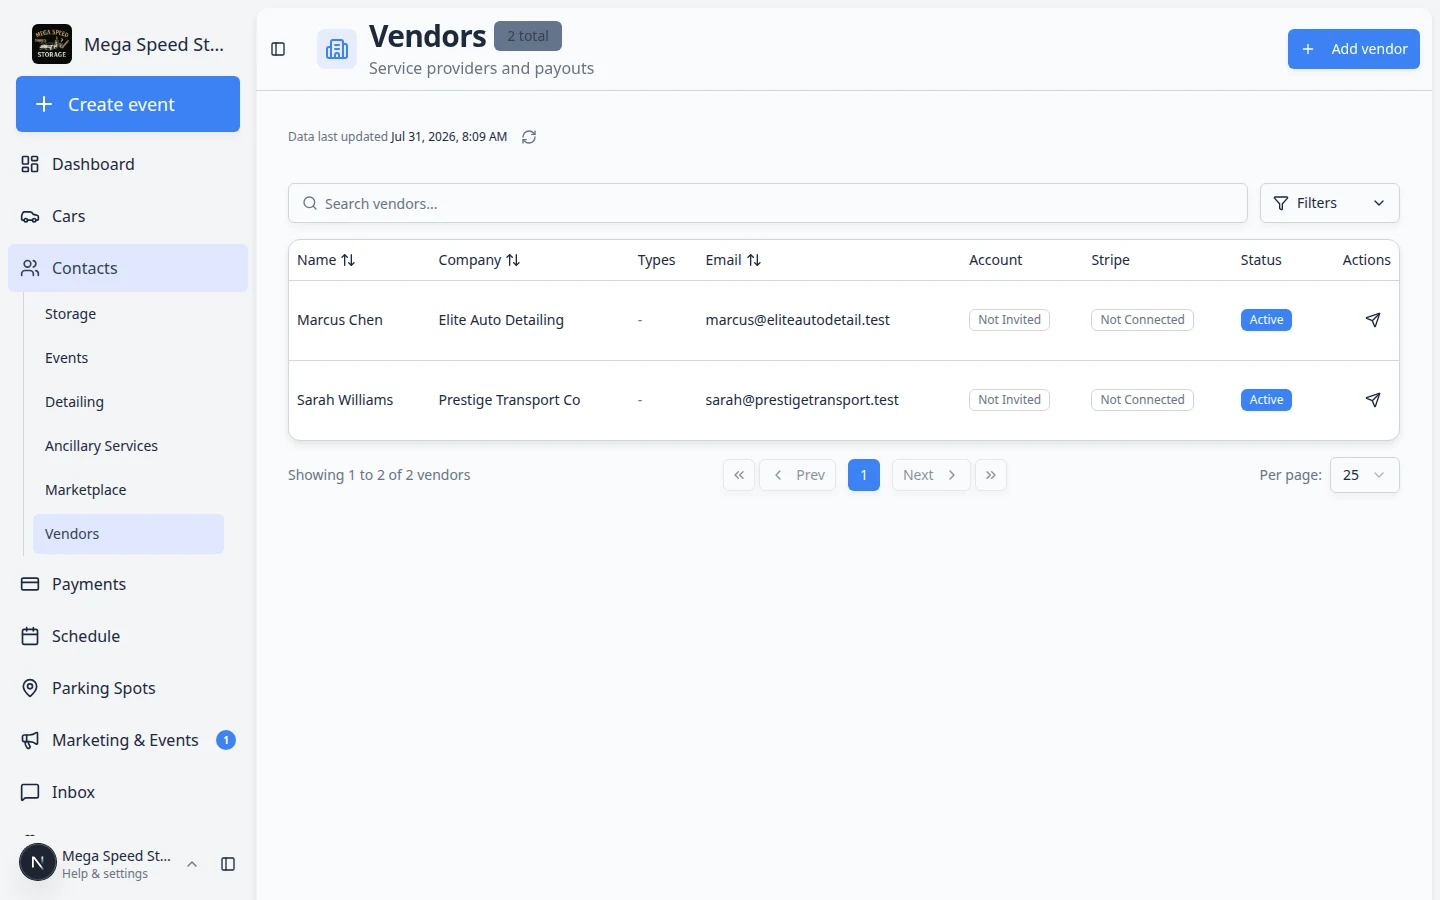
- Open Contacts from the sidebar
Click Contacts in the left sidebar.
Expected result: The sidebar expands (on desktop) or you land on a contacts list. The page title at the top says All Contacts or the name of the type you chose (for example Storage).
- Pick the list that matches your task
- Use All Contacts when you need to search everyone or you are not sure where someone belongs.
- Use Storage, Events, or another type page when your team only works with that group today.
Why this matters: A shorter list is easier to scan. A storage coordinator does not need to scroll past marketplace buyers every morning.
- Use the same tools on every list
Search, Filters & Settings, Create New Customer, and Report work the same on every contacts page. You do not need to learn different buttons for each type.
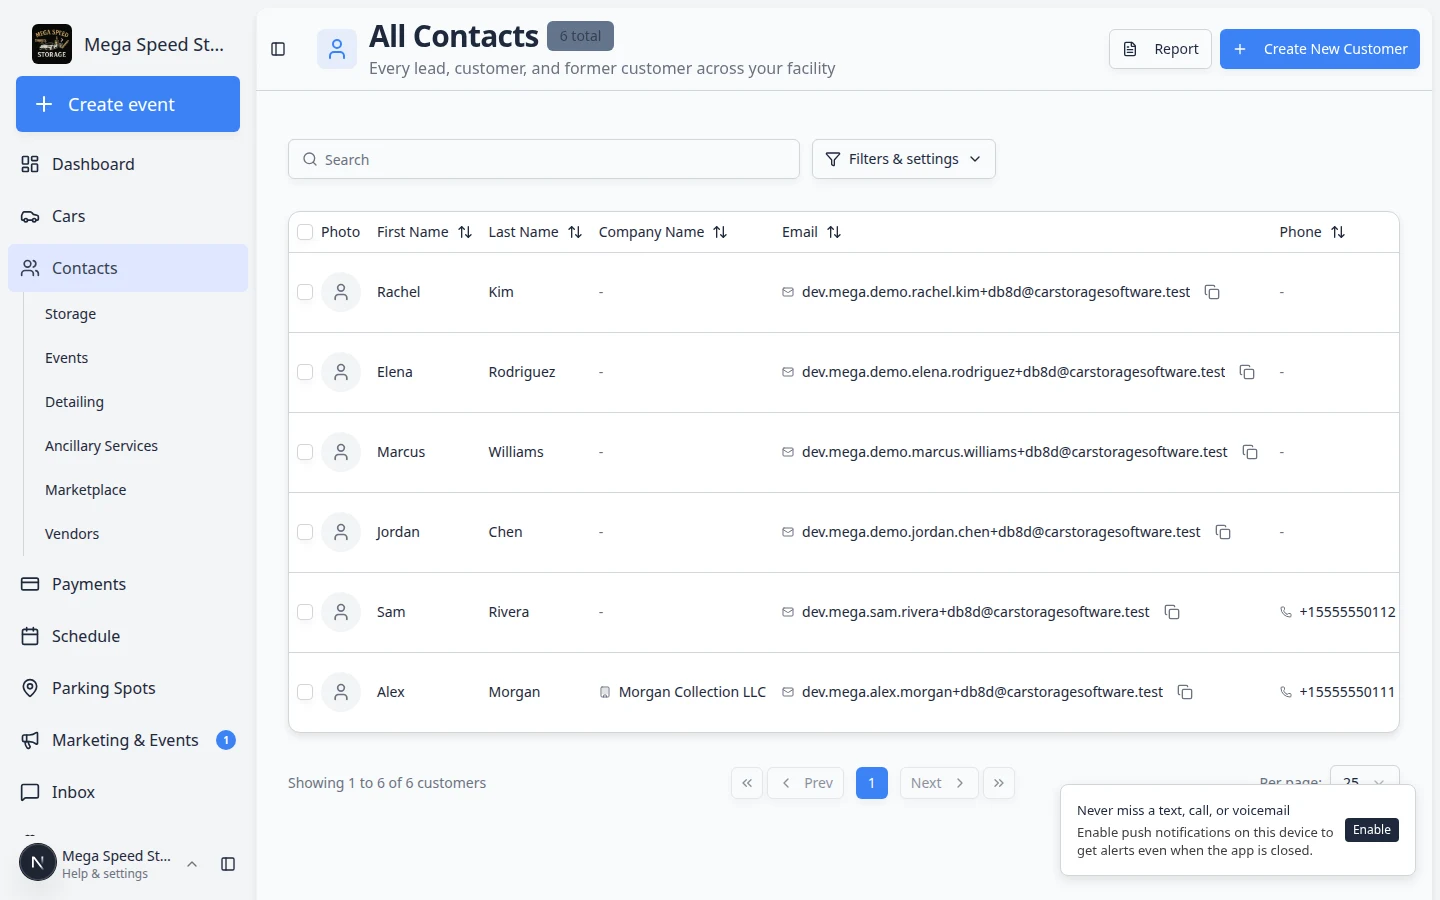
What you can do from Contacts
- Add a customer — create one customer record at a time. See Add a customer.
- Import customers — bring in a spreadsheet when you are moving from another system. See Import customers, cars, events, and photos.
- Find and filter customers — search by name, email, phone, company, status, stage, type, or source. See Find and filter contacts.
- Work with customer type lists — open Storage, Detailing, Marketplace, and other focused lists from the Contacts sidebar. See Work with customer type lists.
- View and edit customer details — update name, email, phone, address, company, birthday, and CRM information. See Edit customer details.
- Add customer notes — leave team-only or customer-visible notes so the next teammate knows preferences and follow-up. See Add and manage customer notes.
- Track market interests — record vehicles a customer wants to buy with year, make, model, and budget. See Track customer market interests.
- Review activity and history — see emails, texts, invoices, and event changes on the customer timeline. See Review customer activity and history.
- Manage billing on the record — add the customer to payment processing and review payment methods. See Manage billing on a customer record.
- Work with vendor contacts — add outside detailers, transporters, and contractors under Contacts > Vendors. See Work with vendor contacts.
- Manage additional contacts — add a spouse, assistant, bookkeeper, or vehicle manager with their own communication preferences. See Manage additional contacts.
- Link cars and documents — connect vehicles, contracts, files, billing, and history to the correct person. See Link cars and documents to a customer.
- Invite a customer to the portal — send a sign-in link so the customer can view the information your team has prepared. See Invite a customer to the portal.
- Guide a customer through the portal — help customers sign in, find cars, review events, and understand billing. See Guide a customer through the portal.
- Understand portal access levels — learn the difference between Full and Ticket-only access. See Understand portal access levels.
- Export the customer report — sort and download customer data for reviews and follow-up lists. See Export and use the customer report.
- Handle duplicates — migrate, restore, or delete mistaken records safely. See Handle duplicate or merged customer records.
Customer journey from record to portal
Most customer portal problems start before the customer signs in. Use this simple flow to give customers a smooth first experience:
- Prepare the record
Add the customer, confirm the email address, link cars, and attach any documents or billing items the customer should see.
- Invite the customer
Send the portal invite only after the record looks ready. This helps the customer trust what they see when they sign in.
- Help the customer get oriented
Explain the main portal areas in simple terms: Events, Cars, Shop, Billing, Documents, and Settings.
- Keep the record current
When cars, documents, billing, or contact details change, update the customer record so the portal stays accurate.
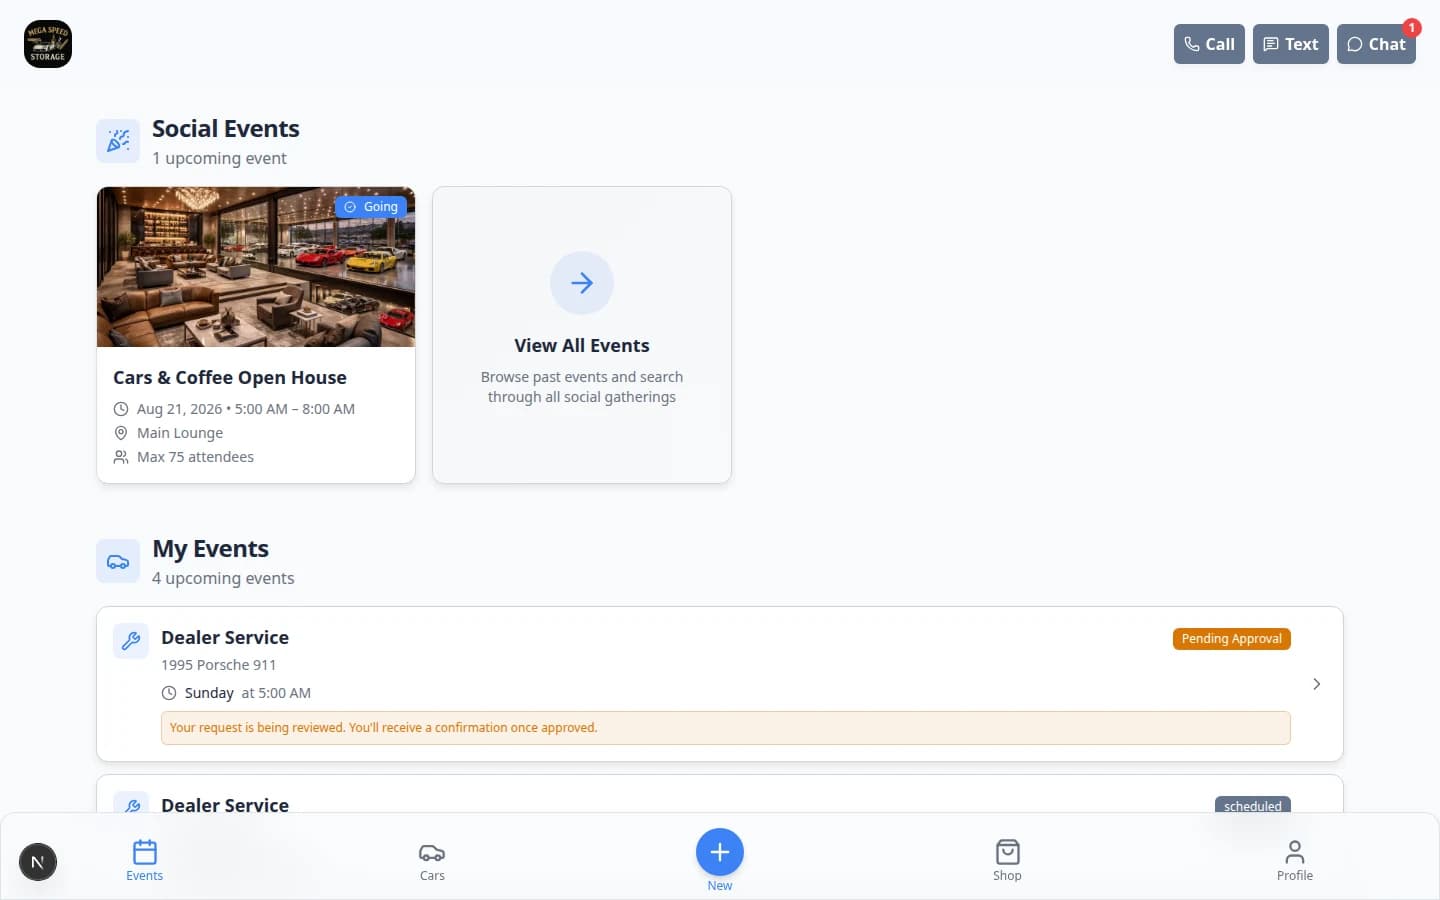
Finding customers quickly
The All Contacts page (and each customer-type page) supports search, filters, and three view modes so you can find the right customer on the first try.
| View | Best for | How to switch |
|---|---|---|
| Table | Daily office work, sorting, and quick actions | Open Filters & Settings, then choose Table |
| Card | Visual browsing with photos | Open Filters & Settings, then choose Card |
| Board | Sales follow-up and moving leads through stages | Open Filters & Settings, then choose Board |
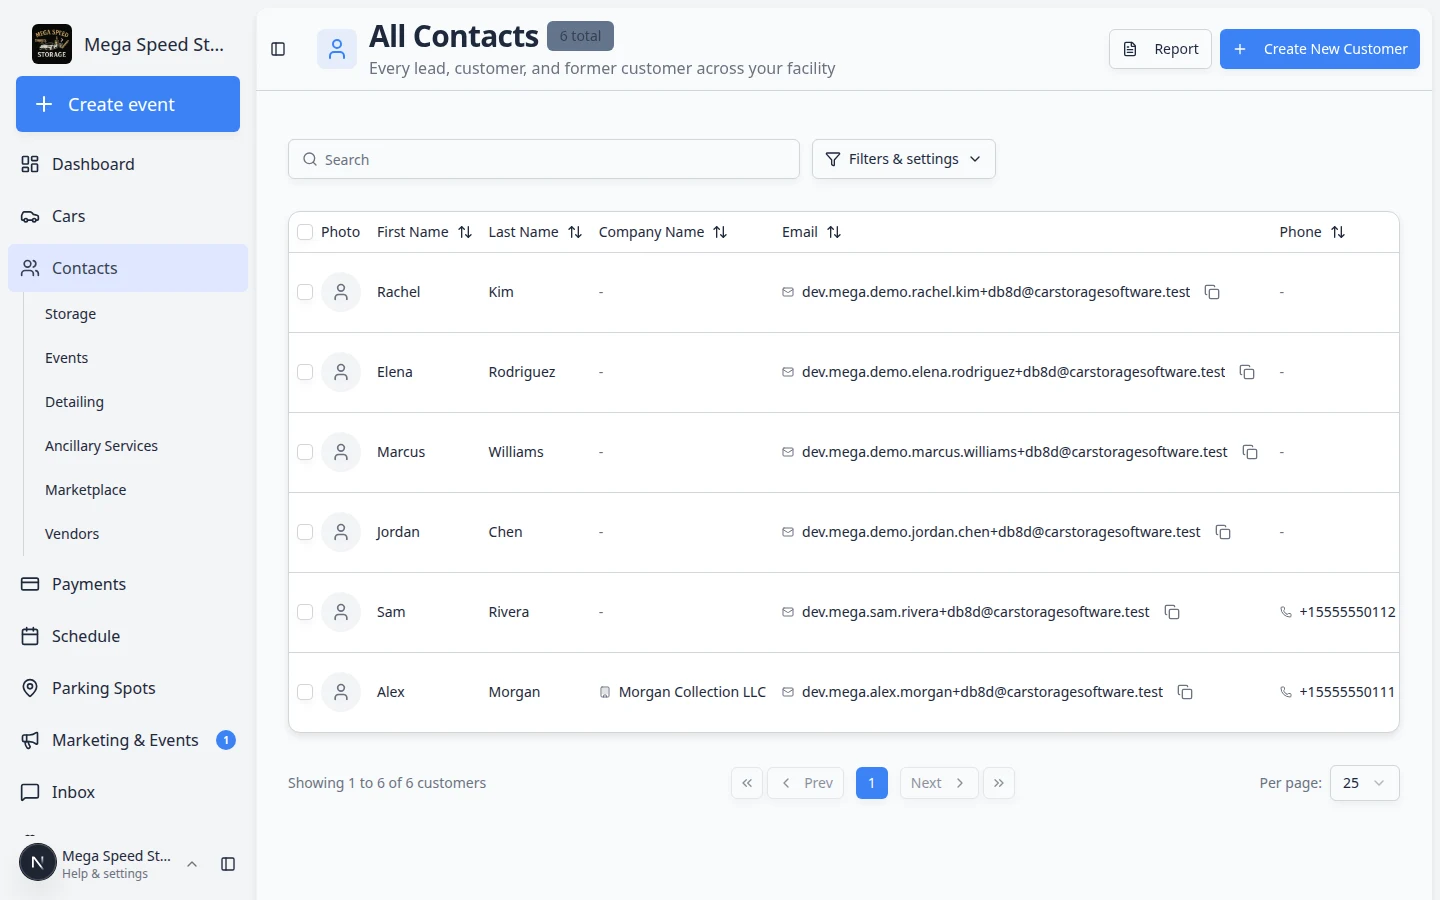
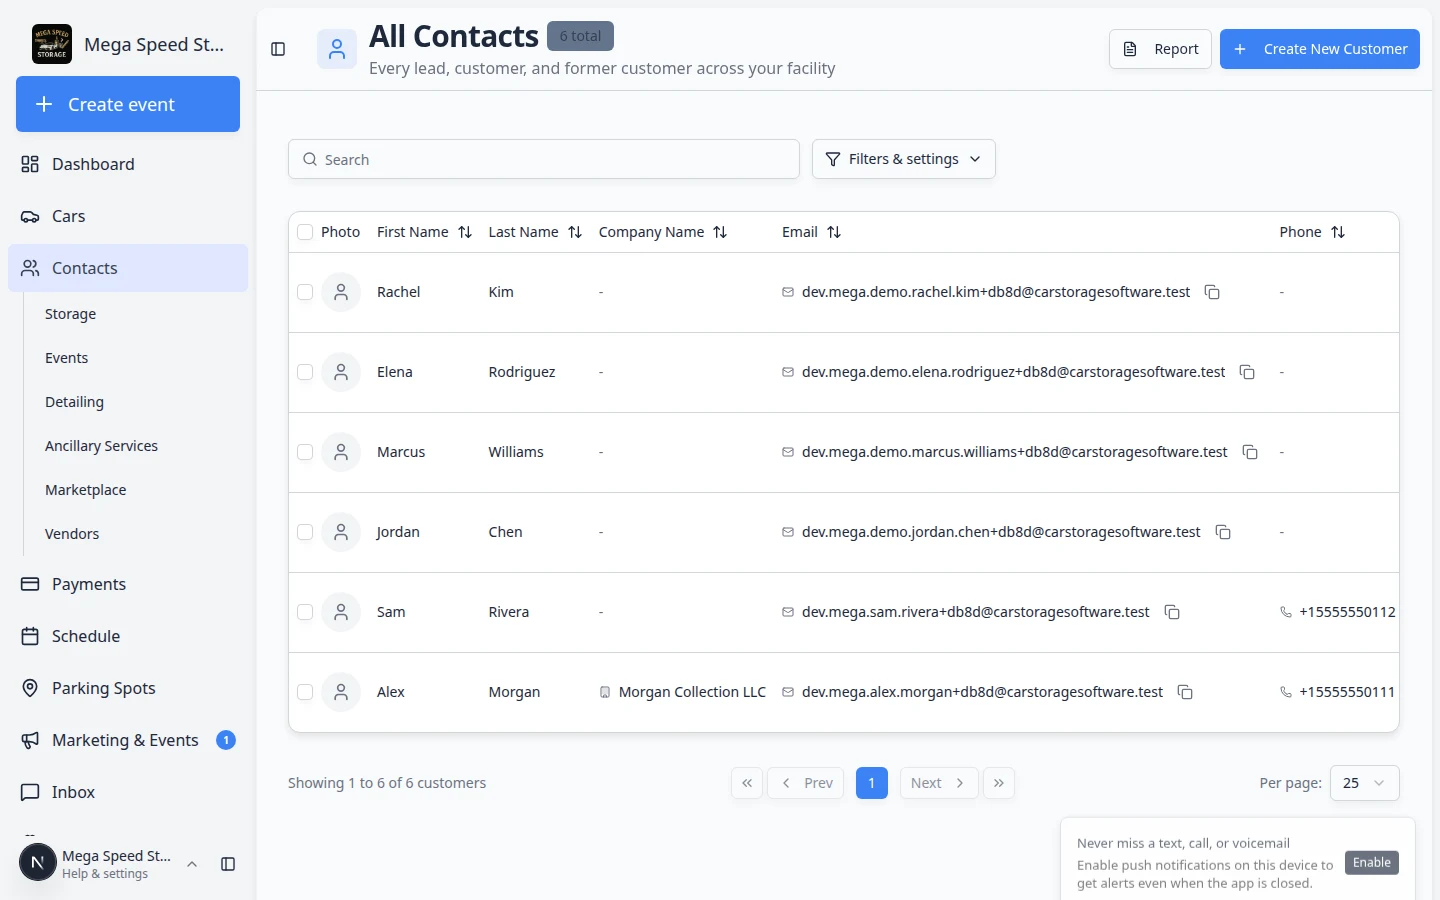
For step-by-step help with search and filters, read Find and filter contacts.
The customer detail page
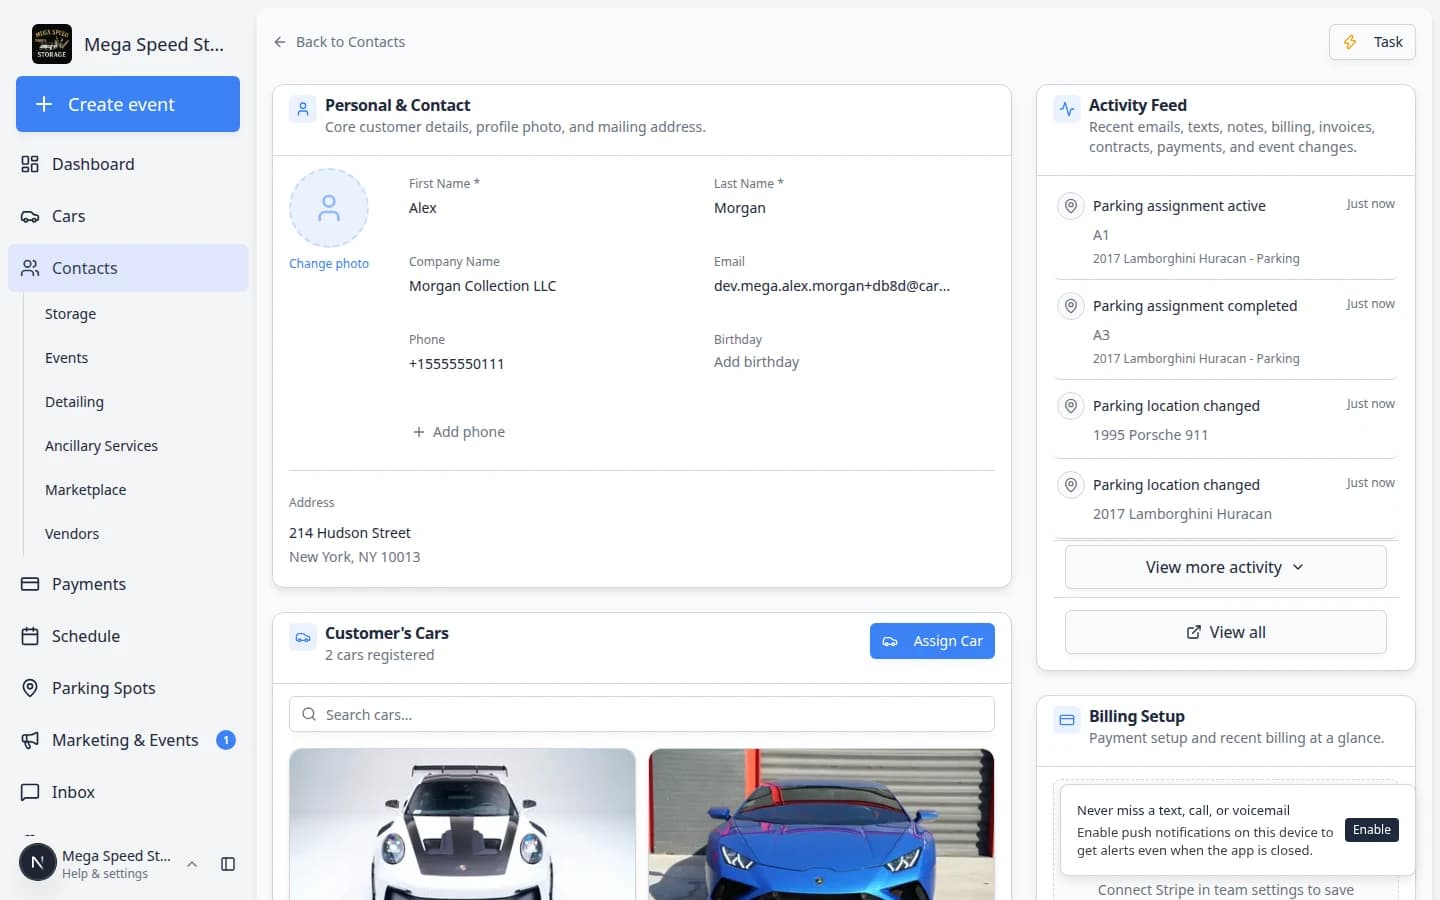
Click any customer to open their detail page. This single page is the source of truth for everything about the customer:
- Personal & Contact — name, company, email, phone, address, birthday, profile photo, and location assignment.
- CRM Information — pipeline stage, customer source (with detail), customer groups (types), and freeform tags.
- Cars — all vehicles linked to this customer, with quick actions to assign more.
- Contacts — additional people associated with the customer account (spouse, assistant, bookkeeper, etc.) with individual communication preferences and portal access.
- Customer Notes — short messages your team adds on purpose. See Add and manage customer notes.
- Market Interests — vehicles the customer wants to buy (when your facility sells or sources cars). See Track customer market interests.
- Documents — contracts, agreements, and uploaded files tied to the customer.
- Activity — a timeline of communications, events, and changes. See Review customer activity and history.
- Billing — payment methods, payment history, and fee configuration (when payments are enabled). See Manage billing on a customer record.
How-to guides
- Add a customer
Create a new customer record with contact details and CRM classification. Read the guide →
- Import customers, cars, events, and photos
Bring existing customer lists, vehicles, historical events, and photo archives into the system during onboarding. Read the guide →
- Work with customer type lists
Use Storage, Events, Detailing, and other sidebar pages to focus on the right customers each day. Read the guide →
- Work with vendor contacts
Add outside service providers under Contacts > Vendors and send portal invites. Read the guide →
- Work with customer type lists
Open Storage, Detailing, Events, and other focused lists from the Contacts sidebar. Read the guide →
- Work with vendor contacts
Add outside providers your facility pays under Contacts > Vendors. Read the guide →
- Find and filter contacts
Use search, filters, table view, card view, and board view to find the right record quickly. Read the guide →
- Work with customer type lists
Choose All Contacts, Storage, Events, or another sidebar page for focused daily work. Read the guide →
- Work with vendor contacts
Add outside detailers, transport companies, and other providers your facility pays. Read the guide →
- Export and use the customer report
Review portal sign-in, payment status, and monthly recurring totals—and export CSV when needed. Read the guide →
- Manage contact tags and CRM fields
Use tags, pipeline stages, customer types, and sources to organize and segment your customer base. Read the guide →
- Add and manage customer notes
Leave short notes on a customer record so your team remembers preferences and follow-up. Read the guide →
- Track customer market interests
Record what vehicles a customer wants to buy when you are sourcing inventory for them. Read the guide →
- Work with vendor contacts
Add and manage outside companies you pay from Contacts > Vendors. Read the guide →
- Link cars and documents to a customer
Connect vehicles, contracts, and uploaded files to the correct customer record. Read the guide →
- Add and manage customer notes
Leave team-only or customer-visible notes on the record. Read the guide →
- Review customer activity and history
See messages, notes, invoices, and schedule changes in one timeline. Read the guide →
- Track customer market interests
Record wish-list vehicles when you sell or broker cars. Read the guide →
- Manage billing on a customer record
Connect payment processing and review payment methods from the customer page. Read the guide →
- Edit customer details
Update contact information, CRM fields, notes, and account status safely. Read the guide →
- Manage additional contacts
Add assistants, spouses, bookkeepers, and other people who help manage the account. Read the guide →
- Invite a customer to the portal
Send a sign-in link so the customer can access their cars, billing, documents, and schedule from the customer portal. Read the guide →
- Understand portal access levels
Learn Full vs Ticket-only access and when Send Invite appears on the list. Read the guide →
- Guide a customer through the portal
Help a customer sign in, understand what they can do, and complete common portal tasks with confidence. Read the guide →
- Handle duplicate or merged customer records
Migrate duplicates, restore deleted customers, or delete mistaken records safely. Read the guide →
- Manage vendors (service providers)
Add outside companies you pay—invoices, invites, and payout setup. The Vendors page lives under Contacts in the sidebar. Read the guide →
Recommended first-time setup order
If your facility is new to Car Storage Software, use this order:
- Set up CRM fields
Review Configure CRM settings so your stages, sources, and customer groups match your process.
- Add or import customers
Add one customer with Add a customer, or bring in a spreadsheet from Import Data using Import customers, cars, events, and photos.
- Add or import cars
Create the vehicles and link them to the correct customers.
- Attach documents and contracts
Add the paperwork customers need before they use the portal.
- Invite customers to the portal
Invite customers after their record looks complete.
- Support their first sign-in
Use Guide a customer through the portal to explain what customers see and how your team should answer common portal questions.