Contacts
Edit customer details
Update customer contact information, CRM fields, notes, and account status from the customer detail page.
Use this guide when a customer's contact information, CRM stage, tags, or account status needs to change.
You might open a customer record to:
- Fix a typo in an email or phone number before sending an invoice or portal invite.
- Move someone from lead to active customer after they sign a storage agreement.
- Mark a customer Inactive when they pause storage but you want to keep their history.
- Add a team note so the next person on the phone knows how this customer prefers to communicate.
What you will accomplish
You will update the customer record safely so your team keeps accurate history for billing, cars, documents, and portal access. Small edits now prevent wrong emails, missing portal access, and confused customers later.
Customer details change over time. A customer may get a new email address, add a company name, change phone numbers, move to a new address, or move from lead to active customer.
Before you start
- Confirm you are editing the correct customer. Search by email or phone if two names look similar.
- Have the new information ready before you start.
- If you are changing an email address, remember that portal sign-in and invitations use email.
- If the customer has cars, invoices, or documents, review those connections after major changes.
Open the customer detail page
- Go to All Contacts
Open All Contacts.
Expected result: You see your customer list (usually in Table view).
- Search for the customer
Use the Search field to find the customer by name, email, phone, or company.
Why this matters: Two customers with similar names are easy to mix up. Search by email or phone when names match.
- Open the record
Click the customer row or View Details.
Expected result: The customer detail page opens. You can edit most fields on this page without a separate "edit mode."
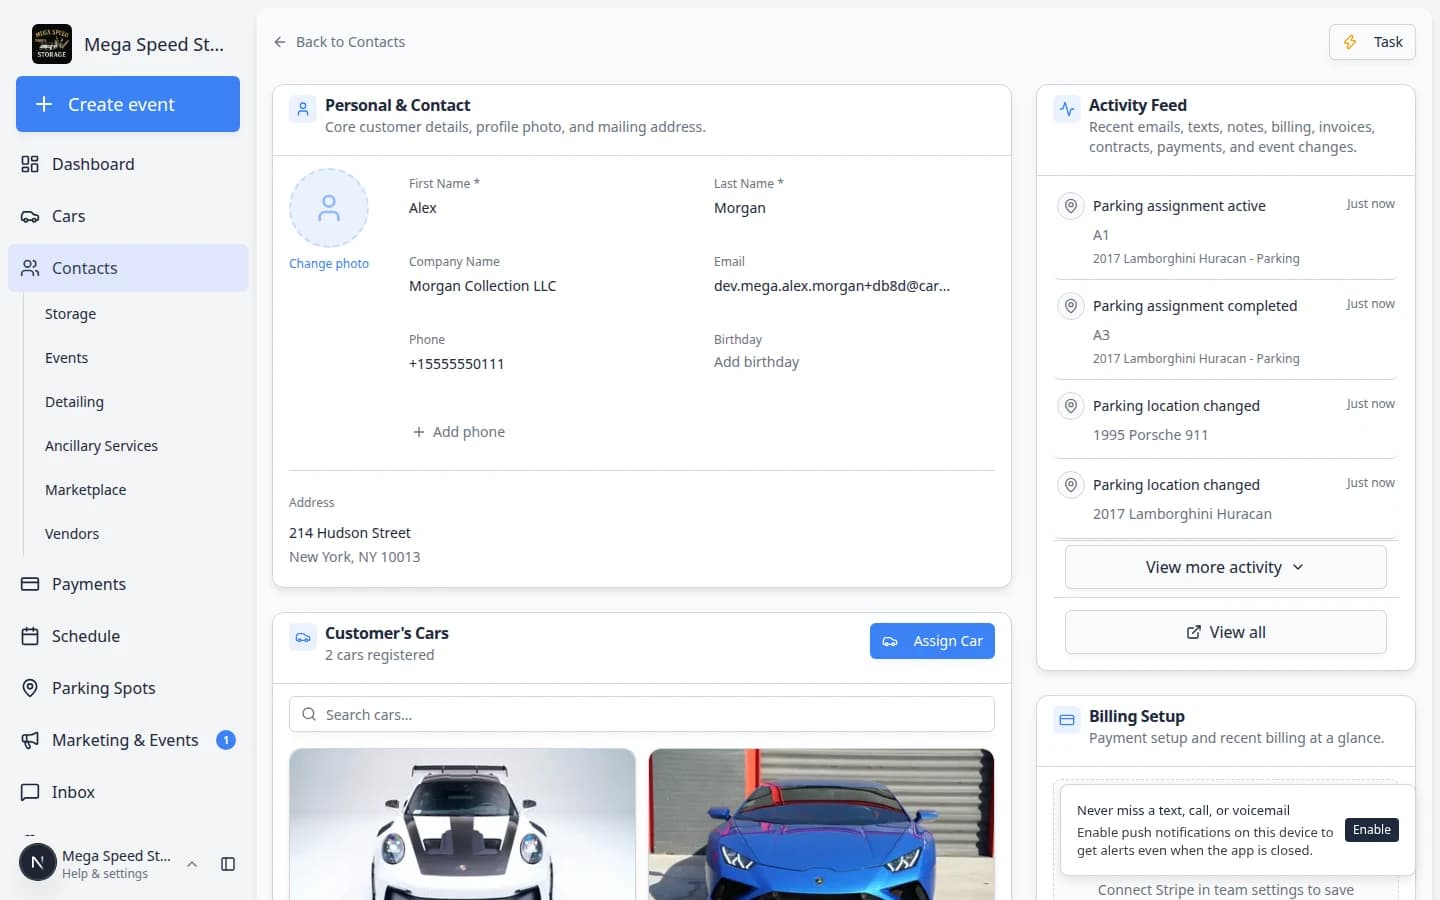
Edit personal and contact information
Most fields on the customer detail page can be edited directly.
- Find Personal & Contact
The Personal & Contact section is near the top of the customer detail page.
- Click the field you want to change
Click the value for fields such as name, email, phone, company, address, birthday, or notes.
- Enter the new information
Type the correct value. Use the full email address and a complete phone number when possible.
- Save the field
Follow the on-screen save action for that field. After saving, the new value appears on the page.
Understand Relationship Stage vs pipeline stage
Your customer record has two related but different fields:
| Field | What it means | Example values |
|---|---|---|
| Relationship Stage | The big picture: is this person a lead, an active customer, or a former customer? | Lead, Customer, Former Customer |
| Current Stage (pipeline) | Where they are inside your sales or onboarding process right now | Tour Scheduled, Contract Sent, Active Storage |
Why this matters: Pipeline stages you can pick in Current Stage depend on the Relationship Stage. If you need a stage that is missing from the dropdown, check both fields—or ask an admin to add the stage in Settings > CRM.
Update CRM information
CRM fields help your team understand where the customer is in your process.
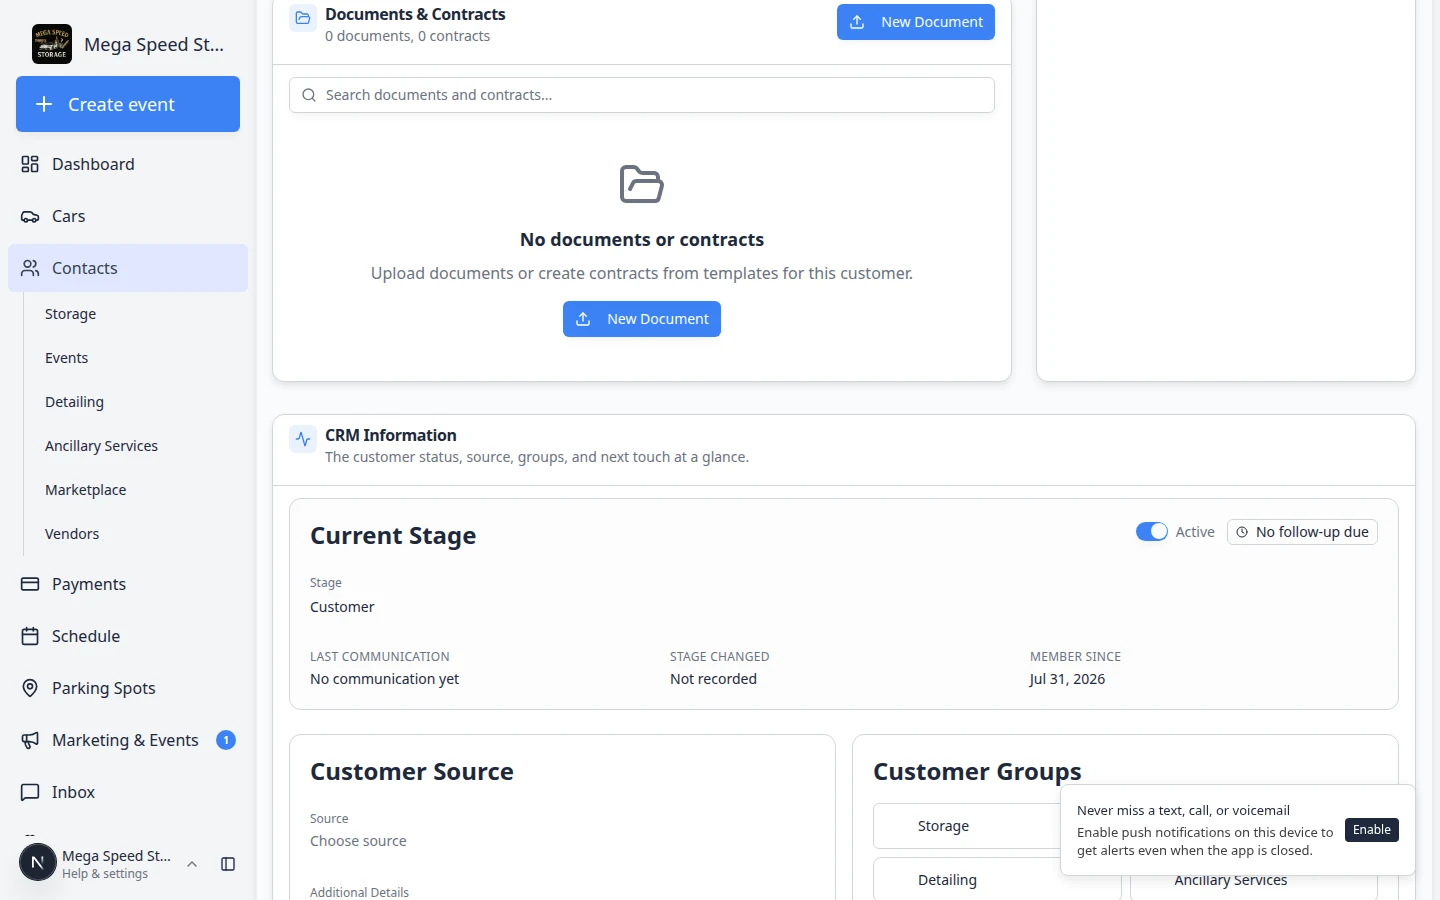
Last Communication, Stage Changed, and Member Since
Below Current Stage, three read-only fields help your team prioritize follow-up:
| Field | What it tells you | How it updates |
|---|---|---|
| Last Communication | When your team last emailed, texted, or otherwise contacted this customer | Updates automatically from Inbox and related activity |
| Stage Changed | When the CRM stage last changed | Updates when you change stage on this page or drag the customer on the board |
| Member Since | When the customer record was created | Set once at creation; does not change |
- Scroll to CRM Information
Find the CRM Information section on the customer detail page.
- Update the stage
Use the Stage field under Current Stage to choose the customer's current step.
Examples might include lead, customer, former customer, tour scheduled, contract sent, or active storage, depending on your team's settings.
- Update the source
Use Customer Source to record how the customer found you, such as referral, website, social media, event, or manual entry.
- Add source details when useful
Use Additional Details for helpful notes, such as "Referred by Sam Rivera" or "Met at cars and coffee event".
- Choose customer groups
Use Customer Groups to mark broad service types, such as storage, events, detailing, or other groups your team uses.
- Add tags
Click Add Tag to add flexible labels such as VIP, winter storage, high touch, fleet, or pending documents.
For a full walkthrough of tags, board view, and customer groups, read Manage contact tags and CRM fields.
Add notes for your team
Use customer notes when your team needs context that does not belong in a field. Notes appear on the customer record and in the Activity Feed so the next teammate can see them.
- Find the Notes field
In Personal & Contact, click Notes (or the notes area below the main contact fields).
- Type a short, useful note
Write one or two sentences your team will understand on a busy day.
Expected result: The note saves with the customer record and shows in activity history.
Good notes are short and useful:
- "Prefers email, do not text unless urgent." (internal only)
- "Tour completed May 18. Waiting for signed storage agreement." (internal only)
- "Welcome — your vehicles are in climate-controlled storage." (customer visible)
Customer Notes also appear in Review customer activity and history alongside messages and invoices.
Short Notes field (Personal & Contact)
At the top of the page, the Notes field under Personal & Contact is a single editable line—helpful for a quick flag everyone should see immediately (for example, "VIP — owner calls directly").
It does not keep a history or separate team vs customer visibility. For anything longer or time-sensitive, use Customer Notes instead.
Upload or change a profile photo
A photo helps your team recognize the customer quickly in table, card, and board views.
- Find the photo area
At the top of the customer detail page, look for the round profile image or placeholder.
- Click the photo area
Click the image area to upload a new photo from your computer.
- Confirm the photo saved
After the upload finishes, the new photo should appear on the customer record and in list views.
Expected result: Your team can spot this customer faster in Contacts.
Mark a customer inactive or delete a record
Use the Active / Inactive switch in CRM Information on the customer detail page—not a separate account menu.
| Action | Where to do it | Use when |
|---|---|---|
| Inactive | CRM Information → Active switch | The customer pauses storage or service but history should stay |
| Migrate to contact | Danger Zone at bottom of customer page | A duplicate record should become a spouse or assistant on another account |
| Delete | Danger Zone | The record was a mistake with no important billing or cars |
| Restore | Open a Deleted customer from the list | You need to undo a delete |
- For inactive customers
Open the customer, scroll to CRM Information, and turn the Active switch off.
Expected result: The label shows Inactive. On All Contacts, set Filters & Settings → Status to Inactive to find them again.
- For migrate or delete
Scroll to Danger Zone at the bottom of the customer page. Read each option carefully before you click.
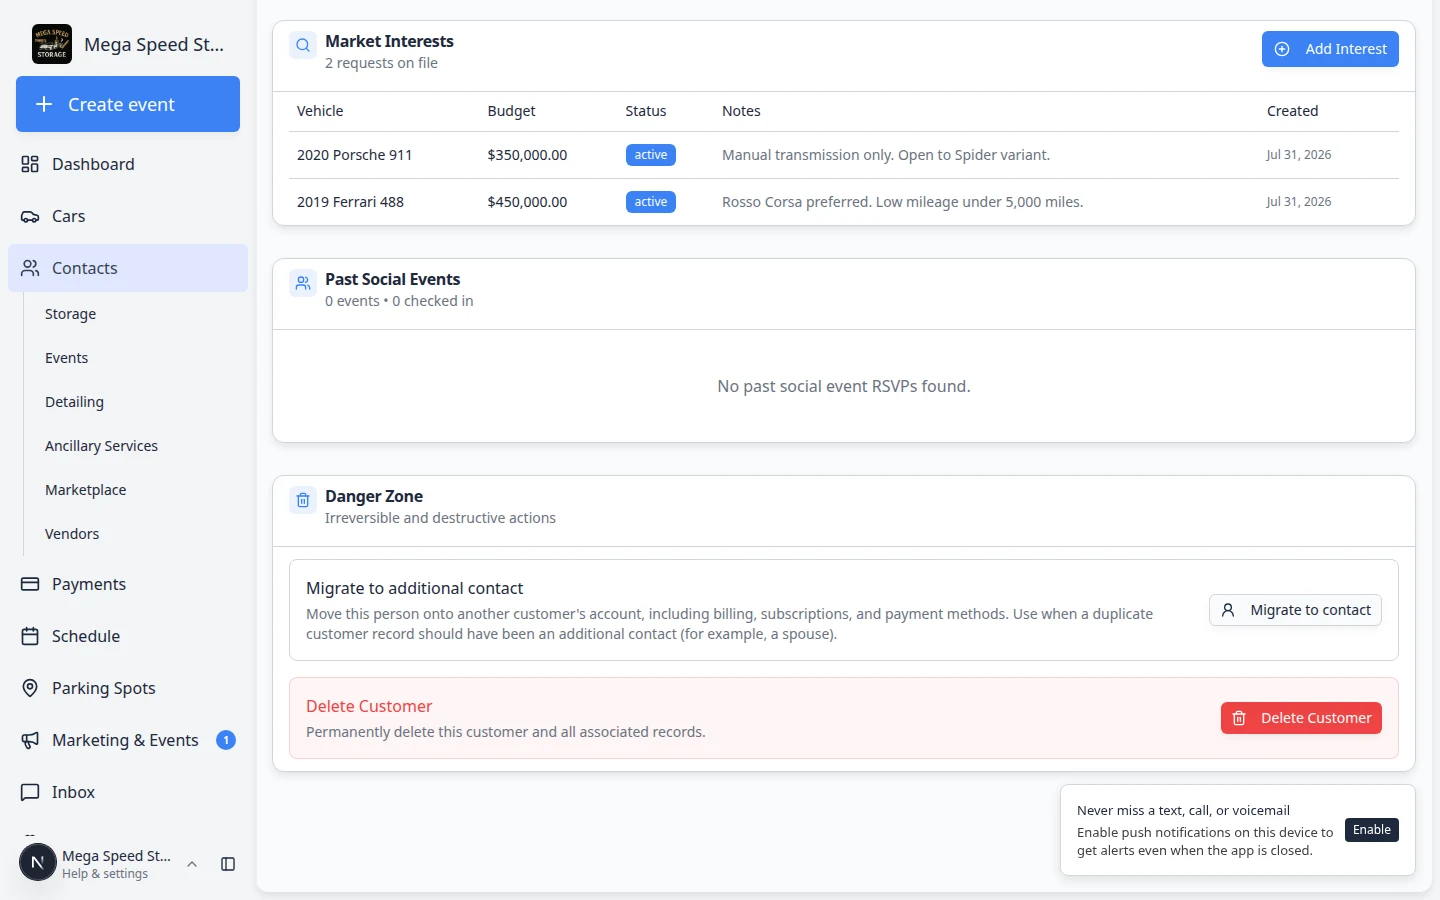
Danger Zone actions are permanent or hard to undo. Read each button label before you click. See Handle duplicate or merged customer records for step-by-step migrate, delete, and restore help.
What happens next
After editing a customer, check the parts of the system that depend on that information:
- If you changed email, resend portal invites, invoices, or contract links as needed.
- If you changed CRM stage, review board view in All Contacts.
- If you changed groups or tags, review any marketing lists or filters that use those labels.
- If the customer shared a buy-want, add it under Market Interests: Track customer market interests.
- If you changed ownership details, confirm the right cars and documents are still linked.