Parking Spots
Review the parking report
Use the parking report to review where cars were assigned during a date range.
What you will accomplish
You will open the parking report, choose a date range, read assignment history, and export a copy when your team needs records outside the app.
When to use this guide
Use this guide when you need to answer questions such as:
- Which cars were parked here this month?
- How long did a car stay in a spot?
- Which customer used a specific location?
- What parking history should we review before billing or an internal audit?
The report is based on parking assignments your team saves in the app. It is only as accurate as the updates made on Parking Spots and on vehicle records.
Before you start
- Your team should be using parking assignments on Parking Spots.
- Know the date range you want to review.
- Know whether you are checking one car, one customer, one spot, or overall facility use.
- If you plan to export the report, decide which columns your team needs first.
Open the report
You can open the report from the main Parking Spots page or go directly to Parking Spots Report. The page title is Parking Occupancy Report.
- Go to Parking Spots
Open the Parking Spots page.
- Click Report
In the top-right area of the page (next to Add Parking Spot), click Report. This opens the Parking Spots Report.
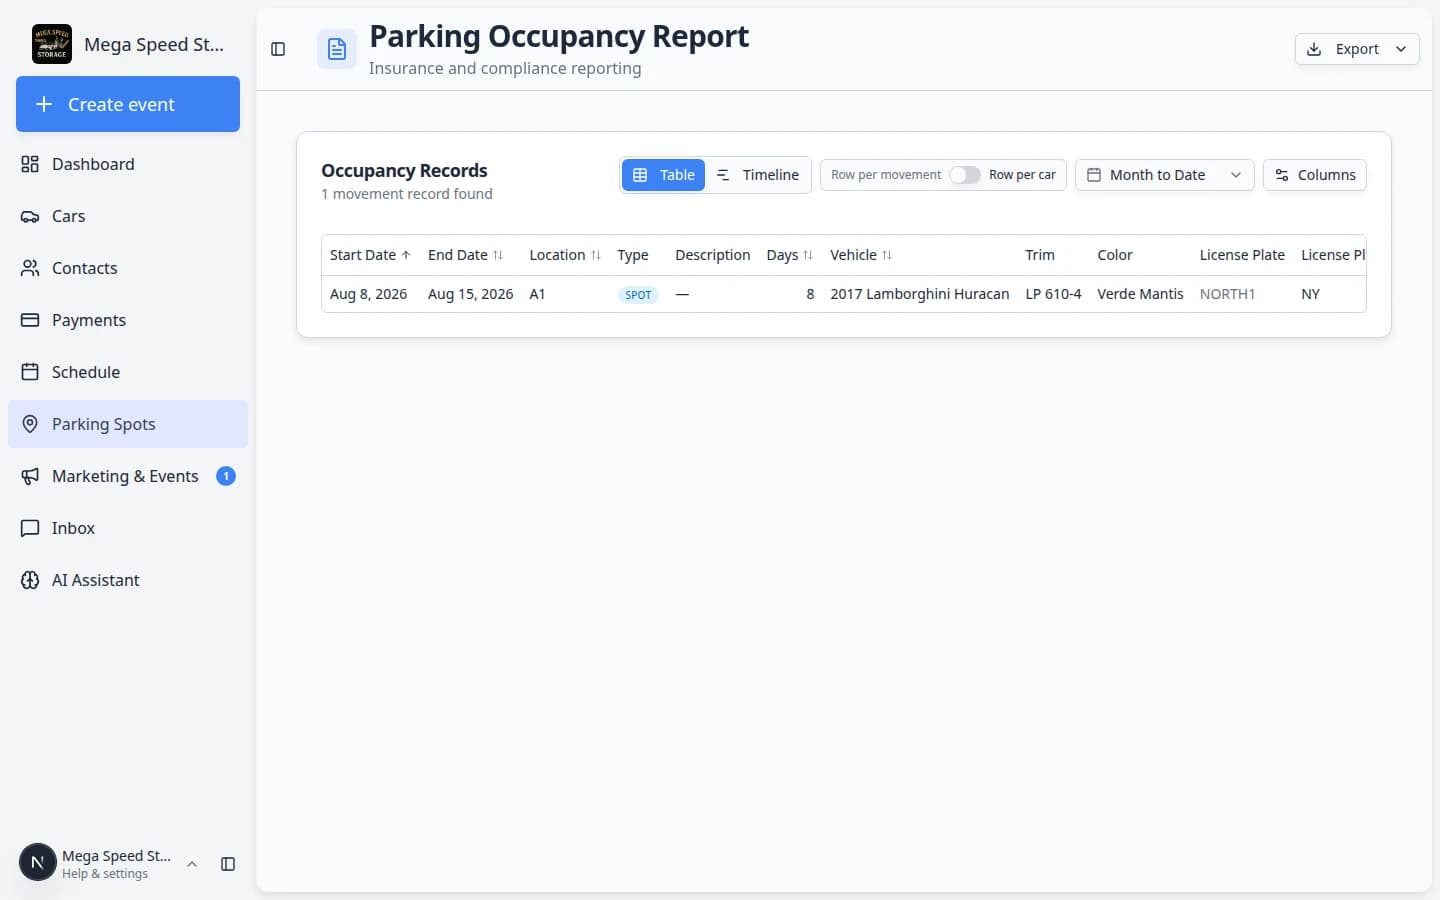
Expected result: You see Parking Occupancy Report at the top and a table of occupancy records below.
- Wait for the rows to load
The report may take a moment if your date range includes many cars. When it finishes, the table shows parking assignments that match your selected range.
Choose the date range
- Open the date range control
At the top of the report, use the date range control. The default is usually Month to Date.
- Pick a quick range or custom range
Choose a quick range like Month to Date, Last Month, Last 3 Months, or Year to Date.
If you need exact dates, choose a custom start date and end date.
- Confirm the table updated
After changing the date range, check that the rows and totals match the time period you selected.

Switch between Table and Timeline views
The report has two main ways to read the same history.
Table shows rows and columns. Use it when you need dates, spot names, customers, and Days for billing or audits.
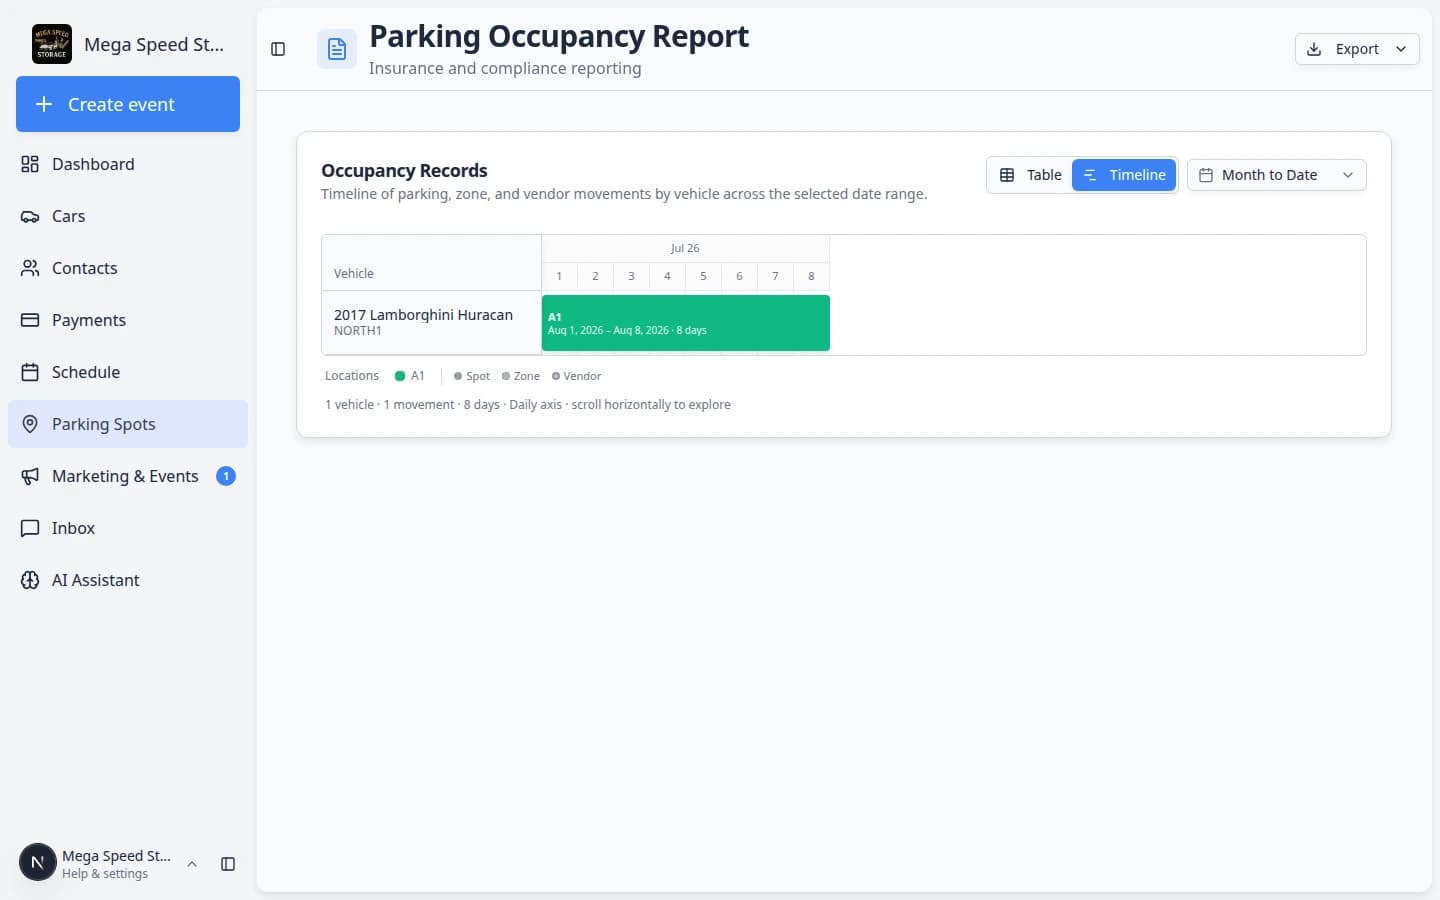
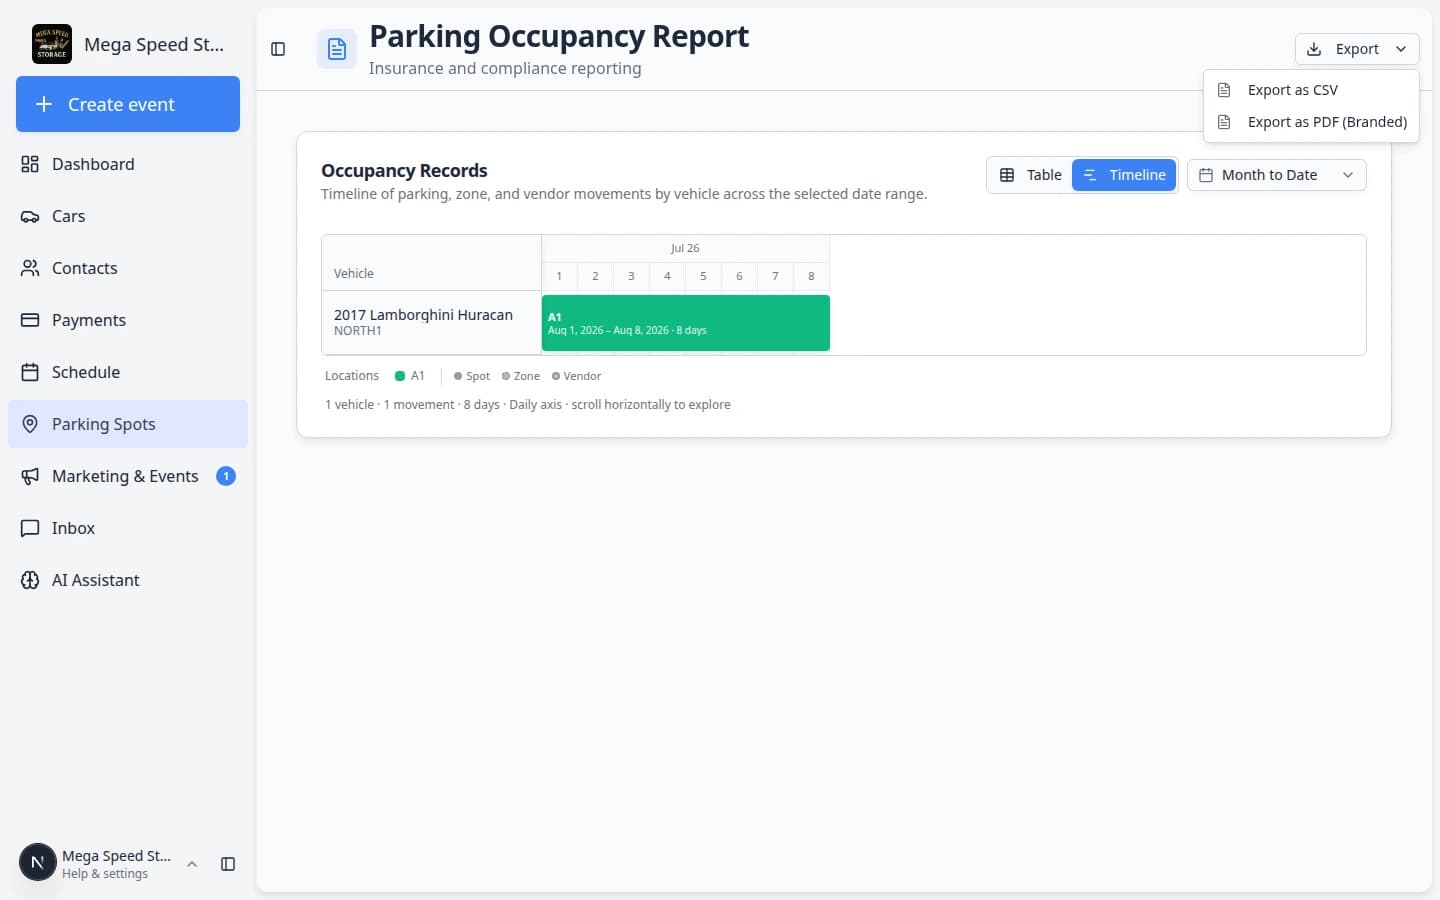
Timeline shows a chart across the date range. Use it when you want to see how long a car stayed in each spot without reading every row.
- Find the view switcher
Near the top of Parking Spots Report, look for two buttons: Table and Timeline.
- Click Table for spreadsheets and exports
Table is best for sorting columns, changing Row per movement vs Row per car, and exporting CSV or PDF.
- Click Timeline for a visual history
Timeline draws bars across the dates you selected. Each bar shows when a car was in a spot during that range.
Expected result (Timeline)
You can point to a bar and explain when a vehicle was in a spot. If a car moved twice in the same month, you may see more than one bar.
Choose how rows are grouped
When the report is in Table view (not Timeline), you can switch how rows are listed.
Row per movement shows each parking stay or move as its own row. Use this when you want detailed history.
Row per car groups activity by vehicle. Use this when you want a shorter list of which cars were in the facility during the date range.
If you are not sure which to use, start with Row per movement. It gives the most detail.
- Find the row grouping control
Near the top of the Parking Spots Report, look for the switch labeled Row per movement and Row per car.
- Leave Row per movement on for detailed history
Keep Row per movement when you need to see each time a car entered or left a spot.
- Turn on Row per car for a shorter vehicle list
Turn the switch toward Row per car when you mainly need one line per vehicle for the date range.
Expected result
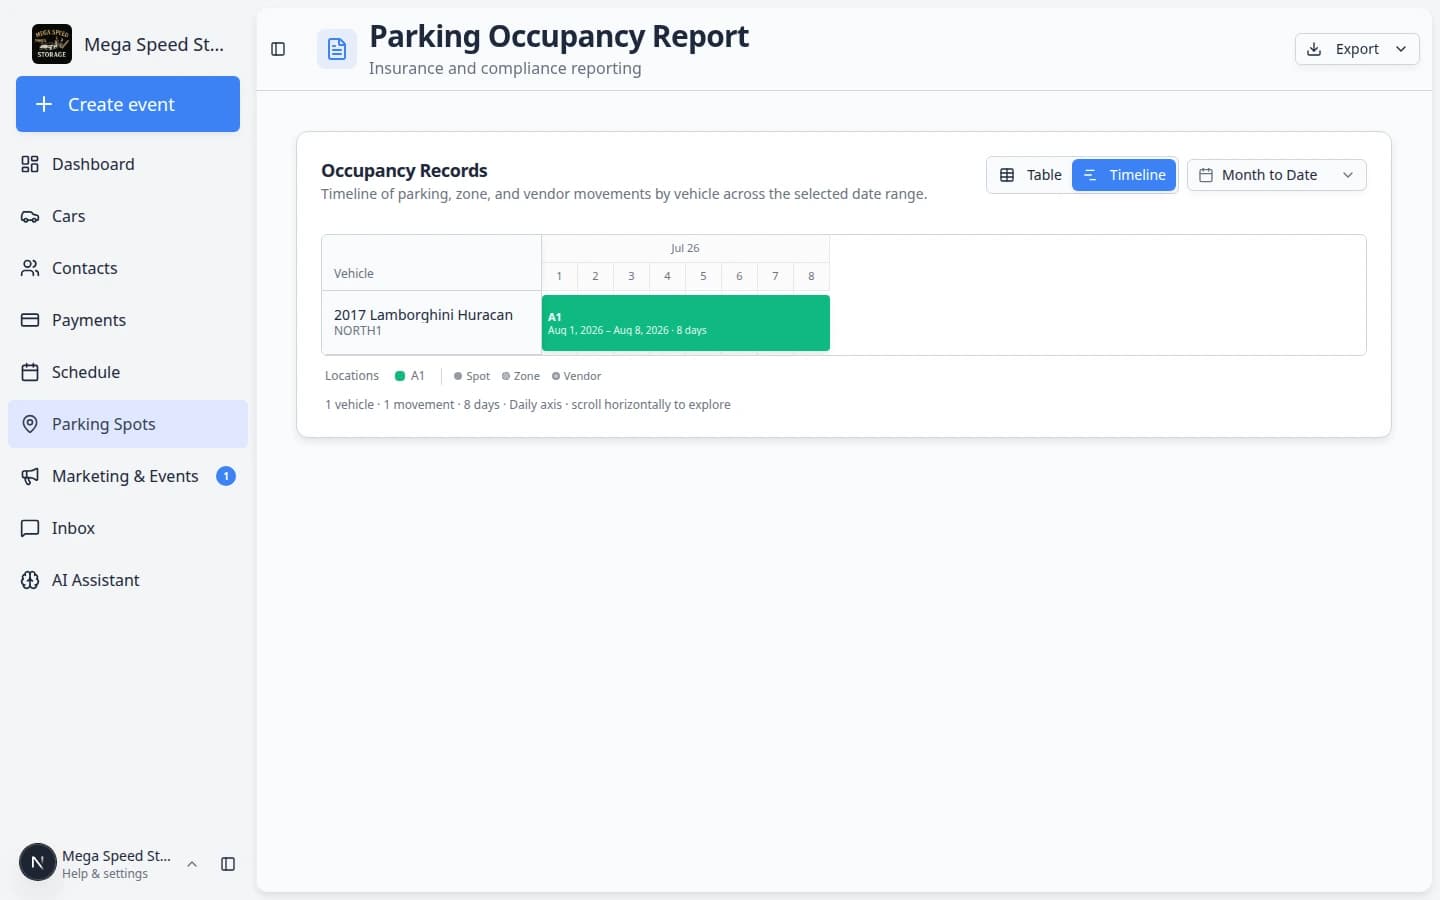
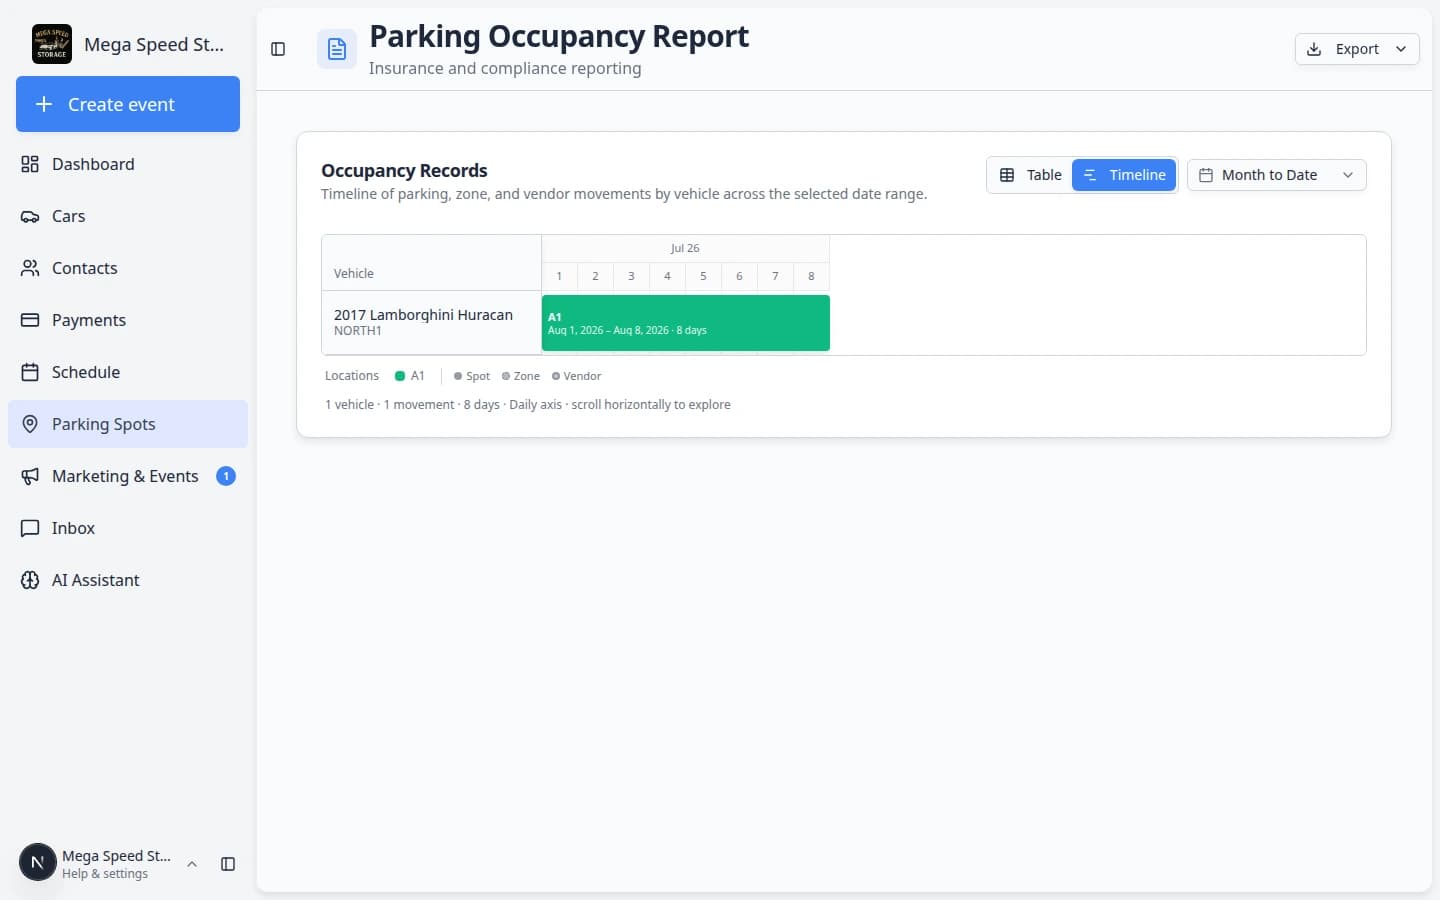
The rows change to match the grouping you picked. Row per movement usually shows more lines because each stay or move is its own row.
Read the main columns
- Check Start Date and End Date
These columns show when the car's assignment started and ended within your selected range. If the car is still assigned, the end date may show the current range end.
- Check Location and Type
Location shows the spot, zone, or vendor name. Type shows Spot, Zone, or Vendor so you can tell numbered spaces apart from flexible areas or off-site locations.
- Check Vehicle
Use the vehicle details to confirm you are looking at the correct car. This is especially helpful when customers own more than one vehicle.
- Check Customer
The customer column helps you connect the parking history to the owner or company.
- Check Days
Days shows how many days the assignment overlaps your selected date range. This is helpful for occupancy review and billing checks.
- Optional columns for billing and audits
Open Columns to add fields your team may need:
- VIN, License Plate, Customer Email — identify the right vehicle and owner.
- Insurance Company, Declared Value — confirm coverage details before billing questions.
- Est. Min / Avg / Max Value — market value estimates when your facility uses vehicle valuation data.
Change which columns you see
- Open the columns control
Near the top-right of Parking Spots Report, click Columns.
Expected result: A checklist of column names appears, such as Days, VIN, License Plate, and Customer Email.
- Turn columns on or off
Check the fields your team needs. For billing reviews, turn on Days. For vehicle identification, add VIN or License Plate.
Why this matters: The export file includes only the columns that are visible when you click Export.
- Keep the report easy to read
Turn off columns you do not need for the task. A shorter report is easier to review on screen and in a spreadsheet.
Export the report
Use export when you need to share the report outside the app or save a copy for your records—for example before a billing review or when a manager asks for a spreadsheet.
- Switch to Table view
Open Parking Spots Report and click Table if you are on Timeline. Export works from the table.
- Set the date range first
Always choose the correct date range before exporting. The file includes only rows that overlap that range.
- Choose the columns you want
The export uses the visible columns, so turn on the columns you need before downloading. Add Days, VIN, or Customer Email when billing or audit teams need them.
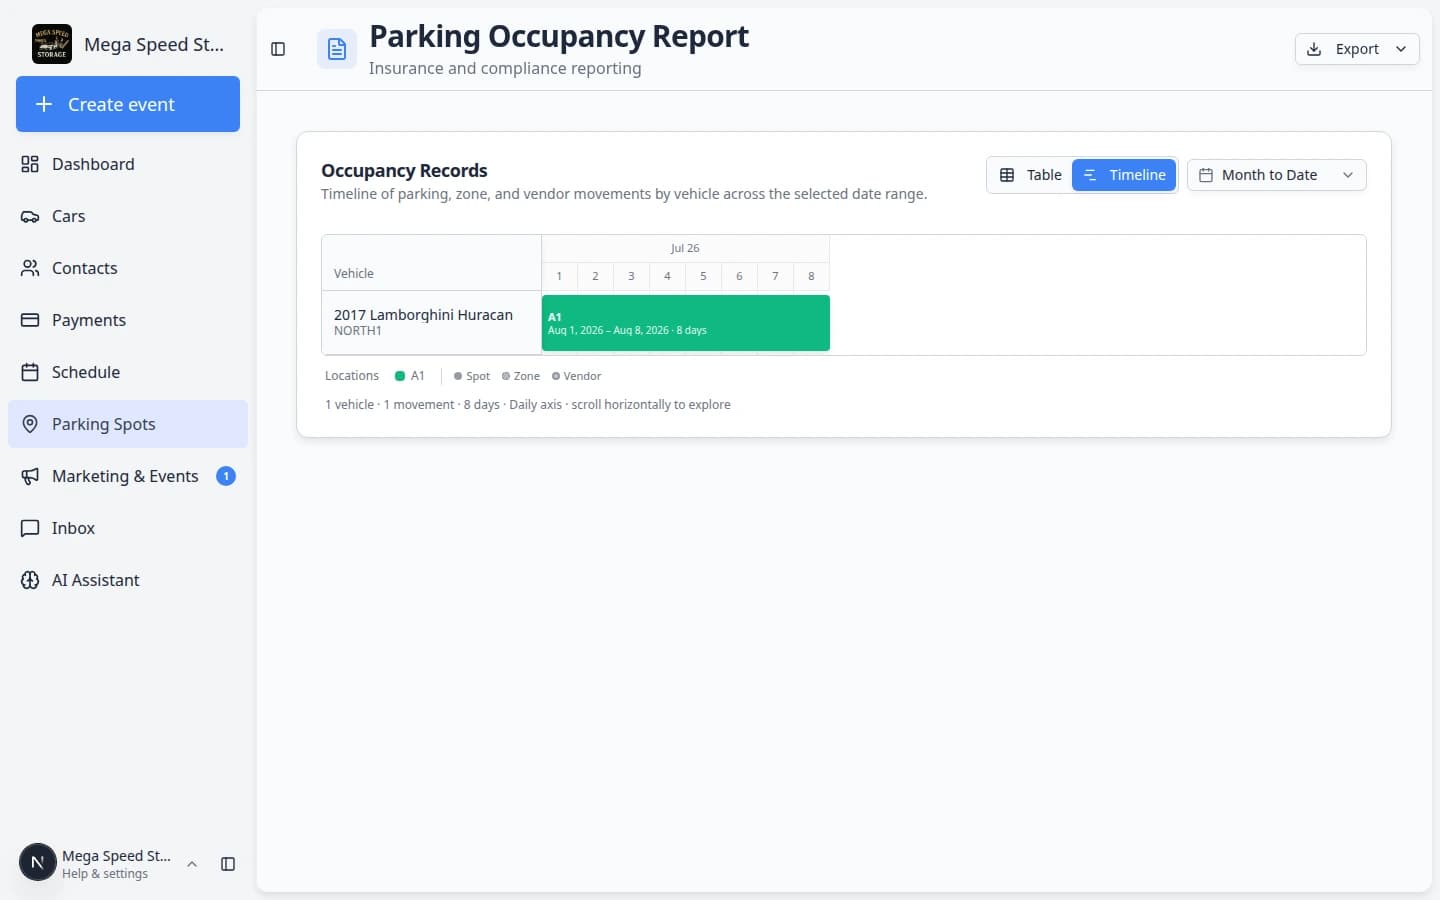
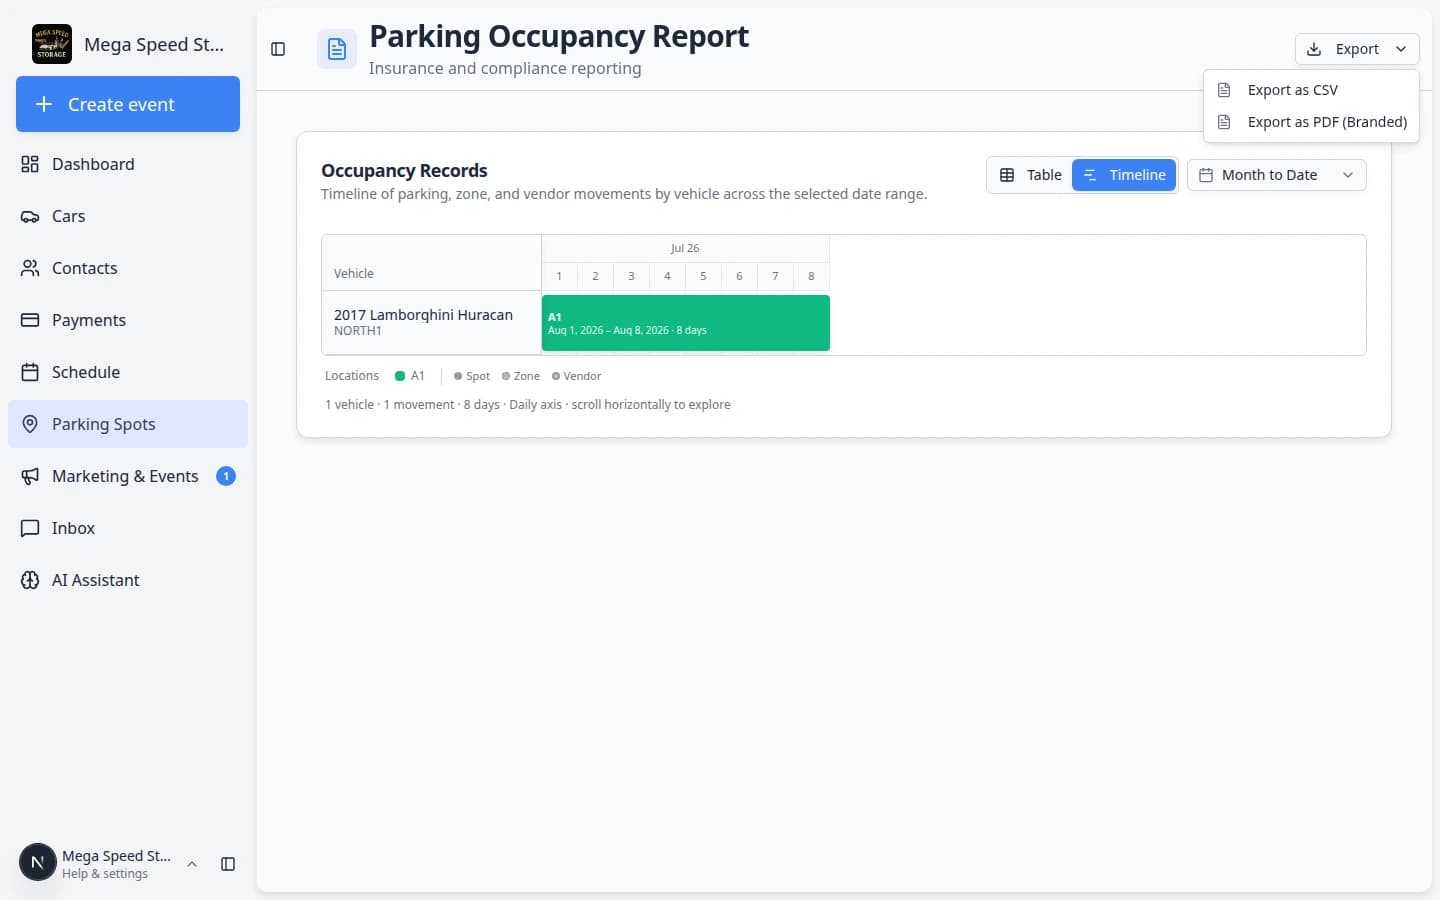
- Click Export
In the top-right area of the report, click Export. Choose Export as CSV for a spreadsheet file you can open in Excel or Google Sheets. Choose Export as PDF (Branded) when you need a formatted copy with your facility logo for a customer or manager.
**Export as CSV** is best for sorting and formulas. **Export as PDF (Branded)** is best when a customer or owner wants a polished document without editing. Expected result: Your browser downloads a file. CSV opens in a spreadsheet app; PDF opens ready to print or email.
- Open the file and spot-check one row
Open the download and confirm one vehicle, spot name, and Days value look right before you email the file.
Expected result: Each row matches what you saw in the on-screen table for the same date range.
Use the report before billing
Many facilities open the parking report before sending a storage invoice or answering “how long was my car there?”
- Set the billing period
Choose the same date range you plan to bill—for example Last Month or a custom month.
- Stay on Row per movement
Keep Row per movement on so each stay shows its own Start Date, End Date, and Days count.
- Add Days and customer columns
Open Columns and turn on Days, Customer, and License Plate or VIN if your billing team needs them.
- Compare to Payments
Open the customer’s invoice in Payments > Invoices and confirm the storage period matches the report.
Why this matters: Catching a missing move on the map is easier before the customer receives the bill.
What to do if the report finds a problem
- If a car is missing, open the car record and check whether it has a parking assignment.
- If a car shows the wrong spot, move the car record to the correct spot from Parking Spots or the car record.
- If a car was off-site at a vendor, confirm Type shows Vendor on the report. See Send a car to an outside vendor.
- If a spot name is wrong, update it in Settings > Floor Plan.
- If staff are not updating moves, review Assign a parking spot with the team.
Troubleshooting
What to do next
- If the report shows the wrong current spot, correct it with Assign a parking spot.
- If a car should show as off-site, update it with Send a car to an outside vendor.
- If a spot name is wrong on the report, update it in Settings > Floor Plan.
- For day-to-day lookups, use Find parking spots and available spaces.
- For off-site location tracking, read Send a car to an outside vendor.