Facility Web Pages
Facility Web Pages overview
Understand the customer-facing facility pages, registration forms, marketplace pages, embeds, and checkout flows.
What you will accomplish
After you work through this section, your facility will have clear, tested links that send each person to the right place. Prospects can learn about you and request storage. Existing customers can sign in to their portal. Vendors can submit invoices. Shoppers can view marketplace items. Your team will not need to re-explain the same steps by phone.
- Know which public link to share with prospects, customers, vendors, and website visitors.
- Set up your public facility page so it looks professional on desktop and mobile.
- Turn on registration, marketplace, and vendor invoice flows your team is ready to support.
- Test every link in a private browser window before sharing it on your website or in emails.
Who this section is for
These guides are for facility owners, managers, and front-desk staff who set up public pages, copy customer links, and help customers find the right sign-in page. You do not need technical skills—only access to Settings in your dashboard.
Staff dashboard vs public pages
Your team works in the staff dashboard (addresses that start with /dashboard). Customers and prospects open public pages (addresses that start with /facility/your-facility-name or your custom domain).
| Who opens it | Where they go | Example link type |
|---|---|---|
| Your staff team | Staff dashboard | /dashboard/contacts, /dashboard/settings/website |
| New prospects | Public facility page or registration form | Main page, Registration |
| Existing customers | Customer portal sign-in | Customer login |
| Vendors | Vendor invoice portal | Vendor invoices |
| Shoppers | Vehicle or product marketplace | /marketplace, /marketplace/products |
What you can set up
- A public facility page that introduces your business and services.
- A customer login link for existing customers who already have a portal account.
- A customer registration page for new storage requests.
- A marketplace page and checkout path for cars, products, services, or memberships.
- A vendor invoice portal for outside providers who need to send your team an invoice.
- A website badge embed you can add to another website.
- A custom domain, such as your own website address.
- A QR code for customer login or your public facility page (printed materials, front desk).
Quick links by job
Use this table when someone asks, “Which link should I send?”
| Situation | Link to use | Guide |
|---|---|---|
| New prospect wants to request storage | Registration or Main page | Set up customer registration |
| Existing customer forgot how to sign in | Customer login | Share customer login links |
| Vendor asks where to send an invoice | Vendor invoices | Set up the vendor invoice portal |
| Shopper should browse cars for sale | Vehicle marketplace (/marketplace) | Publish marketplace listings |
| Customer should buy a storage plan online | Product marketplace (/marketplace/products) | Test marketplace checkout |
| Website helper needs a button or embed | Shareable links or embed code | Add a website embed |
| You want your own domain on public pages | Custom domain settings | Connect a custom domain |
| You want to polish the signed-in phone experience | Settings > Website & customer app → Customer app | Customize the customer mobile app |
| Not sure which link fits | — | Choose the right public link to share |
Where setup happens in the dashboard
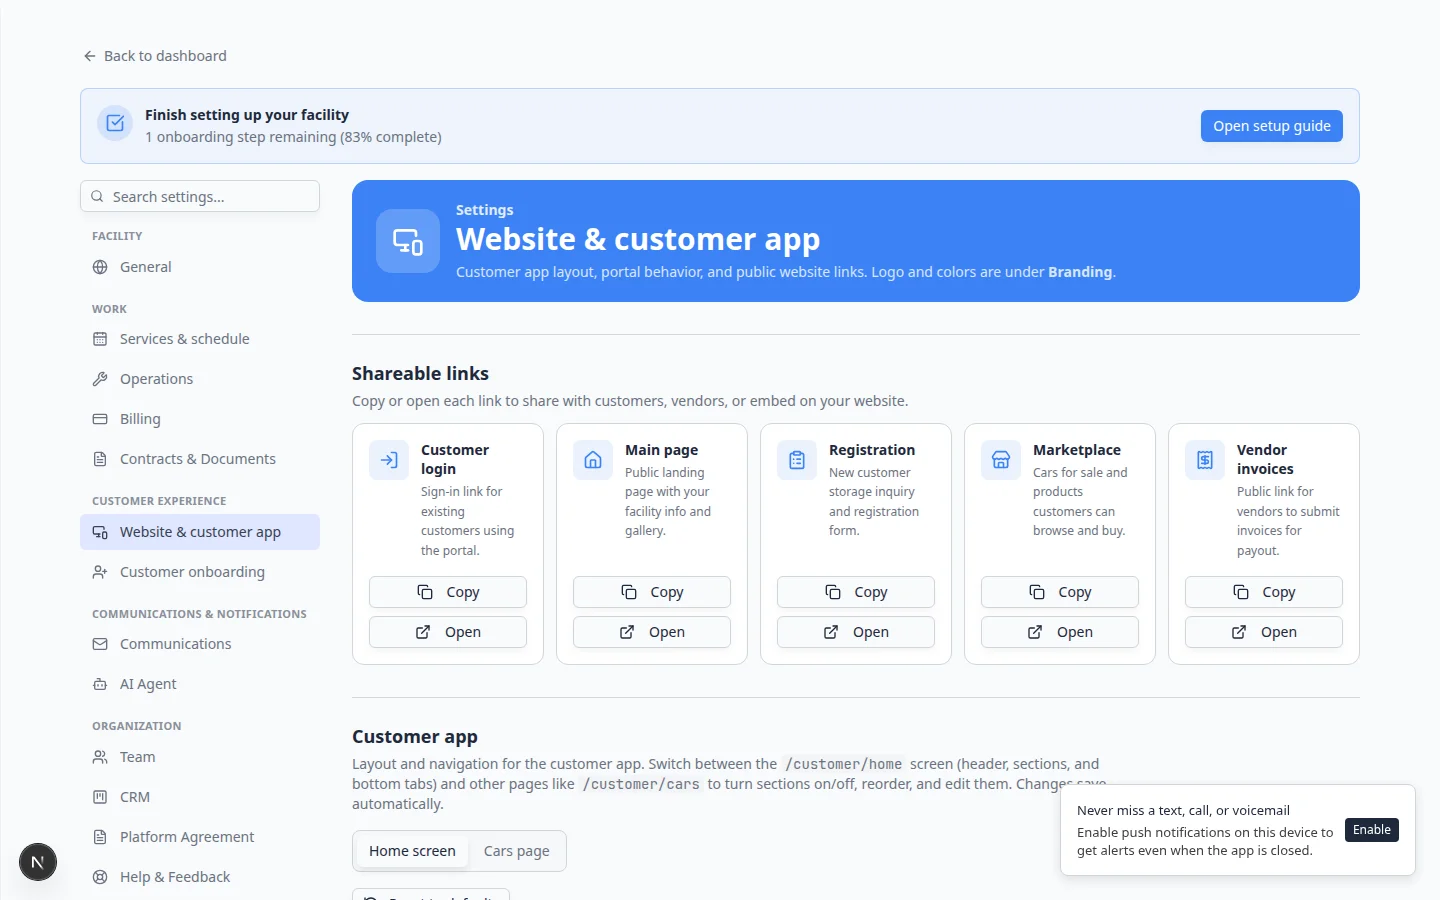
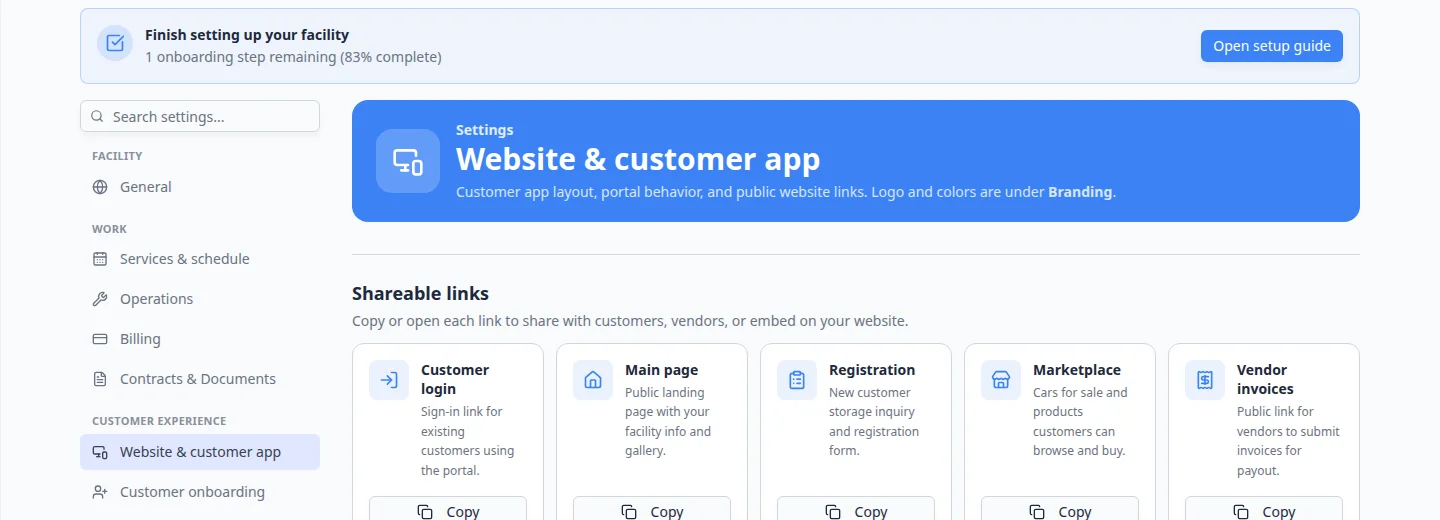
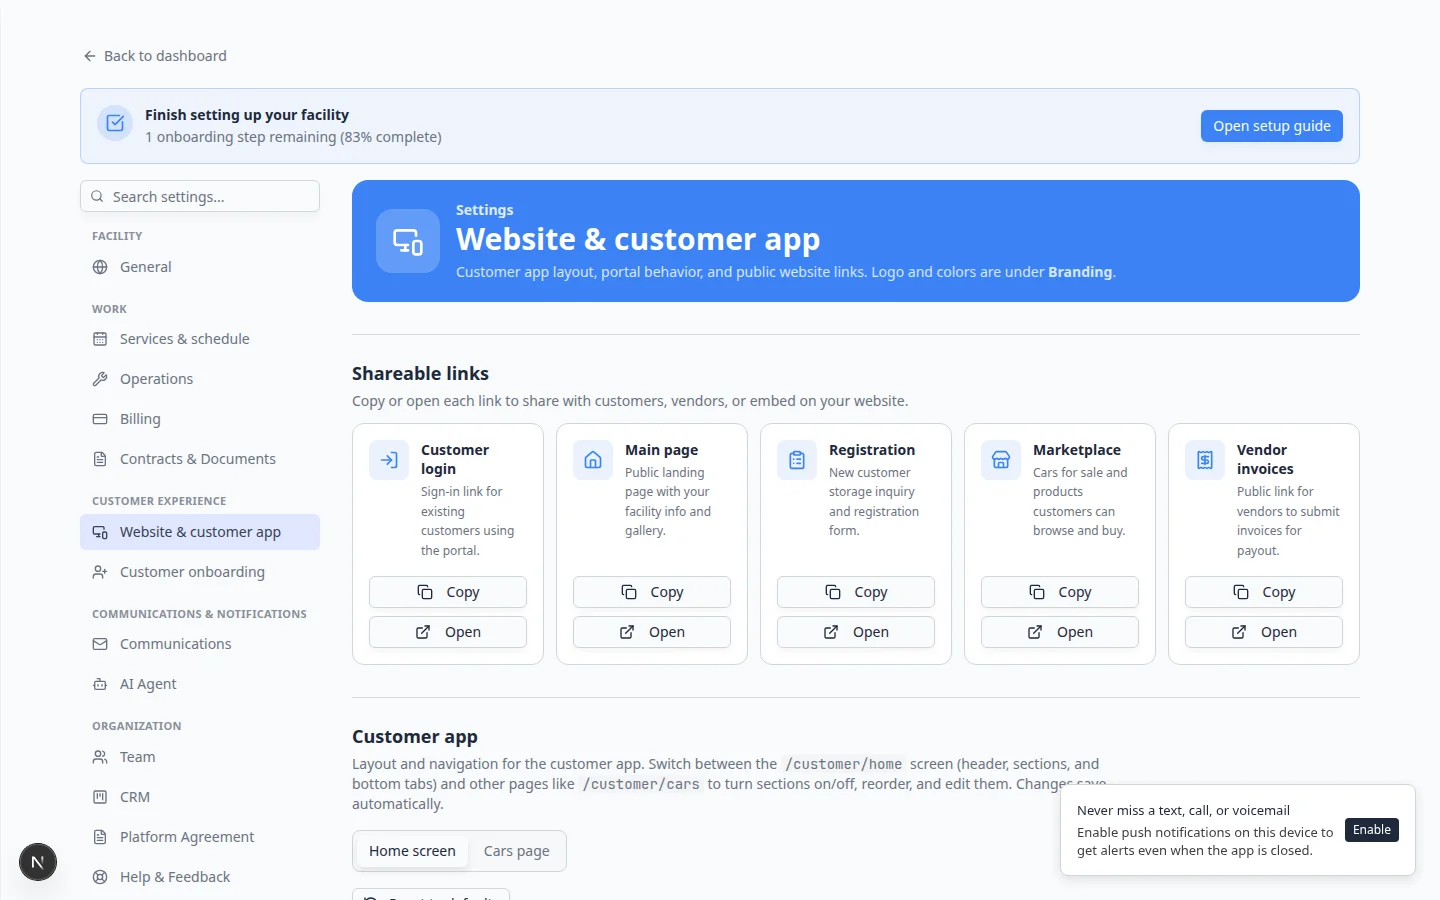
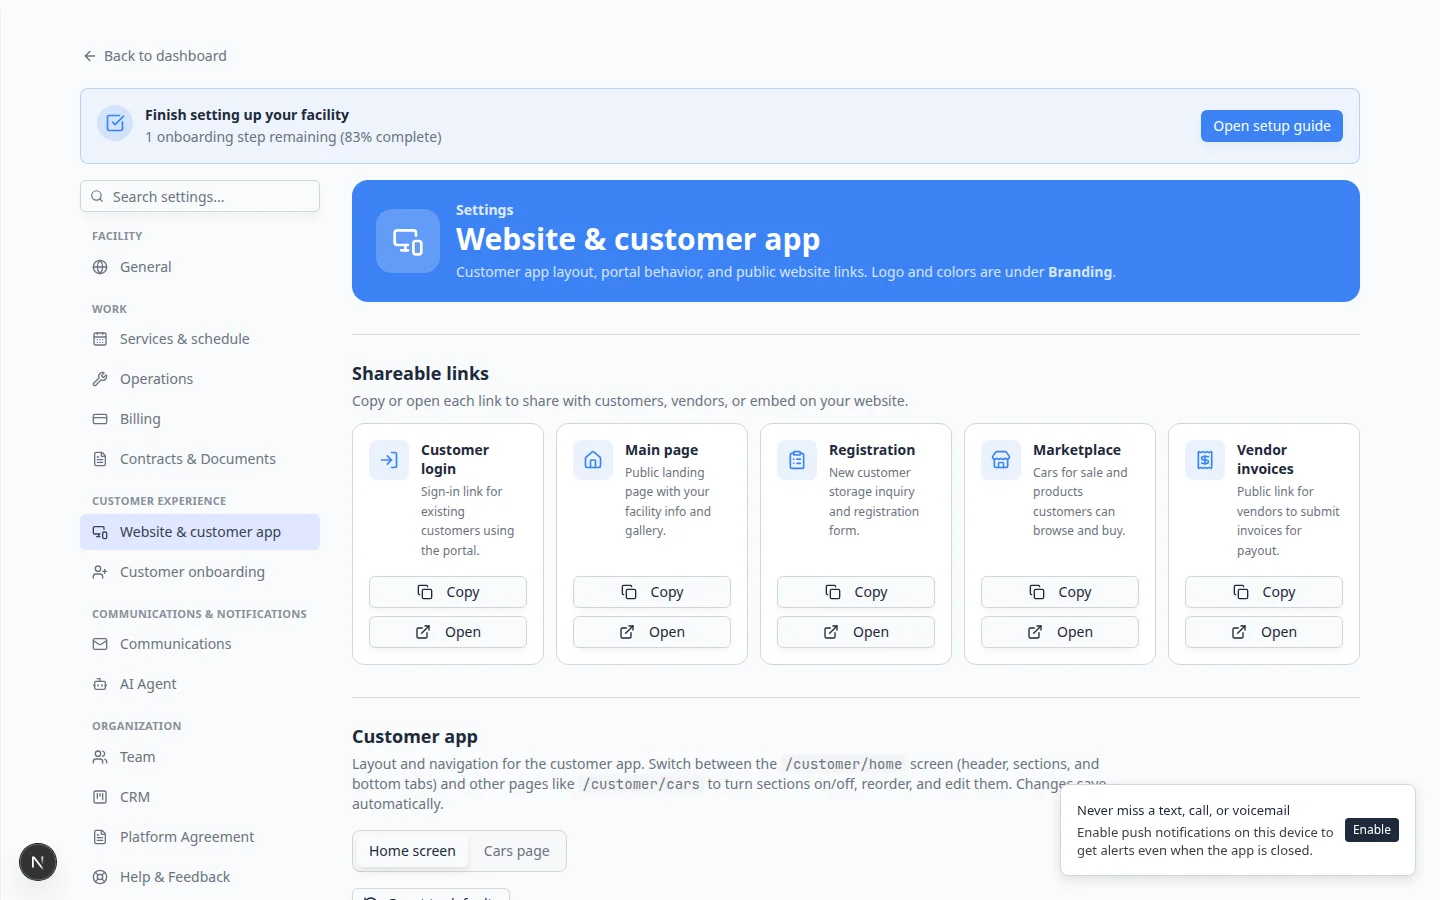
Most public page work starts on Settings > Website & customer app. Scroll down this one long page in this order:
| Section (top to bottom) | What you set up there |
|---|---|
| Shareable links | Copy Customer login, Main page, Registration, Vendor invoices |
| Customer app | Signed-in mobile home screen (header, home sections, bottom navigation) |
| Marketplace | Facility-wide marketplace visibility and defaults |
| Public website | Facility slug, Page editor sections, live preview |
| Custom domain | Your own website address on public pages |
| Website schedule widget | Optional branded badge embed code for another website |
- Open Website & customer app
Go to Settings > Website & customer app.
Expected result: You see Shareable links near the top, then sections for Customer app, Public website, and Website schedule widget.
- Copy links from Shareable links
Use Copy on the card that matches your goal: Customer login, Main page, Registration, or Vendor invoices.
Why this matters: Copying prevents typos. One wrong character can send customers to an error page.
- Edit page content in Public website
Scroll to Public website to turn pages on, choose your Facility slug, and use the Page editor to add or remove sections. Turn on Vendor invoice portal under Header & page settings when vendors need a public submit link.
- Choose registration questions separately
Open Settings > Customer onboarding to choose which questions appear on the registration form.
- Customize the signed-in mobile app
Scroll to Customer app on the same settings page to set header text, home sections, and bottom tabs before customers sign in.
Recommended setup order
Follow this order if you are setting up public pages for the first time.
- Configure the facility landing page
Set up your Facility slug, banner, and Page editor sections in Configure the facility landing page.
- Set up customer registration
Turn on the Online registration form and Registration form section, then test a submission with Set up customer registration.
- Review registration requests
Train staff with Review and approve registration requests.
- Customize the customer mobile app
Set header, home sections, and bottom tabs with Customize the customer mobile app before wide portal invites.
- Share customer login links
Add the Customer login link to your website and welcome emails with Share customer login links.
- Choose and test public links
Use Choose the right public link to share, then run Go live checklist for public pages before sharing widely.
Expected result
Your team has one clear public path for prospects: they can learn about your facility, request storage, and reach the right next step without calling your staff for basic instructions.
Customize the customer app (signed-in mobile experience)
Prospects see your public facility page. After they become customers and sign in, they use the customer app on their phone.
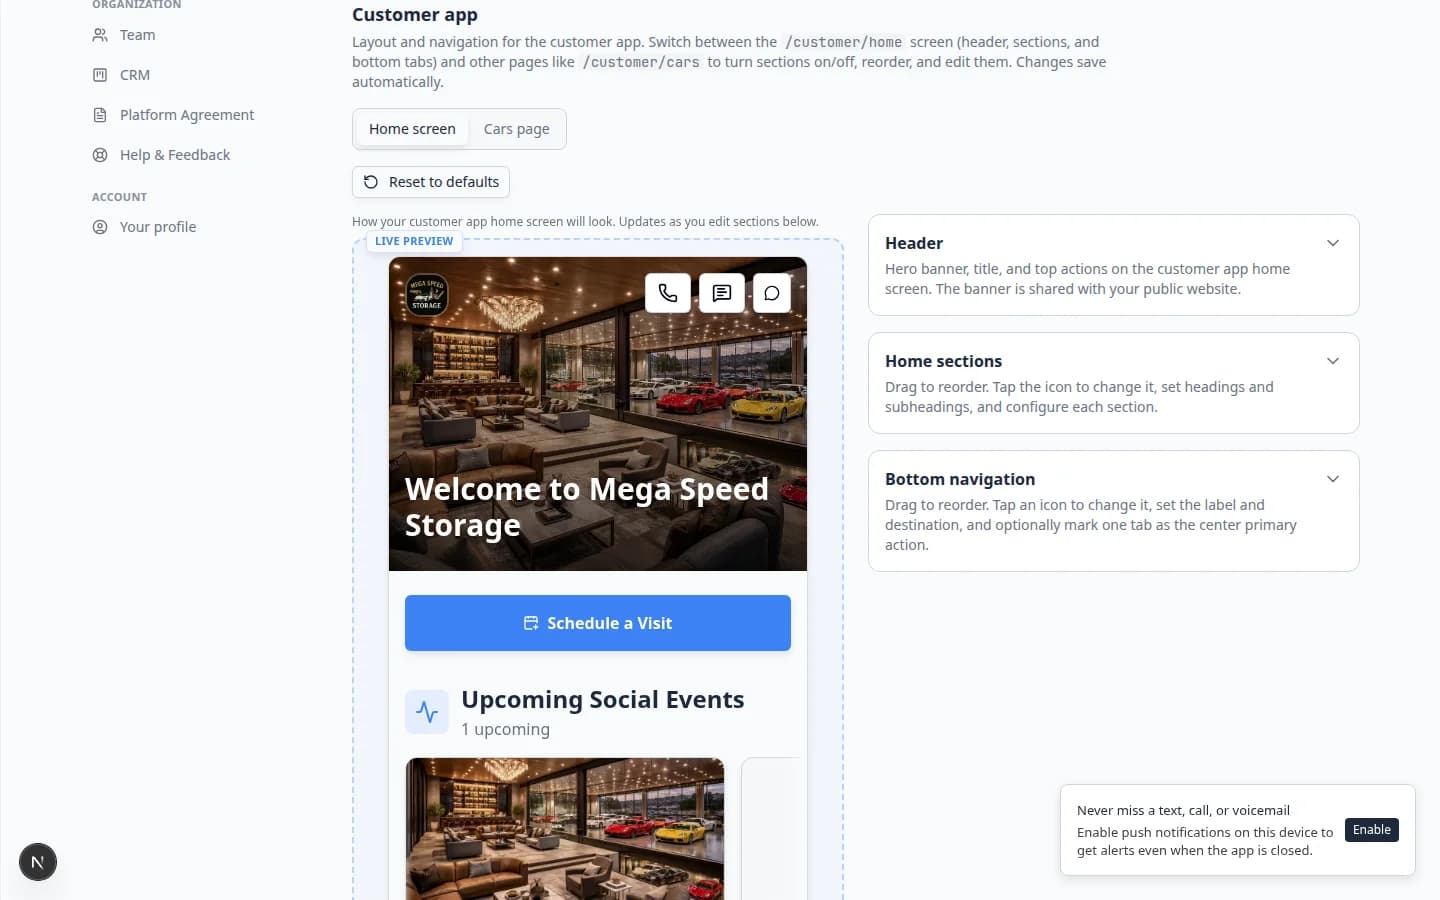
- Open Customer app settings
Go to Settings > Website & customer app and scroll to Customer app.
Expected result: A Live preview on the left shows the phone home screen customers see after sign-in.
- Adjust header and home sections
Turn sections on or off (gallery, upcoming events, quick actions) and drag them into a friendly order.
Why this matters: Customers who already trust your facility will judge your professionalism again when they open the portal on their phone.
- Preview on a real phone
Copy Customer login from Shareable links, open it on your phone, and sign in as a test customer if you have one.
Expected result: The signed-in home screen matches the preview in settings.
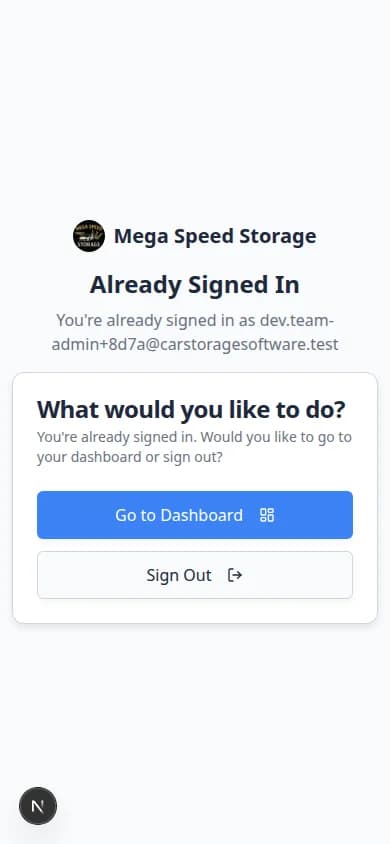
For step-by-step help building the public page (not the signed-in app), see Configure the facility landing page.
Customer journey from first visit to portal
- Prospect learns about your facility
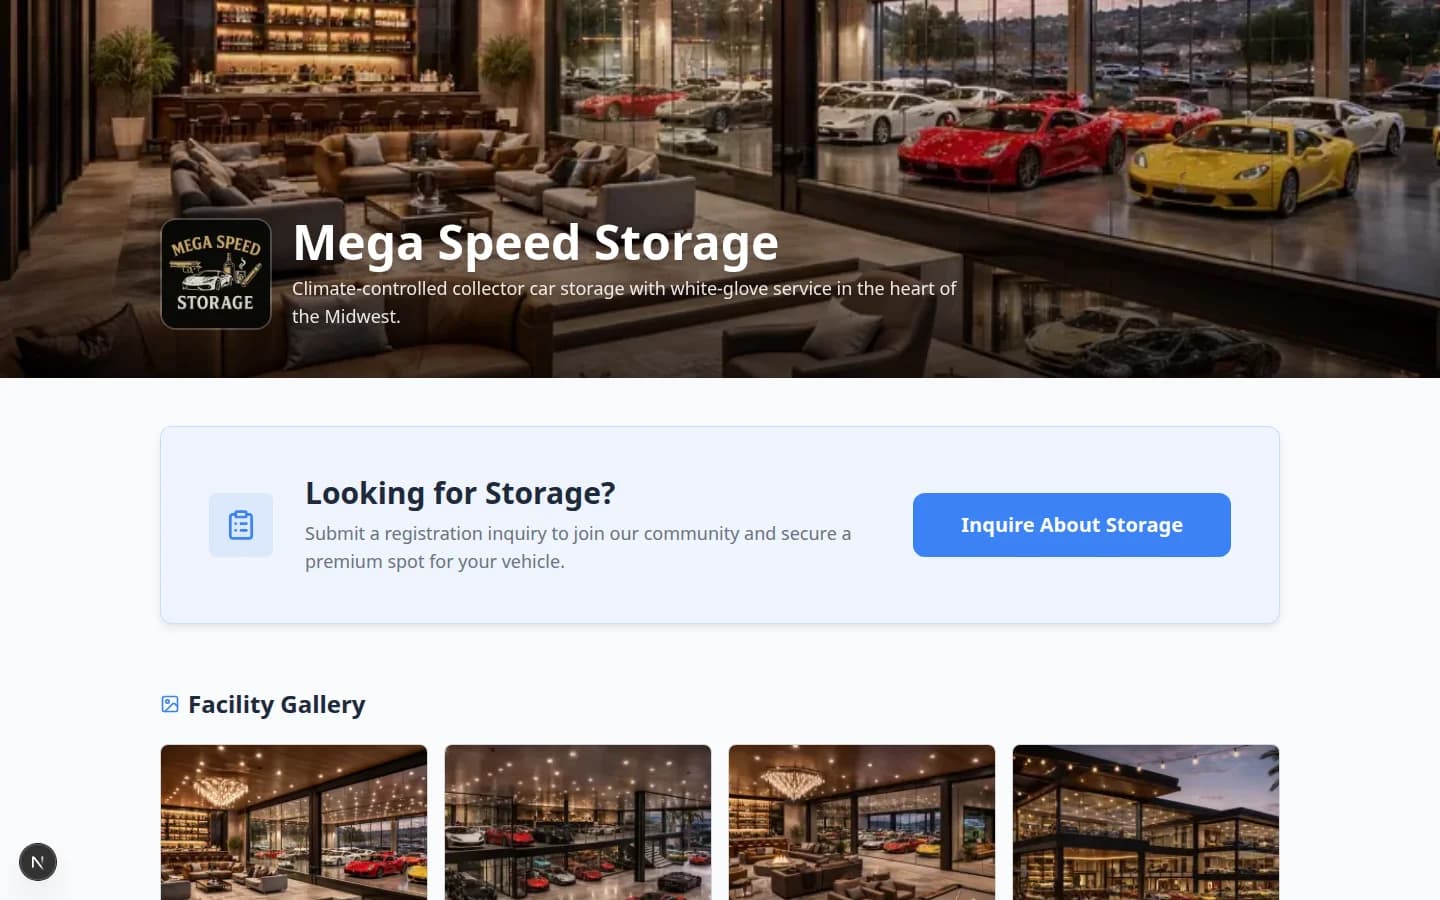
They open your Main page from your website, a text message, or a business card QR code.
- Prospect requests storage
They complete the Registration form. Your team reviews the request in Contacts.
- Staff approves and prepares the record
Follow Review and approve registration requests. Add cars, documents, and billing as needed.
- Customer receives a portal invite
Send the Customer login link after the record looks ready. See Invite a customer to the portal.
- Customer signs in and self-serves
They view cars, events, billing, and documents from the customer portal. See Guide a customer through the portal.
Important words in plain English
Public facility page means the page anyone can open to learn about your facility.
Registration page means the form a new customer fills out to request storage or onboarding.
Customer portal means the private area customers use after they are accepted or invited.
Marketplace means the public or customer-facing page where cars, products, services, or memberships can be shown.
Facility slug means the short name at the end of your public web address (for example smith-storage).
Shareable links means the copy buttons near the top of Website & customer app settings.
How-to guides in this section
- Go live checklist for public pages — test every link before you announce them.
- Choose the right public link to share — match each link to the right person.
- Share customer login links — help existing customers find the portal.
- Customize the customer mobile app — set up the signed-in home screen on phones.
- Set up customer registration — collect new storage requests online.
- Review and approve registration requests — process submissions in Contacts.
- Configure the facility landing page — build your public front door.
- Publish marketplace listings — show cars, products, or services.
- Test marketplace checkout — confirm online purchases work.
- Add a website embed — connect your existing website.
- Set up the vendor invoice portal — let vendors submit invoices from a public link.
- Connect a custom domain — use your own web address.
What success looks like
- Public Facility Pages is on and your Facility slug is saved.
- Every Shareable link opens the correct page in a private browser window.
- A test registration appears in Contacts.
- Customer login opens the sign-in page—not the staff dashboard.
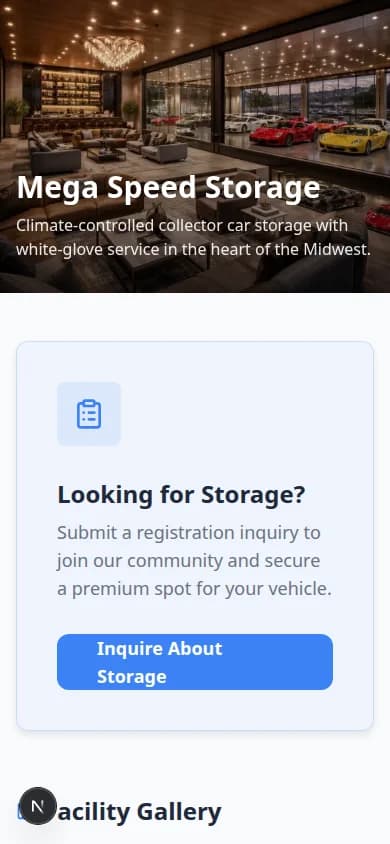
- Public pages look good on a phone-sized screen.
- Your team ran Go live checklist for public pages before sharing links widely.
Troubleshooting
Common questions
Related sections
- Settings for branding, billing, and team setup.
- Contacts for customer records created by registration.
- Payments for products, checkout, and vendor invoices.
- Contracts when registration or onboarding includes signed agreements.
What to do next
If your goal is new storage requests, start with Set up customer registration. If your goal is helping existing customers sign in, start with Share customer login links.