Contacts
Export and use the customer report
Review customer records in one table, sort by billing or portal status, and export a spreadsheet for your team.
What you will accomplish
You will open the Customer Report, read the columns your team cares about (cars, portal sign-in, payment setup, monthly recurring charges), and export a spreadsheet when you need to share data outside the app.
Use this guide when a manager asks questions like:
- Who still needs to sign in to the portal?
- Which customers do not have a payment method on file?
- How much monthly recurring revenue is tied to each customer?
- Can I get a list of every customer with their cars and contact details?
The report pulls from the same customer records you see on All Contacts. Updating a customer record updates the report the next time you open it.
Before you start
- You can open Contacts in the dashboard (any team member with customer access can use the report).
- Know what question you are trying to answer—for example portal sign-in status, payment method, or monthly recurring totals.
- Optional: payment processing is connected in Settings > Billing if you need In Stripe, Payment Method, or Monthly Recurring columns.
Open the Customer Report
- Go to All Contacts
In the left sidebar, click Contacts, then All Contacts. You can also open All Contacts directly.
Expected result: You see your customer list with the search bar and action buttons near the top.
- Click Report
In the top-right area of the page (near Create New Customer), click Report.
Why this matters: The report is built for reviewing and exporting many customers at once. The main contacts list is better for day-to-day lookups and sending portal invites.
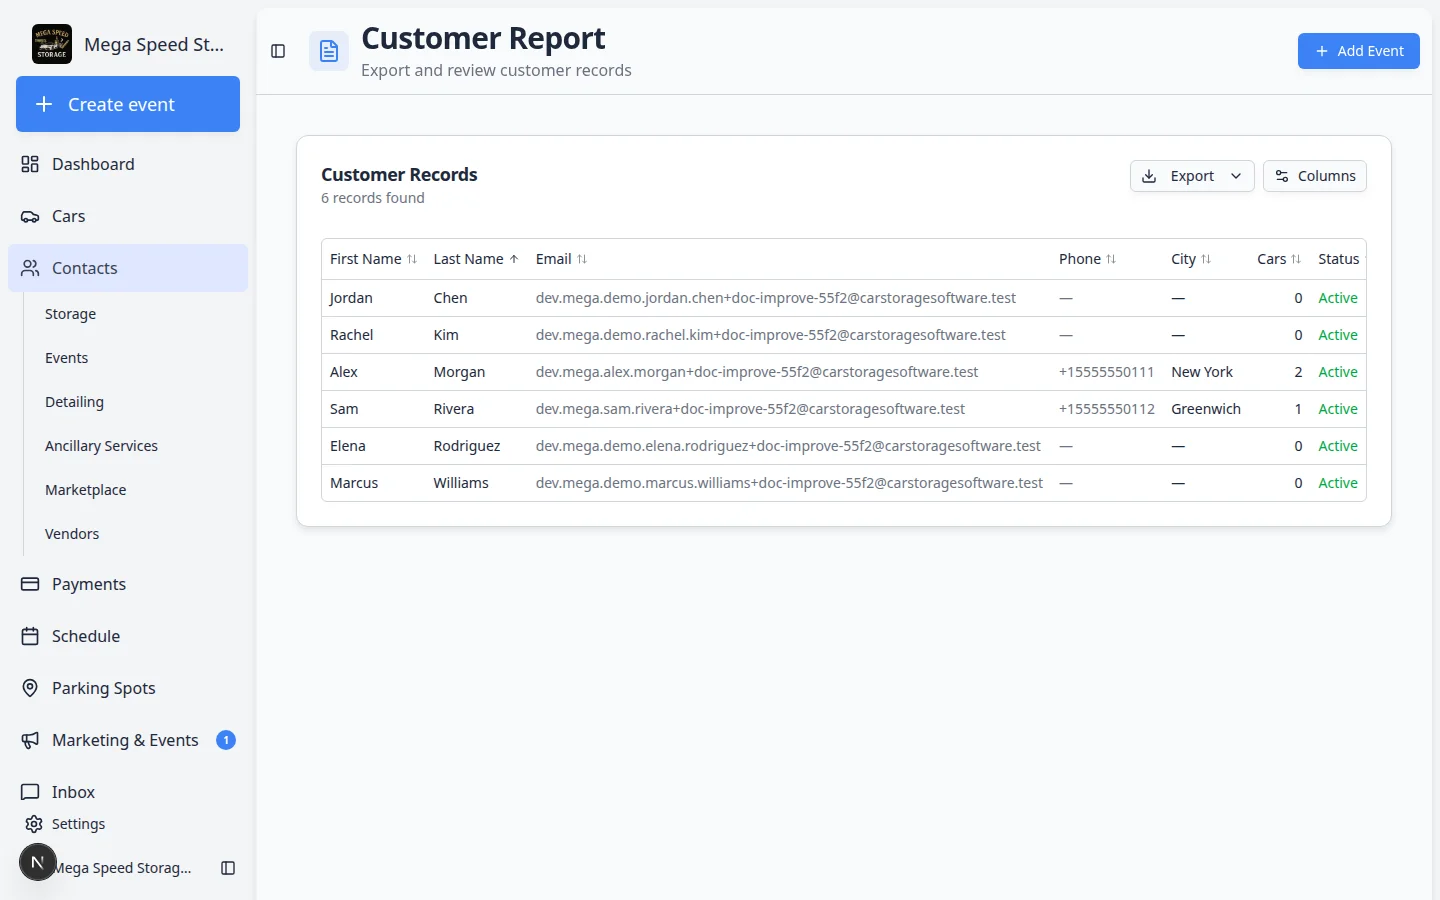
- Wait for the table to load
The page title says Customer Report. A table appears with one row per customer.
Expected result: You see how many records were found (for example, "7 records found") above the table.

Understand the main columns
The report starts with a practical set of columns. You can show or hide more using the Columns button (see the next section).
| Column | What it tells you |
|---|---|
| First / Last Name | Who the customer is |
| Email / Phone | How to reach them |
| Cars | How many vehicles are linked to the record |
| Status | Whether the customer is Active or Inactive |
| Account Status | Portal sign-in progress: Not signed in yet, Email Sent, or Signed In |
| Portal Access | Full (normal portal) or Ticket-only (limited access—see Understand portal access levels) |
| In Stripe | Whether the customer is linked for online billing (when payments are enabled) |
| Payment Method | Whether a card or bank method is saved on file |
| Monthly Recurring | Total of active recurring charges for that customer |
Sort and choose columns
- Sort by a column
Click a column heading that shows a sort icon (for example Last Name or Monthly Recurring). Click again to reverse the order.
Expected result: Rows reorder so you can scan the top or bottom of the list—for example, customers with the highest monthly recurring total.
- Open Columns
Click Columns above the table on the right side.
Expected result: A menu lists every available column with checkboxes. Checked columns appear in the table.
- Show billing or portal columns
Turn on columns such as Portal Access, In Stripe, Default Payment Method, or Payment Method when you are preparing a billing or onboarding review.
Use Columns to turn on Portal Access, payment fields, or address columns before you export. Why this matters: Hiding columns you do not need keeps the table readable. Showing the right columns answers your question without exporting first.
Export to CSV
When you need to email a list to ownership, share with bookkeeping, or work in Excel or Google Sheets:
- Set up the columns you want
Use Columns so only the fields you need are visible. The export includes the columns currently shown in the table.
Why this matters: If you forget to turn on Payment Method before exporting, that column will be missing from the spreadsheet.
- Click Export
Click Export above the table, then choose Export as CSV.

Export as CSV downloads a spreadsheet file with the customers and columns currently visible in the report. - Open the file
Your browser downloads a
.csvfile. Open it in Excel, Google Sheets, or another spreadsheet app.Expected result: Each row is one customer. Each column matches what you had visible in the report.
Common ways teams use the report
- Portal onboarding — Sort or scan by Account Status to find customers who have not signed in yet. Pair with Invite a customer to the portal.
- Payment readiness — Show In Stripe and Payment Method before month-end billing. Pair with Manage billing on a customer record.
- Revenue review — Sort by Monthly Recurring for a quick picture of storage and service subscriptions per customer.
- Ownership review — Export with name, email, cars, and city for a monthly snapshot.
- Ticket-only vs Full customers — Enable Portal Access when your manager wants to see who has limited event access versus full storage portal access.
Troubleshooting
What to do next
- Customers missing portal sign-in? Follow Invite a customer to the portal.
- Need payment methods on file? Read Manage billing on a customer record.
- Want to change who appears on All Contacts? Use Find and filter contacts for daily list work.