Events
Events overview
Understand the operational event system that powers scheduling, workflows, resources, notifications, and documentation.
What you will accomplish
You will set up the services and workflows your facility performs again and again—storage intake, pickup, delivery, wash, detail, inspection, maintenance, customer visits, and internal shop tasks.
When event setup is done well:
- Staff pick clear event names instead of guessing.
- Customers book only the services that are ready.
- Appointments use the right length, reminders, and available hours.
- Required photos and checklists show up during the work.
- Limited bays, lifts, and rooms are less likely to be double booked.
Most setup happens in Settings > Events & schedule. Those choices affect Schedule, Cars, Parking Spots, customer messages, photo documentation, and staff workflows.
Before you start
- You can open Settings and Settings > Events & schedule. An owner or admin usually does this setup.
- You have a short list of services your facility offers (intake, detail, pickup, inspection, and so on).
- You know your normal business hours and which days you are closed.
- If customers will book online, confirm Settings > Communications and Settings > Website & signup are ready.
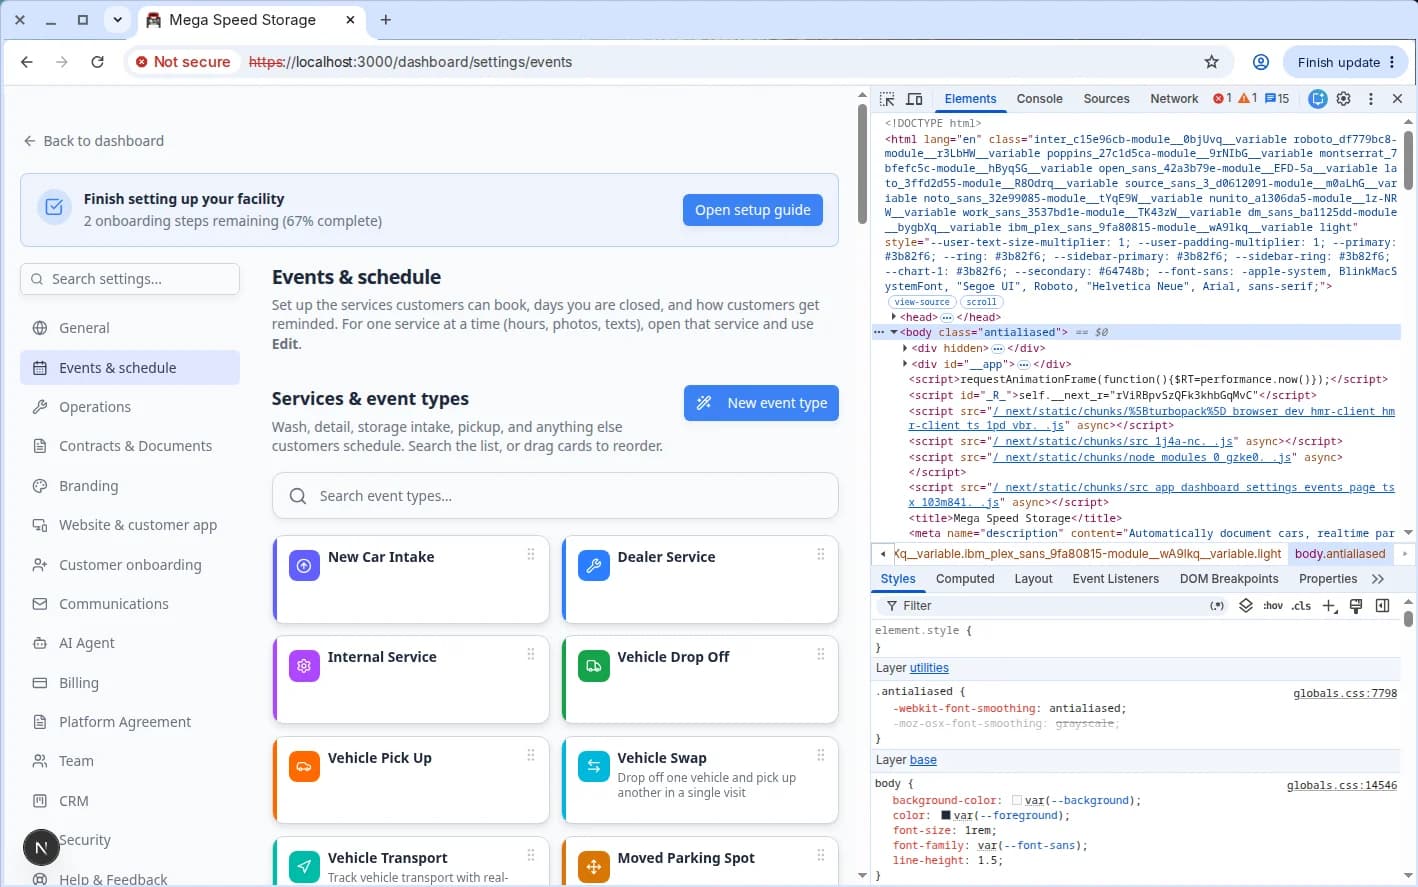
What you can set up from Events
- Event types - reusable service or workflow names such as Storage Intake, Detail Appointment, Vehicle Pickup, or Maintenance.
- Service plans - bundle recurring care (monthly checks, quarterly service) into named packages you assign to stored vehicles.
- Customer access - decide which event types customers can request from customer-facing booking pages.
- Booking approval - require staff to approve customer requests before they land on the calendar.
- Photos and checklists - require staff to capture the right proof before an event is finished.
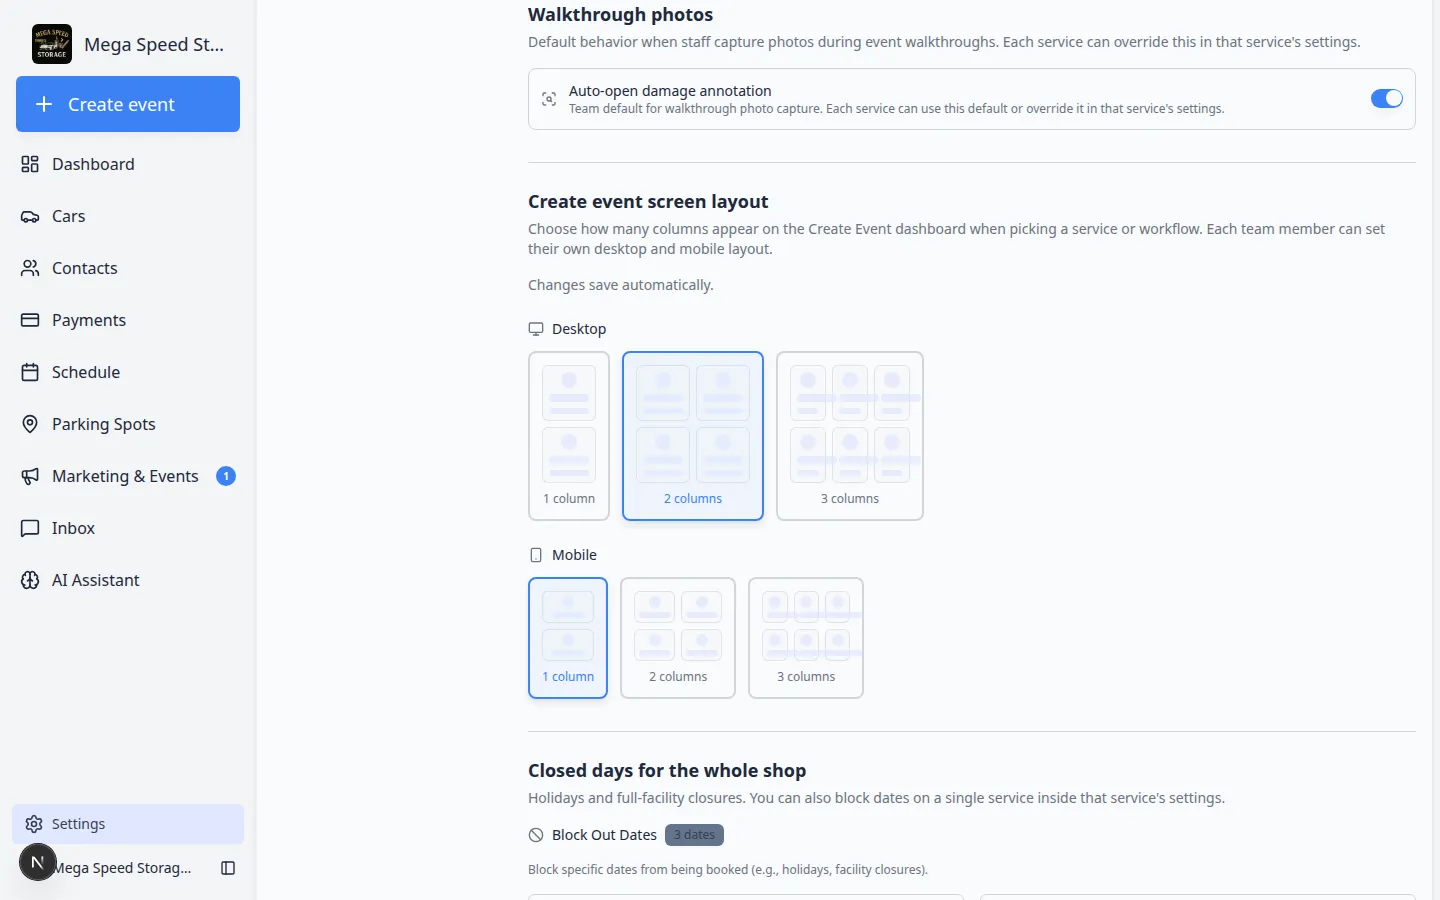
- Walkthrough photo defaults - choose whether damage annotation opens automatically during intake photos.
- Create event layout - pick how many columns each staff member sees on the Create event home page.
- Scheduling rules - set duration, availability, reminders, closed days, and booking behavior.
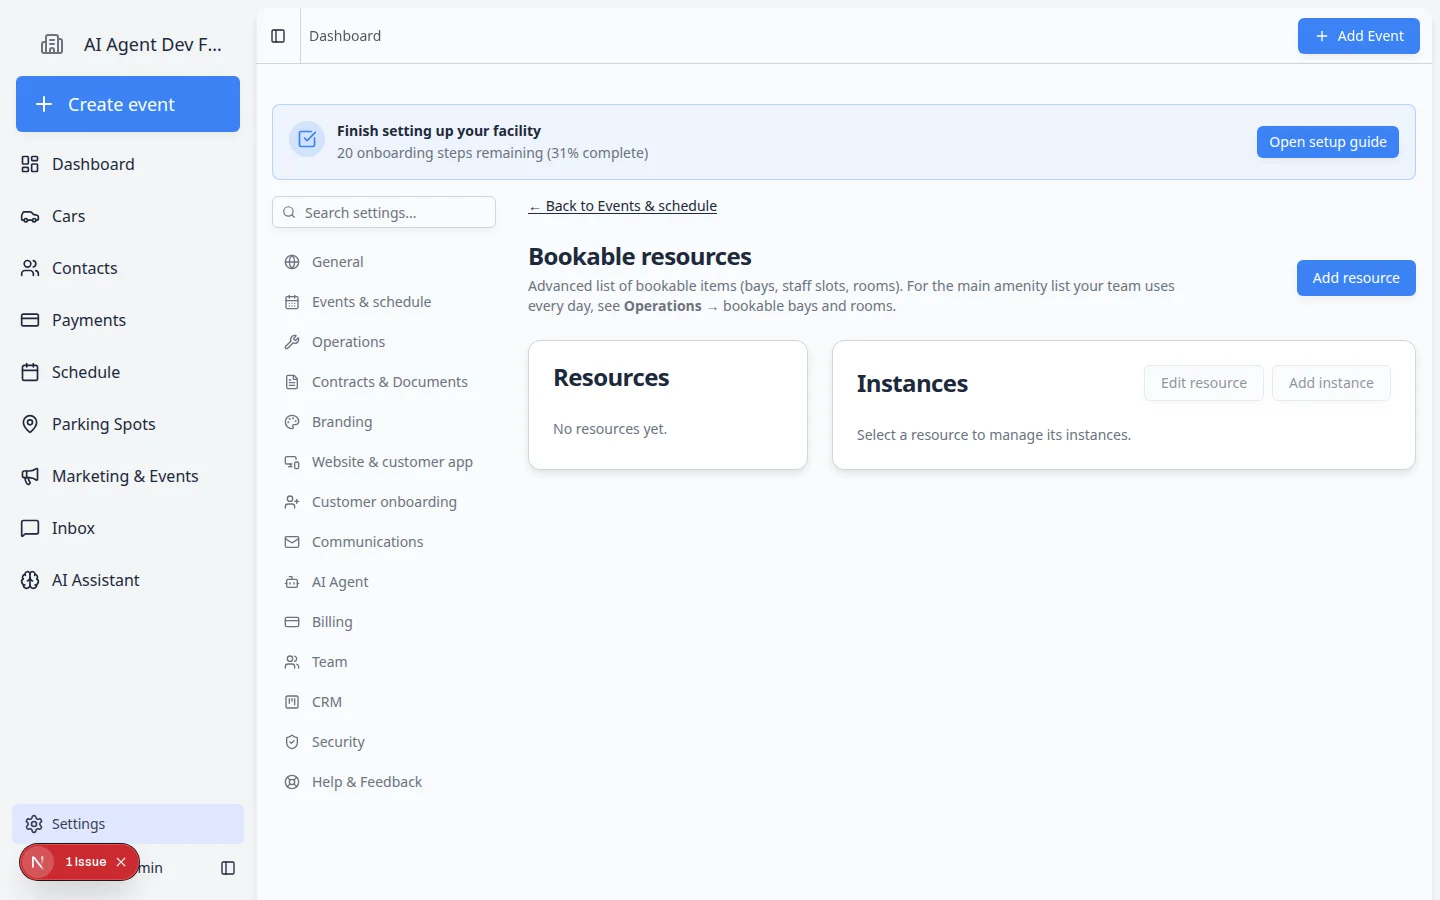
- Bookable resources - prevent overbooking limited items such as bays, lifts, rooms, staff time, or equipment.
- Calendar subscription - let staff add the shop schedule to Apple Calendar, Google Calendar, or Outlook.
How event setup fits together
Think of an event type as the instruction card for a repeatable task.
For example, a Detail Appointment event type can say:
- Customers are allowed to book it.
- The appointment takes 2 hours.
- A detail bay is required.
- Staff must take before-and-after photos.
- The customer receives reminder messages before the appointment.
Once that event type is set up, your team can use it again and again without rebuilding the process each time.
Example: set up Storage Intake from start to finish
This walkthrough ties the guides together. Replace Storage Intake with any service your facility offers.
- Create the event type
In Configure event types, add Storage Intake with Customer Accessible on, and set When this event completes to Ask where the car is going if cars should be parked after intake.
- Set hours and a 30-minute option
In Configure scheduling and booking options, set weekday hours and one booking option named Standard Intake (about 30 minutes).
- Block holidays
In Set closed days for events, add facility-wide closed dates such as Thanksgiving. Customers should not be able to book online on those days.
- Turn on a confirmation email and one reminder
In Set up event notifications and reminders, enable Scheduled → Email and one reminder 1 day before.
- Require intake photos
In Configure photo rules, add zones such as Front, Rear, and Odometer for this event type.
- Set walkthrough photo behavior (optional)
If intake uses damage markup, review Configure walkthrough photo defaults.
- Test on Schedule
Follow Test an event setup: book a practice appointment, confirm the time slot, and check that photos and parking steps appear when staff open the event.
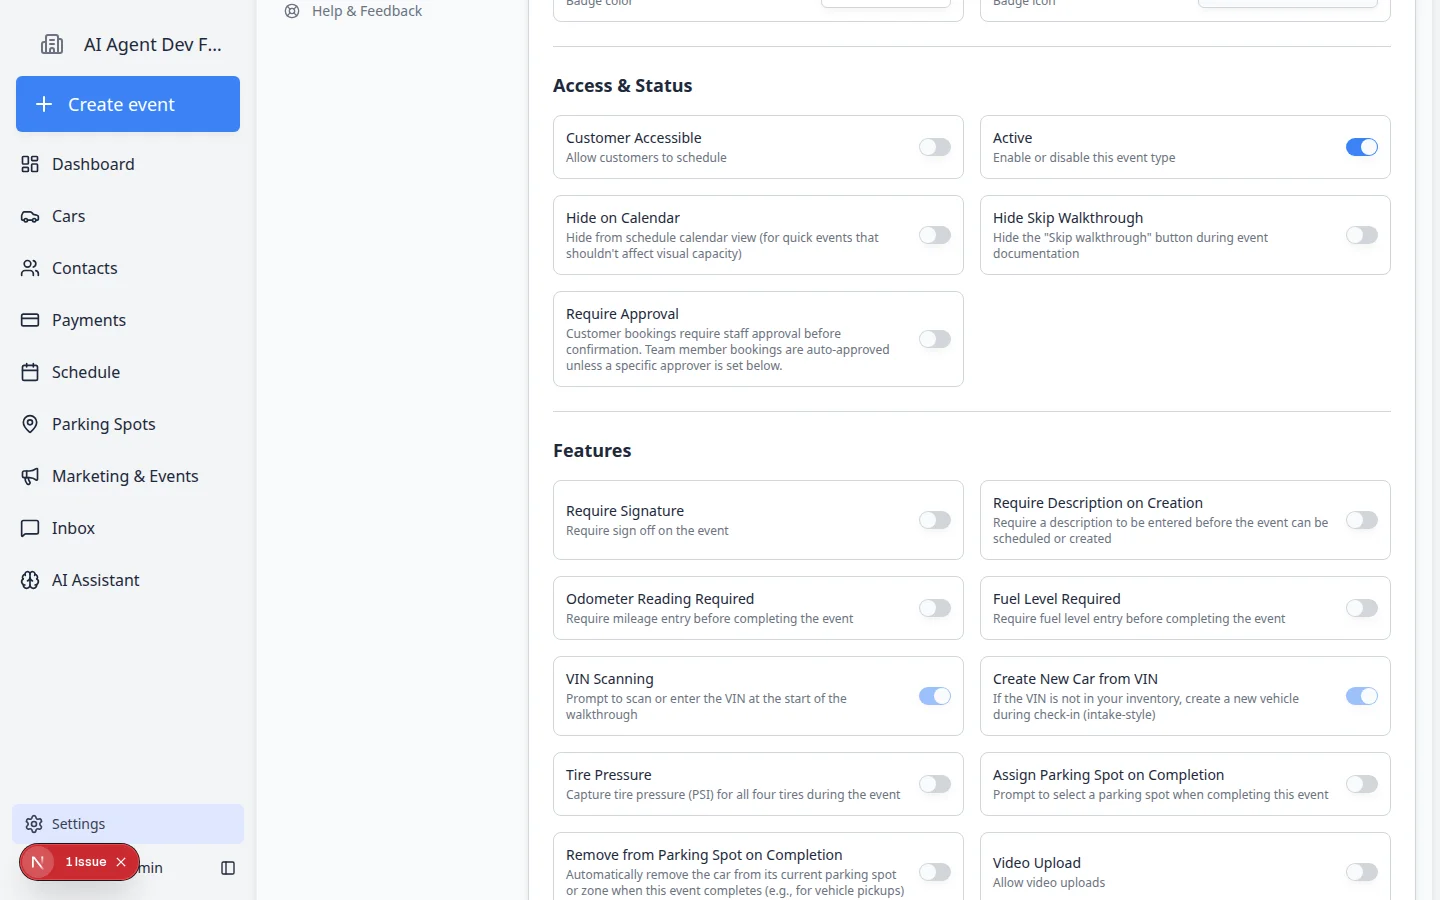
- Turn on Require Approval if customers should not auto-confirm
In Configure event types, turn on Require Approval for services where your team must review each online request first. Train staff with Approve or decline customer booking requests.
Recommended setup order
- Create or review event types
Start with the services and workflows your team uses most often. Each event type should have a clear name, description, customer access setting, and status. Read the guide
- Set up service plans (optional)
When storage tiers include repeating care, bundle event types into plans. Read the guide
- Set scheduling rules and booking options
Decide when the event can be booked, how long it takes, how much notice your team needs, and whether customers should choose service options. Read the guide
- Add closed days
Block holidays, team training days, facility maintenance, or any date when customers should not book appointments. Read the guide
- Choose customer messages and reminders
Decide which emails, texts, and reminders customers should receive before and during the event. Read the guide
- Add photo rules for proof of work
Add photo requirements for events where condition, damage, or completed work should be documented. Read the guide
- Set up bookable resources if capacity matters
Add resources when a service depends on something limited, like one lift, two detail bays, or a specific staff member. Read the guide
- Bundle recurring care into service plans
If stored vehicles need repeating internal service or inspections, create named plans and assign them on car records. Read the guide
- Set walkthrough photo defaults
Choose whether damage annotation opens automatically during intake photos. Read the guide
- Customize Create event layout for staff
Help front-desk staff scan service cards faster on desktop and mobile. Read the guide
- Test with a real appointment
After setup, run through Test an event setup. Create a practice appointment on Schedule, check the calendar, and confirm fields, reminders, photos, and resources behave the way you expect.
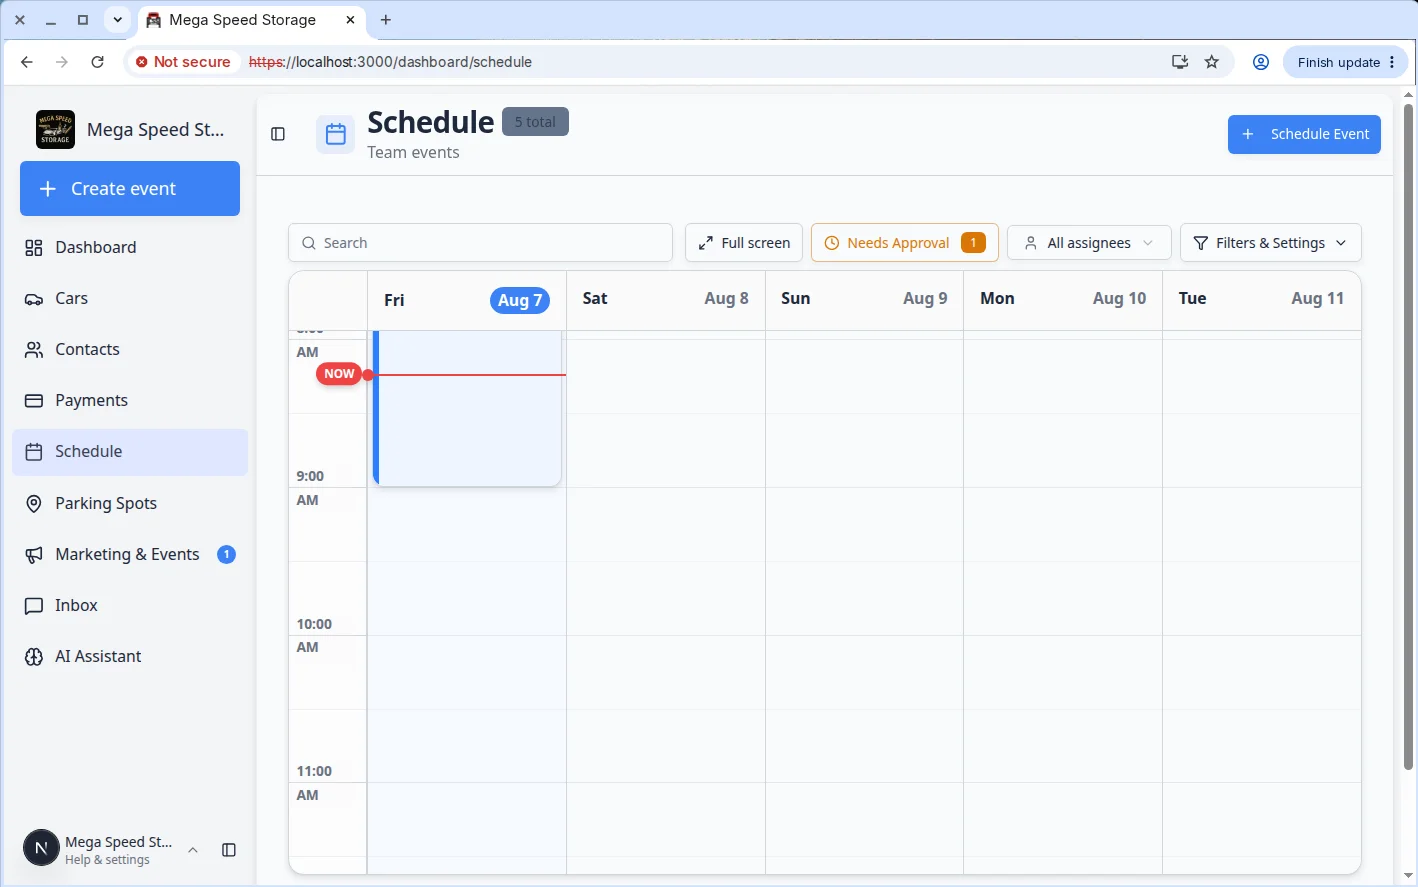
Closed days are not the same as Calendar Block
New teams sometimes mix up two different ways to block time. They solve different problems.
| Closed days / Block out dates | Calendar Block | |
|---|---|---|
| Where you set it | Events & schedule (whole shop) or inside one event type's Scheduling section | Schedule → Schedule Event → event type Calendar Block |
| What it blocks | New customer bookings on a date | All scheduling in a time range (staff and customers) |
| Typical use | Thanksgiving, facility closed, one service unavailable | Shop meeting, bay maintenance window, "do not book this hour" |
| Guide | Set closed days for events | Create an appointment (Block Time section) |
Subscribe to your schedule from Events & schedule
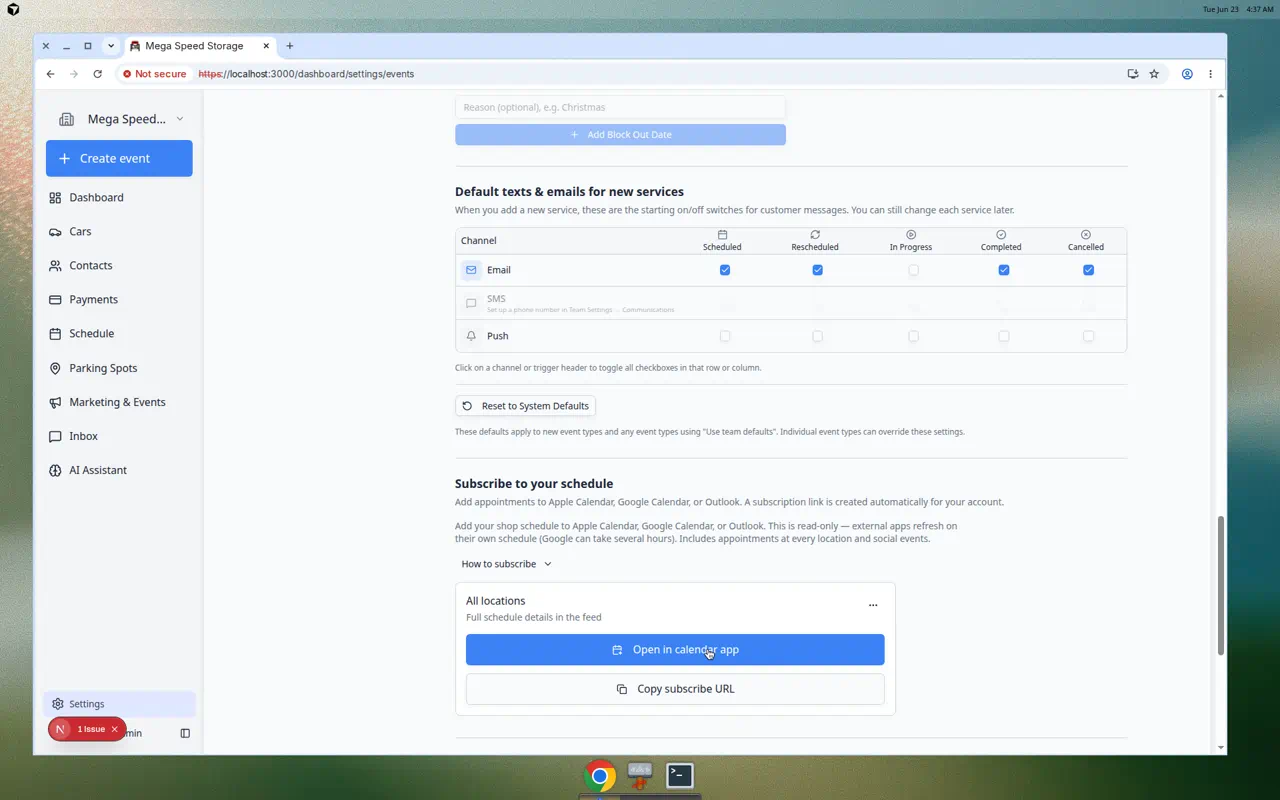
Staff who want appointments on their phone or desktop calendar can copy a subscription link without leaving Settings.
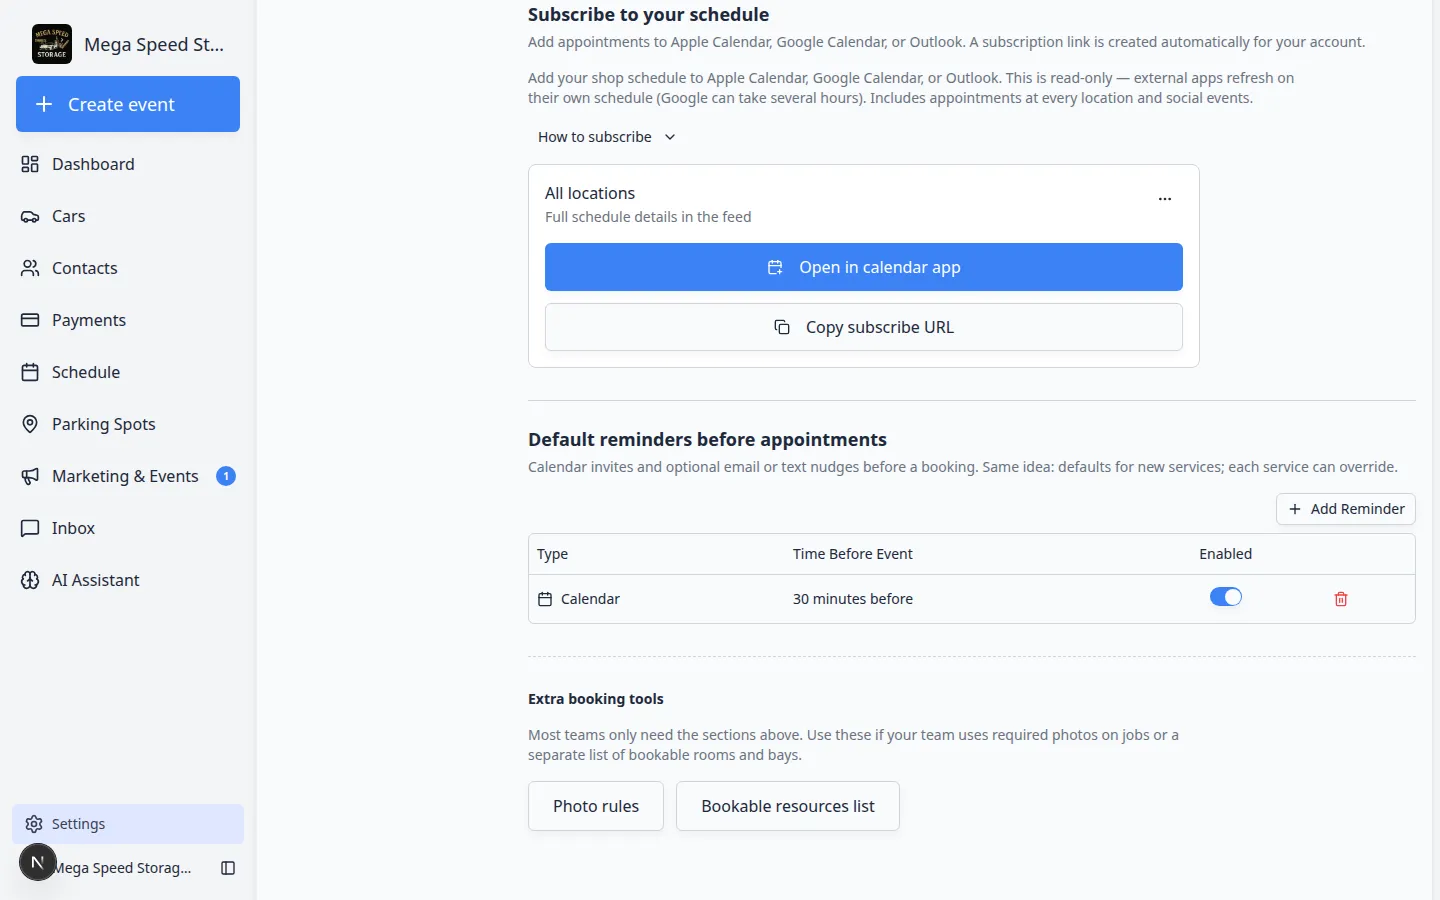
For step-by-step help in Apple, Google, or Outlook, read Subscribe to the team calendar.
Extra booking tools
At the bottom of Events & schedule, Extra booking tools links to pages most teams only need for advanced setup.
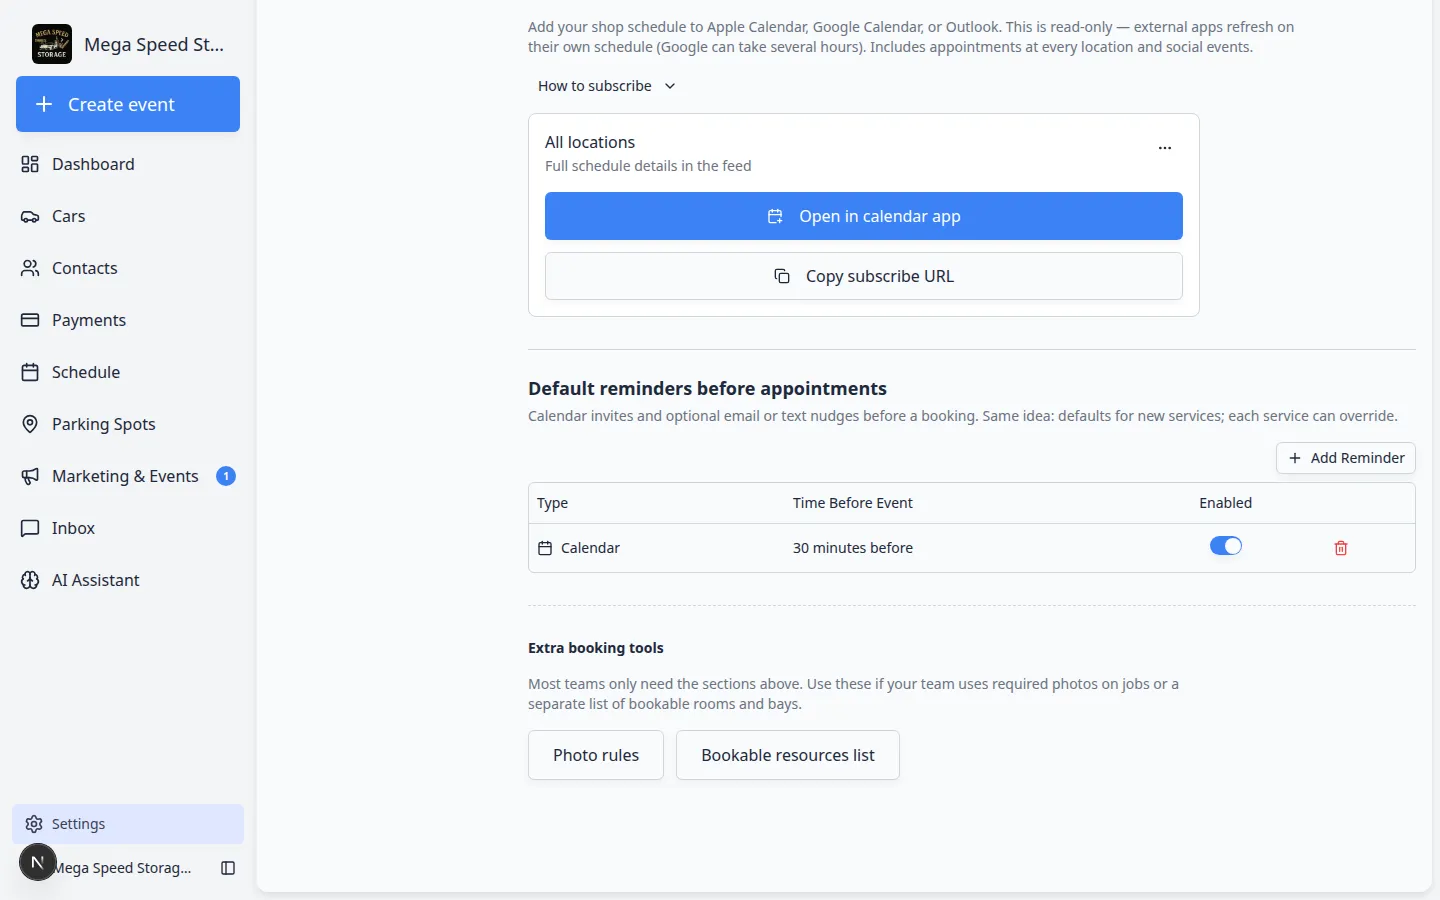
How Events setup connects to Schedule
Your team does not live in Settings all day. After you configure event types here, everyday work happens on Schedule.
| You set up in Events (Settings) | Your team uses it on Schedule |
|---|---|
| Event type name, color, and who can book | Schedule Event list and calendar colors |
| Require Approval and Designated Approver | Needs Approval filter and pending requests on Schedule |
| Scheduling hours and booking options | Available time slots when booking |
| Closed days and blockouts | Unavailable dates or no open times |
| Photo rules and workflow toggles | Open Event prompts during the visit |
| Bookable resources (bays, lifts) | Fewer double bookings on busy days |
| Require Approval on event type | Needs approval filter and approve/decline on Schedule |
Quick links by job
- Online bookings need review: Configure event types (Require Approval) → Approve or decline customer booking requests
- Recurring care for stored cars: Set up service plans
- Create event cards too small on phones: Customize Create event screen layout
- First-time facility setup: Configure event types → Configure scheduling and booking options → Test an event setup
- Customers book the wrong times: Configure scheduling and booking options and Set closed days for events
- Too many or too few customer texts/emails: Set up event notifications and reminders
- Staff skip photos at intake: Configure photo rules
- Two appointments in one bay: Set up bookable resources
- Stored cars need repeating service: Set up service plans
- Customer bookings should wait for approval: Configure event types (turn on Require Approval)
- Create event cards feel crowded: Customize Create event screen layout
- New service name on the calendar: Configure event types (then test on Schedule)
- Recurring care for storage tiers: Set up service plans
- Create Event page too crowded on phones: Customize Create event screen layout
- Damage marks missing at intake: Configure walkthrough photo defaults
More settings on the Events & schedule page
The same Settings > Events & schedule page includes a few tools that are easy to miss. Each one affects a different part of daily work.
Service plans (recurring vehicle care)
Service plans bundle repeating work—such as a monthly fluid check and a quarterly dealer service—into one named package you assign to a car.
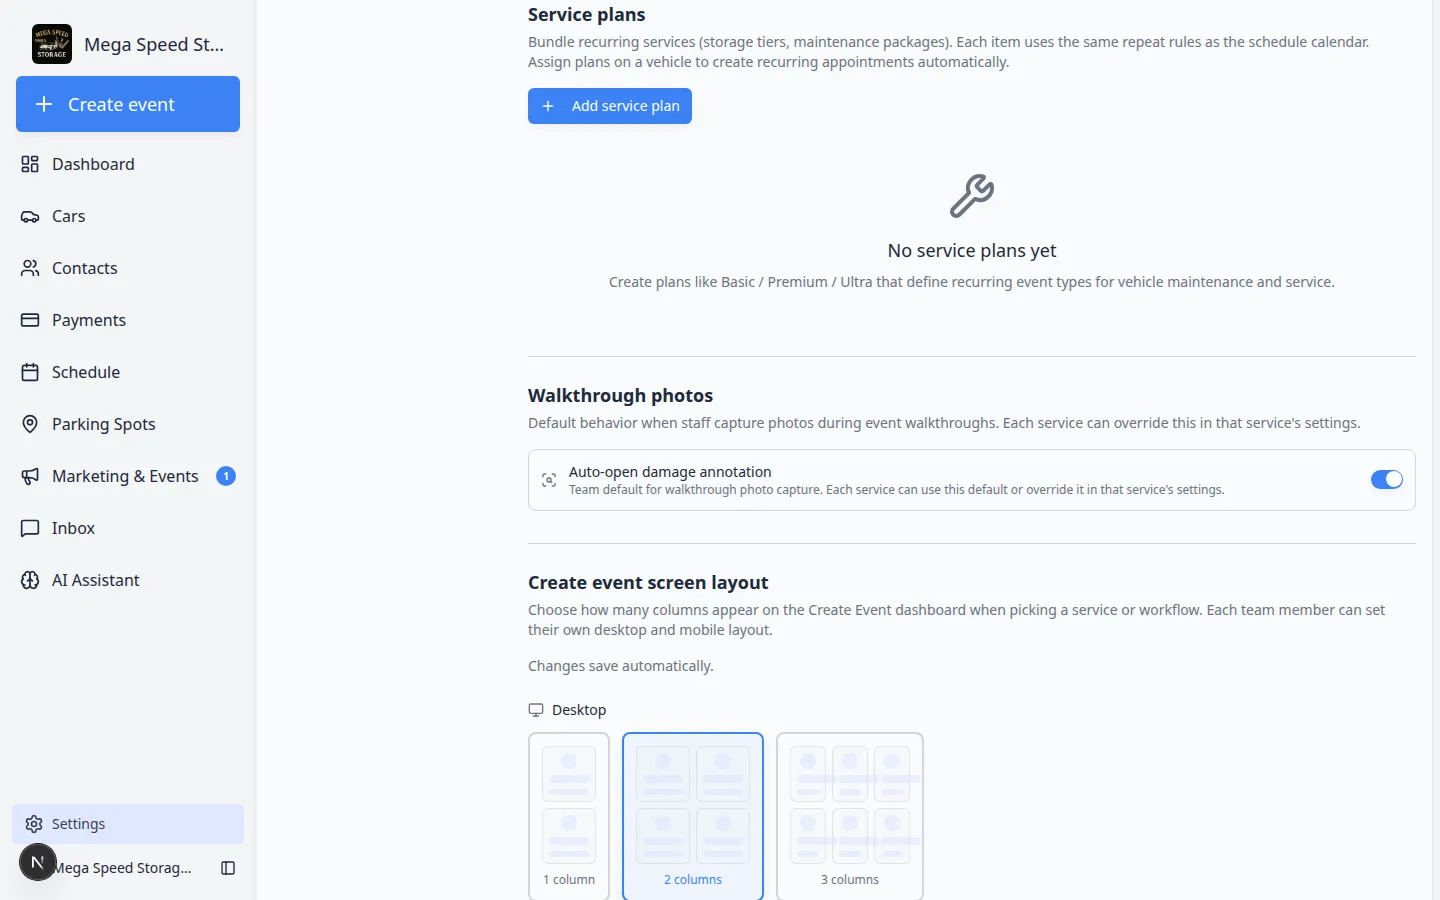
When a plan is assigned to a vehicle, the app can create recurring appointments using the same repeat rules as the calendar.
For step-by-step setup, read Set up vehicle service plans.
Walkthrough photos (team default)
Walkthrough photos controls what happens when staff capture photos during an event—such as whether the damage-marking tool opens automatically.
Create event screen layout
The Create event home screen (the large-button page many staff see after sign-in) can show 1, 2, or 3 columns of event types on desktop and mobile.
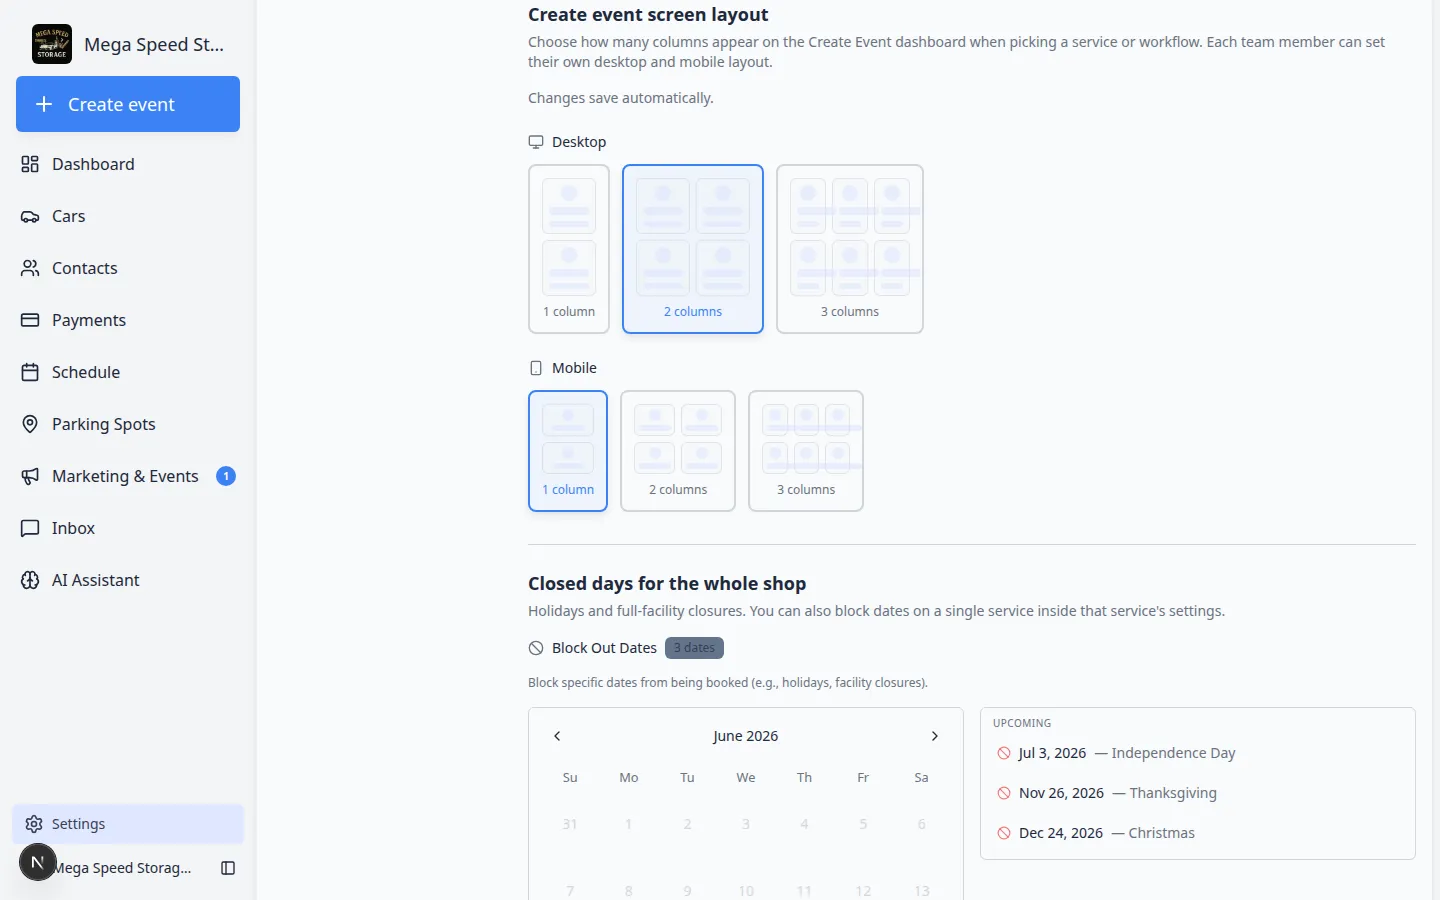
Why this matters: A front-desk tablet may work better with 1 column and large buttons. A wide monitor may fit 3 columns so staff see more services at once.
Subscribe to your schedule
Staff can add the facility calendar to Apple Calendar, Google Calendar, or Outlook using a personal subscription link on this page.
How-to guides
- Configure event types - create or edit the services and workflows your facility schedules.
- Set up service plans - bundle recurring care packages for stored vehicles.
- Configure walkthrough photo defaults - set team-wide damage annotation behavior during photo walkthroughs.
- Customize Create event screen layout - choose column layout on the Create event home page.
- Configure scheduling and booking options - set available hours, options, duration, buffer time, notice, and capacity.
- Set closed days for events - block holidays and dates when bookings should not be accepted.
- Set up event notifications and reminders - choose customer emails, texts, and reminder timing.
- Configure photo rules - require photos by zone and part so documentation is complete.
- Configure walkthrough photo defaults - set team defaults for damage annotation during walkthrough photos.
- Set up bookable resources - add bays, rooms, lifts, staff, or equipment that limit scheduling capacity.
- Set up service plans - bundle recurring event types into plans you assign to stored vehicles.
- Customize Create event screen layout - choose how many columns appear on the Create event home page.
- Test an event setup - confirm the setup works before customers or staff depend on it.
Related areas of the app
Use Schedule for day-to-day calendar work. Use Cars when an event is about one vehicle. Use Marketing & Events for social events, RSVPs, tickets, and check-in—not for operational service appointments.
Troubleshooting
What to do next
If you are setting up the app for the first time, start with Configure event types. When the basics look right, run Test an event setup before you invite customers to book online.
If your team already schedules work every day, keep using Schedule and return here only when you need to add or change a service.
What success looks like
After your Events setup is in good shape:
- Staff choose from clear event names instead of guessing.
- Customers can only request services that are ready for booking.
- Appointments use the right duration, reminders, and availability.
- Required photos and checklists appear during the workflow.
- Limited resources are easier to protect from double booking.