Cars
Start a car session
Begin an intake, inspection, delivery, photo walkthrough, or custom event for a vehicle.
Sessions and events are how your team documents work around a vehicle. Whether you are receiving a car for the first time, preparing it for delivery, performing a routine inspection, or running a custom service workflow, starting an event on a car record creates a structured, timestamped log of everything that happened.
What you will accomplish
You will schedule or open a session tied to one car. When the workflow is finished, photos, readings, notes, and signatures are saved on that car's record and show up in the Activity Feed on the car detail page.
Expected outcome: Your team—and the customer, when notifications are turned on—can see what work was planned, what was completed, and what still needs attention.
When to start a session
- Intake — a vehicle is arriving for storage or service and you need photos and condition notes.
- Inspection or walkthrough — you are documenting condition before or after storage.
- Pickup or delivery — the customer is receiving or returning the vehicle.
- Any custom event type your facility configured (detailing, transport, seasonal service, and so on).
Before you start
- The car record must already exist. If it does not, add the car first.
- Know what type of event your team is performing (intake, pickup, delivery, inspection, photo session, or a custom type configured by your admin).
- If the event requires photos, signatures, or a checklist, confirm your device has a working camera and internet connection.
- If this is a new car intake with photos, you can also start the process from the Cars list using Create New Car → With Photos — see the Add a car guide for details.
Ways to start work on a car
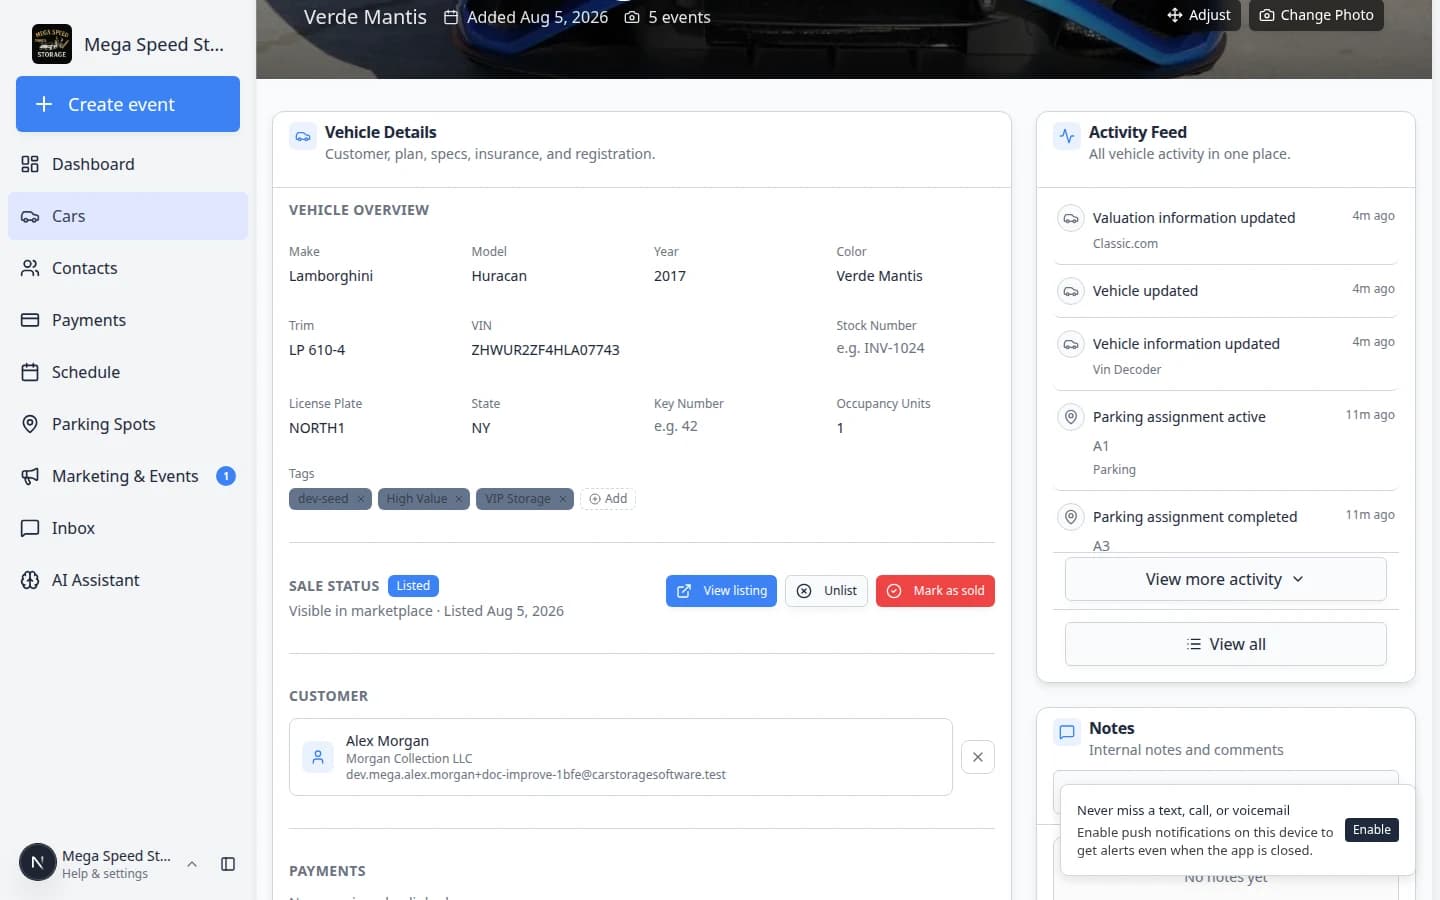
You can begin new work from the Add menu on the car detail page, or you can reopen work that already appears in the Activity Feed. Both paths help your team document the same vehicle without creating duplicate records.
| What you need | Where to go |
|---|---|
| Schedule a future appointment | Add → Create event |
| Capture photos right now without a full appointment | Add → Quick photo |
| Log a small task quickly | Add → Quick task (when your facility uses it) |
| Finish work that already started | Activity Feed → open the event |
Schedule an event from the car detail page
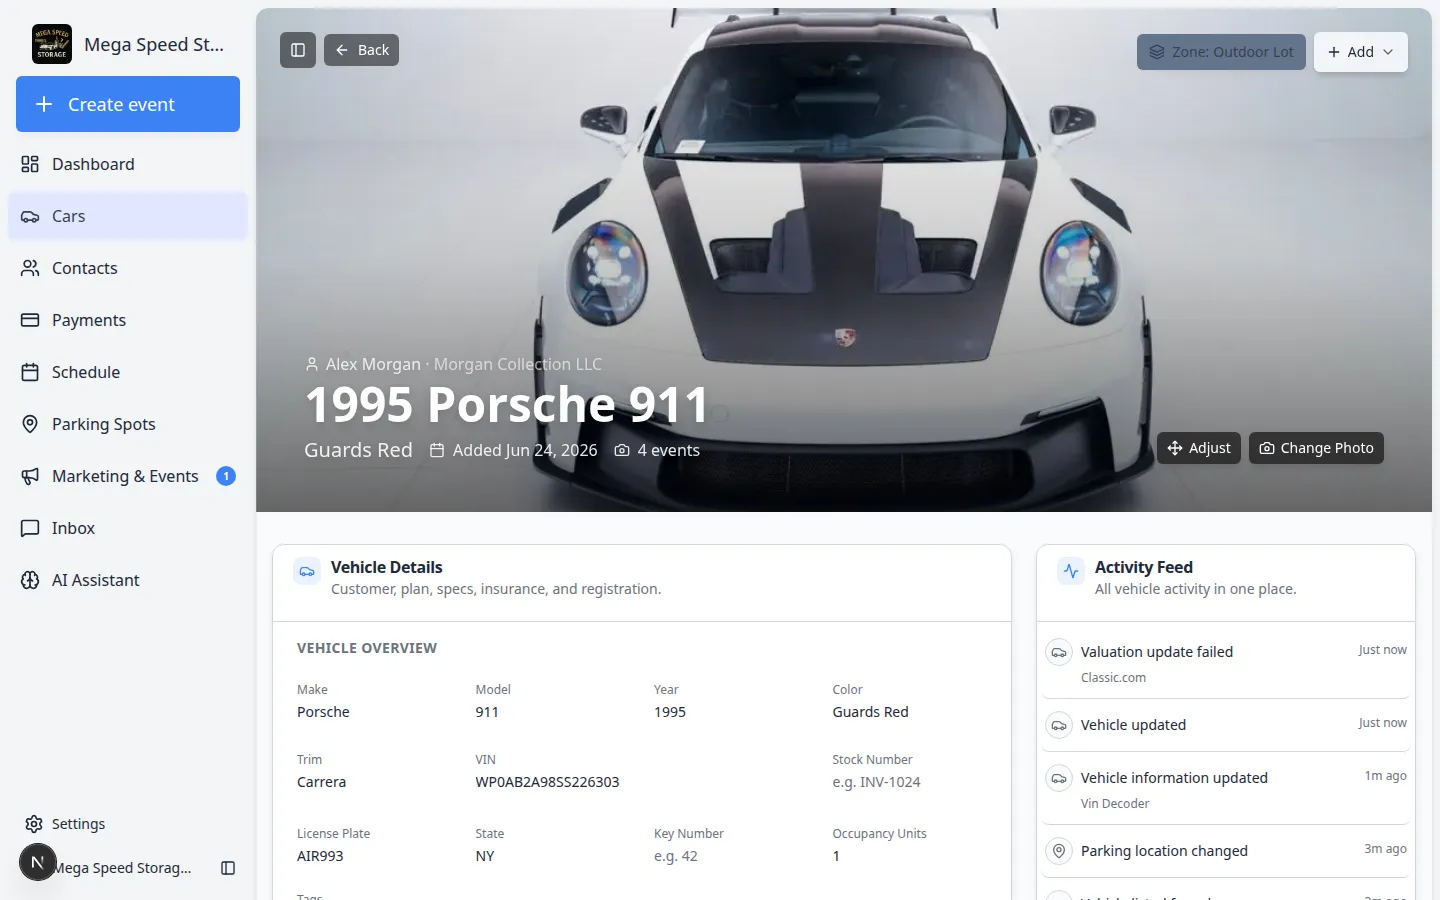
The most common way to start a session is from the car's detail page.
- Open the car record
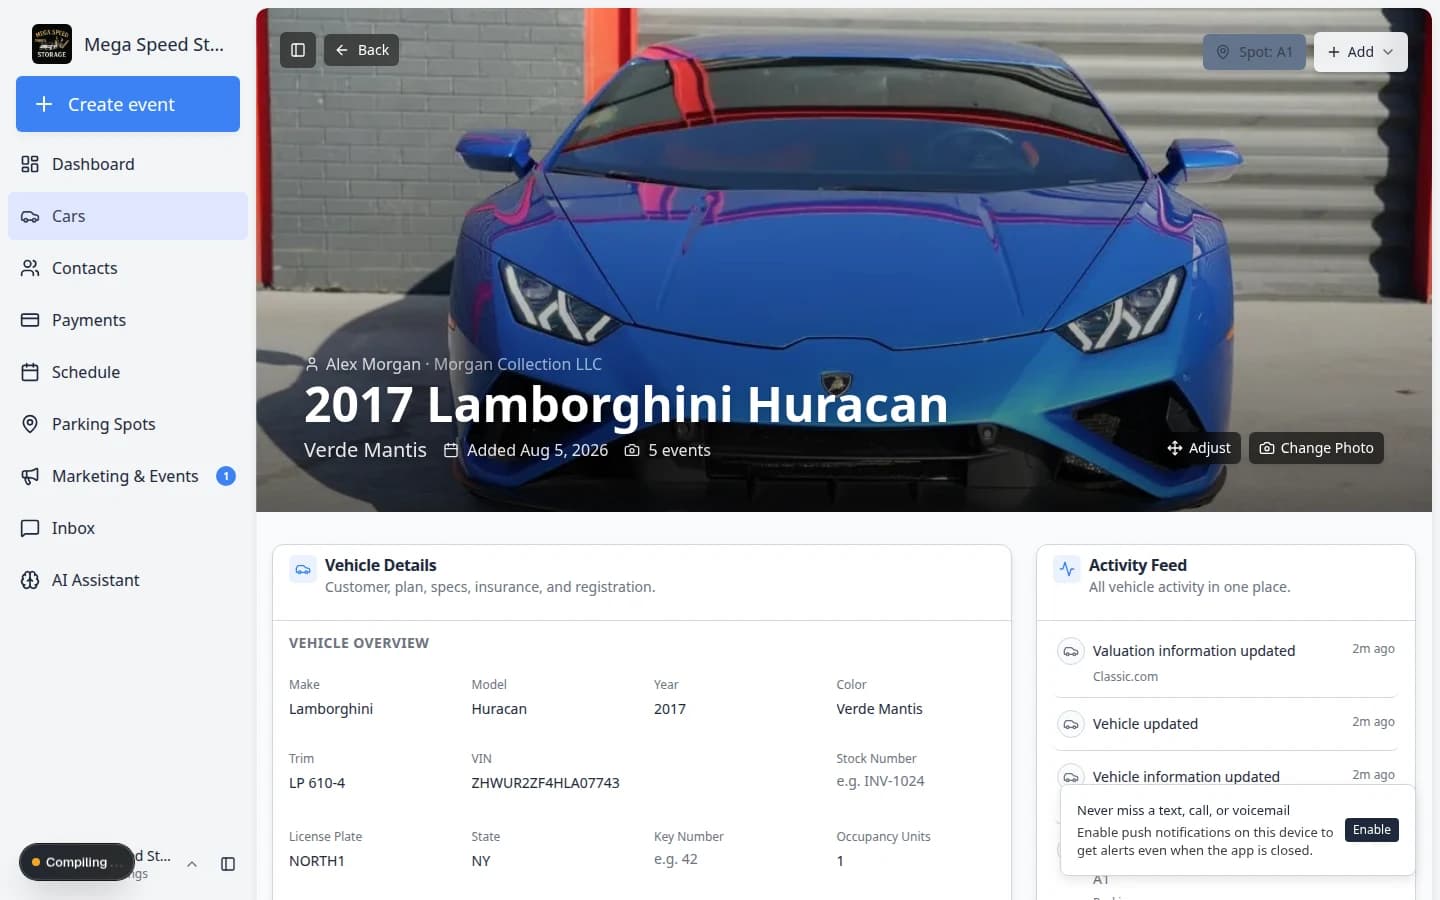
Go to the Cars page and click View on the vehicle that needs the event.
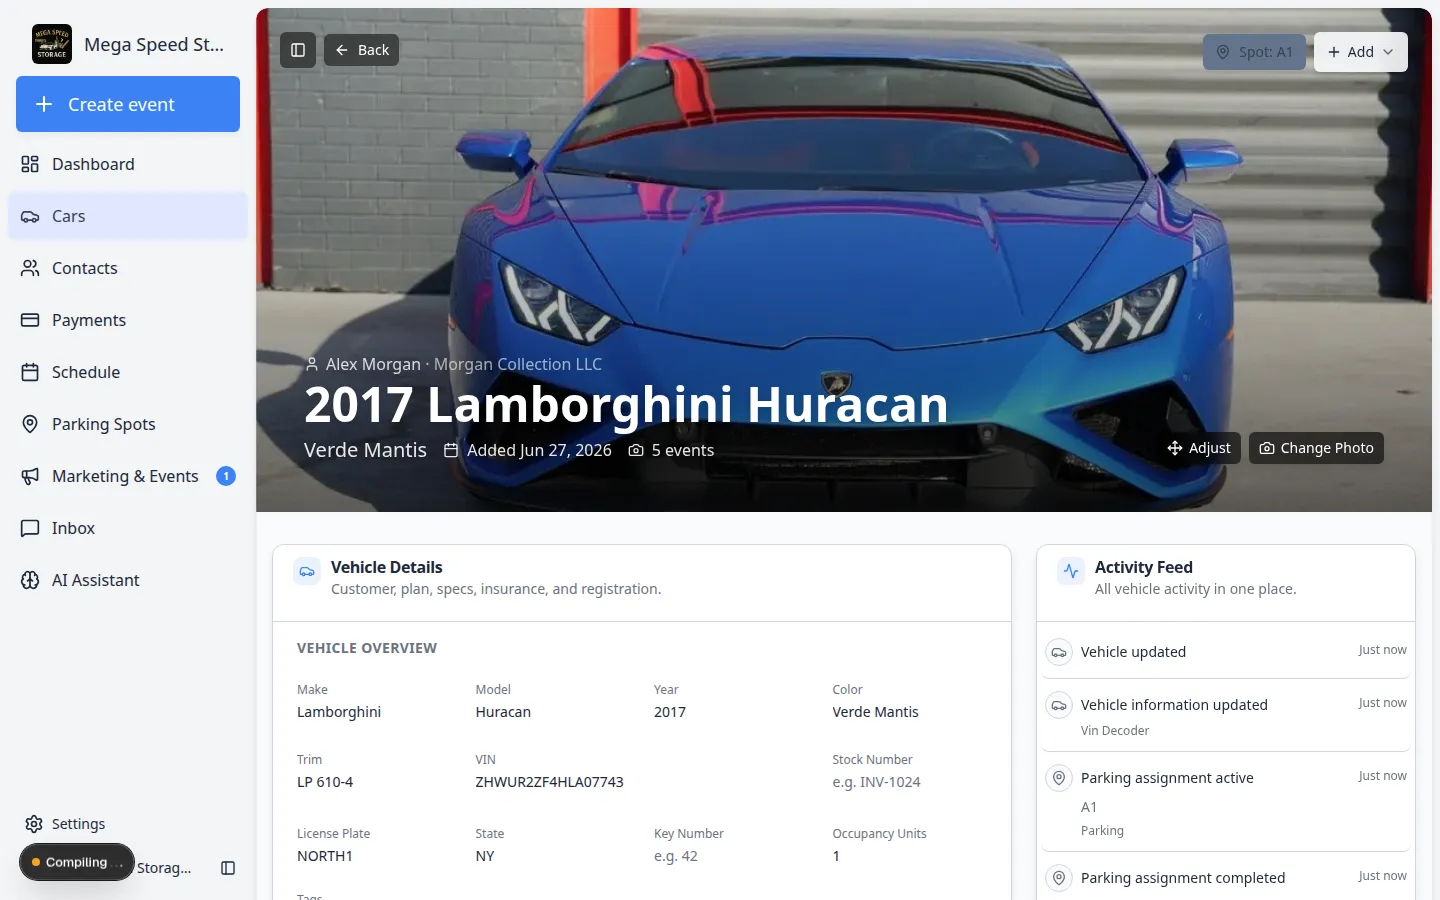
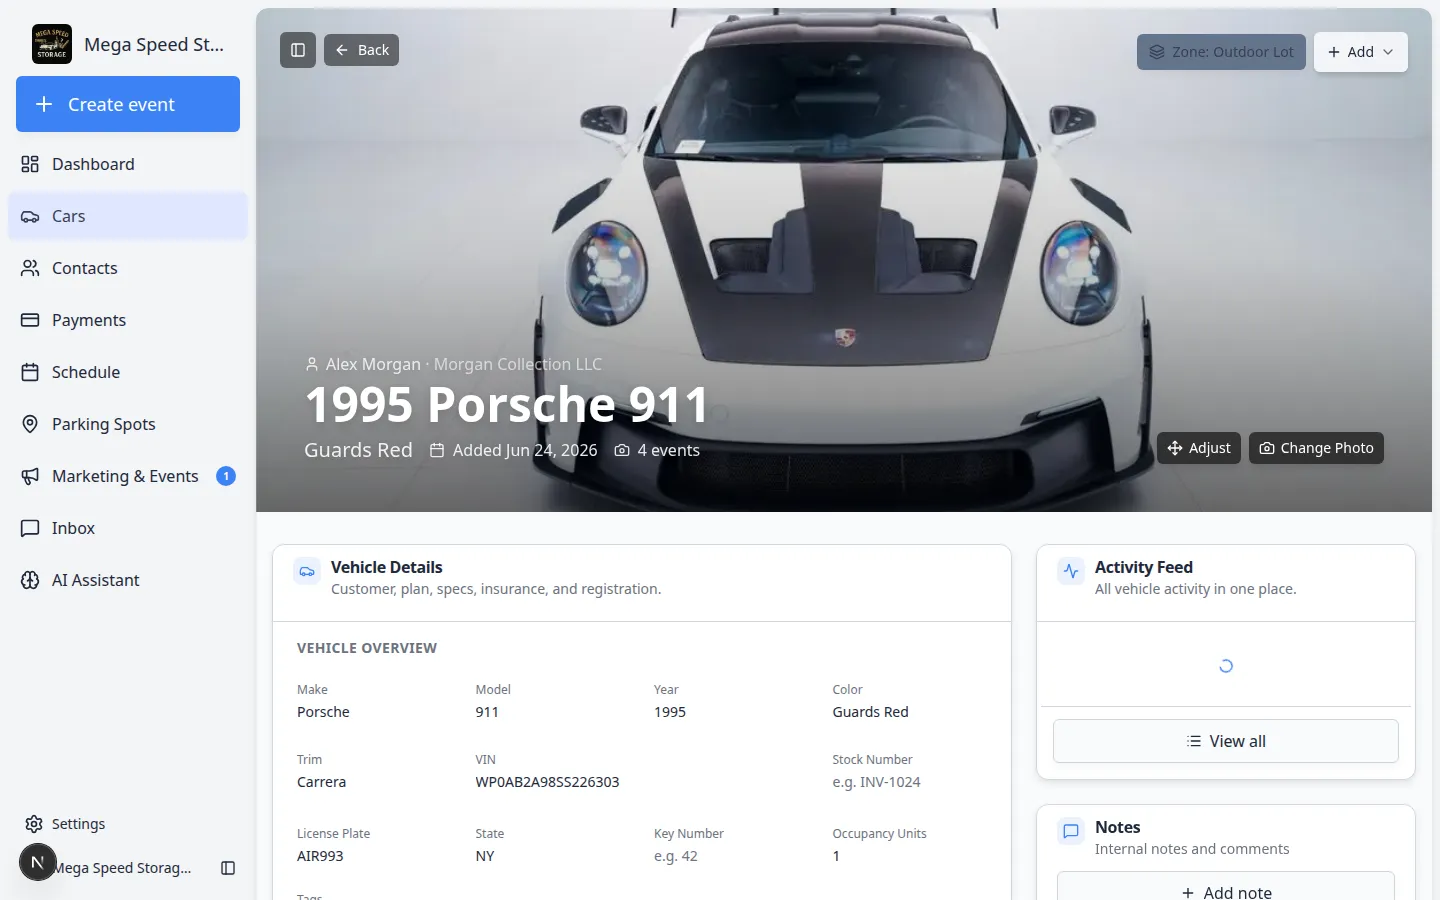
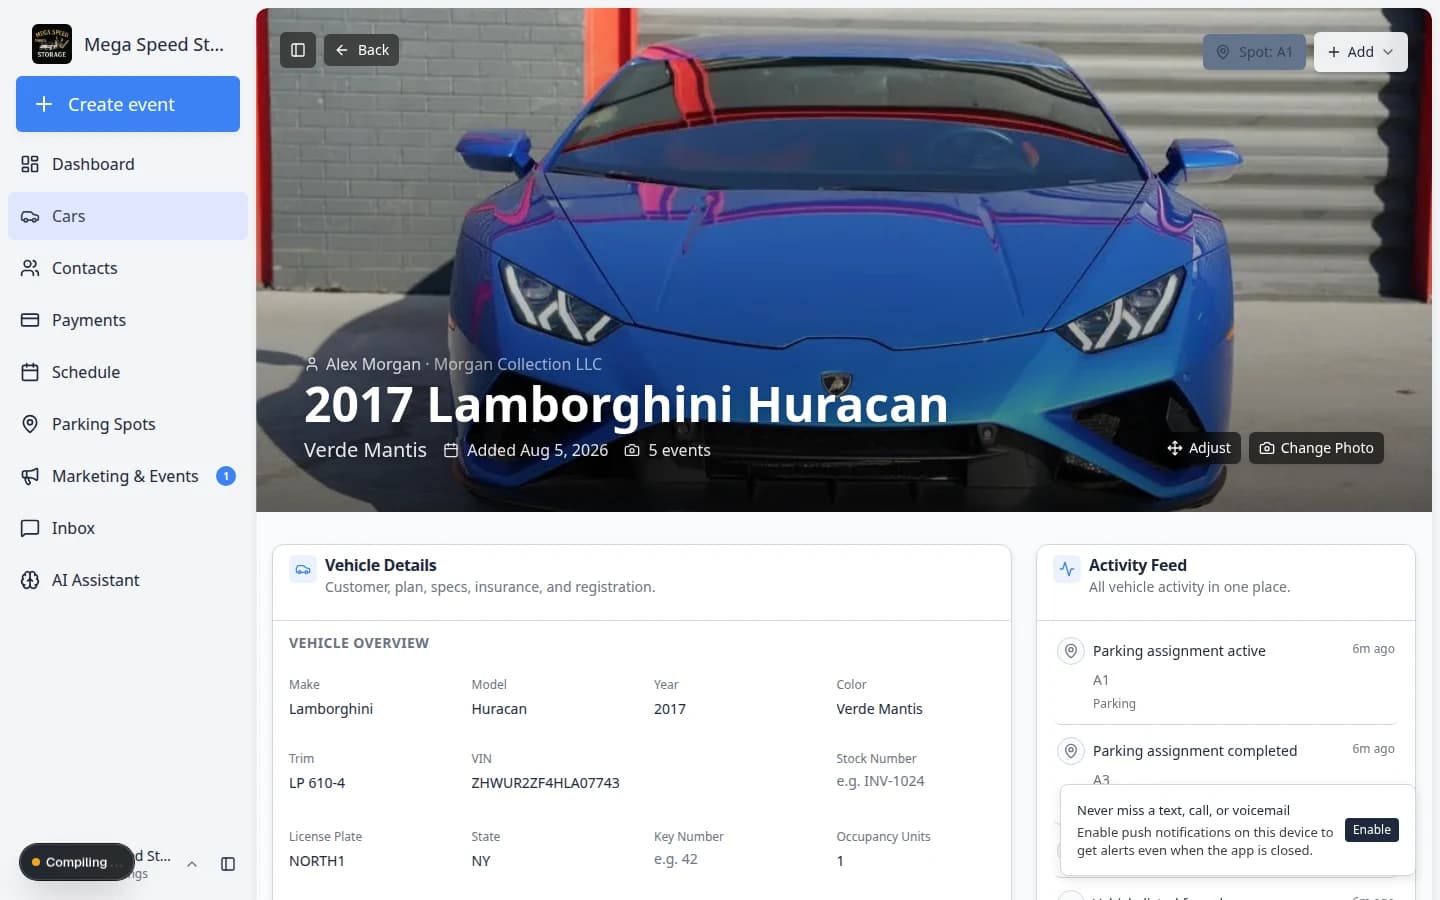
Expected result: The car detail page opens with the vehicle name, Vehicle Details, and Activity Feed visible.
- Open the Add menu
In the top-right area of the car banner (over the photo), click the Add button. A menu opens with several choices.
Why this matters: Create event schedules future work. Quick photo starts a photo walkthrough immediately without going through the full scheduling calendar first.
Click Add on the car banner, then choose Create event to schedule work for this vehicle. - Choose Create event
Click Create event. The Create New Event dialog opens with this car already selected.
Expected result: You see fields for event type, date, time, and description.
- Choose the event type
Select the appropriate Event type from the list. Your facility admin configures which event types are available.
Common types include:
- New Car Intake — for vehicles entering the facility for the first time
- Pickup / Delivery — for handing a car off to or receiving it from the customer
- Inspection — for condition checks, walk-arounds, or periodic reviews
- Photo Session — for capturing marketing photos or documentation updates
- Service — for maintenance, detailing, or repair work
Each event type can have its own required steps, photo rules, checklist items, and signature requirements configured by your admin.
- Set the date and time
Pick the date and time slot for the event. The dialog shows available time slots for the selected day. If the event is happening right now, pick the current or next available slot.
Expected result: One time slot is selected and the chosen date is visible in the calendar area.
The Create New Event dialog lets you pick the event type, date, time, and optional description. - Add a description (optional)
Use the Description field to add context the team should see when they open this event — for example, "Customer requested white-glove delivery" or "Check driver-side door ding reported last week."
- Click Create Event
Click Create Event to schedule the session. The system creates the event and opens the session detail page where you or a teammate can complete each workflow step.
Expected outcome: You see a session page with the vehicle name, event type, and buttons to continue the walkthrough or review captured information.
Create a quick task from the car record
A quick task is a fast reminder tied to a car (and optionally a teammate). Use it when something small needs to happen soon—call the customer, pull the battery tender, or verify registration—without scheduling a full calendar event.
- Open the car record
Go to Cars and click View on the vehicle.
- Click Add → Quick task
On the car banner, click Add, then choose Quick task.
Expected result: A window opens with a large text box. The first line you type becomes the task title.
- Describe what needs to happen
Type what your team should do. Examples:
Confirm battery tender is connectedCall Alex about registration renewal
Tip: Type @ and start typing a teammate's name to assign the task to them. Type @ and a customer or car name to link related records.
Press Enter to save the task quickly. Press Shift + Enter if you need a second line of detail in the same box.
- Use Advanced when you need a due date
Click Advanced below the text box to set:
- Due date and optional due time
- A different linked car or customer (the current car is usually pre-filled)
Click Create when you are ready.
Expected outcome: The task appears on the Schedule page and in the car's Activity Feed so the assigned teammate can find it.
Upload a document from the car record
Use Upload document when you already have a file (insurance card, registration, title scan) and want it stored on the customer's record with this car linked.
- Open the car record
Go to Cars and open a vehicle that already has a customer linked.
- Click Add → Upload document
On the car banner, click Add, then choose Upload document.
Expected result: A window titled Add New Document opens with two choices.
- Choose Contract or General Document
- Contract — start from a template and send it for electronic signature. See Send a contract for signature for the full signing workflow.
- General Document — upload a file your team already has (insurance card, registration, invoice, etc.).
Click the option that matches your file.
- Pick a document type (General Document)
If you chose General Document, select a document type (such as Insurance or Registration) or choose the option to upload without a type.
Expected outcome: A file upload window opens. Choose the file from your computer and save.
The document is stored on the customer record and linked to this car when applicable.
Start a quick photo session
Use Quick photo when you need to capture images right away without scheduling a full appointment first.
- Open the car record
Go to Cars and open the vehicle.
- Click Add → Quick photo
Click Add on the car banner, then choose Quick photo.
Expected result: The app starts a photo walkthrough and takes you to the capture screen.
- Complete the walkthrough
Follow each on-screen prompt. You may see options such as Take Photo, Upload, or Not Applicable for each step. Take the photos and readings your facility requires, then submit the session.
Expected outcome: New photos appear on the car record and a new entry shows in the Activity Feed.
Continue work from the Activity Feed
When someone already scheduled or started work, you do not need to create a second event.
- Open the car record
Go to Cars and open the vehicle.
- Find the event in Activity Feed
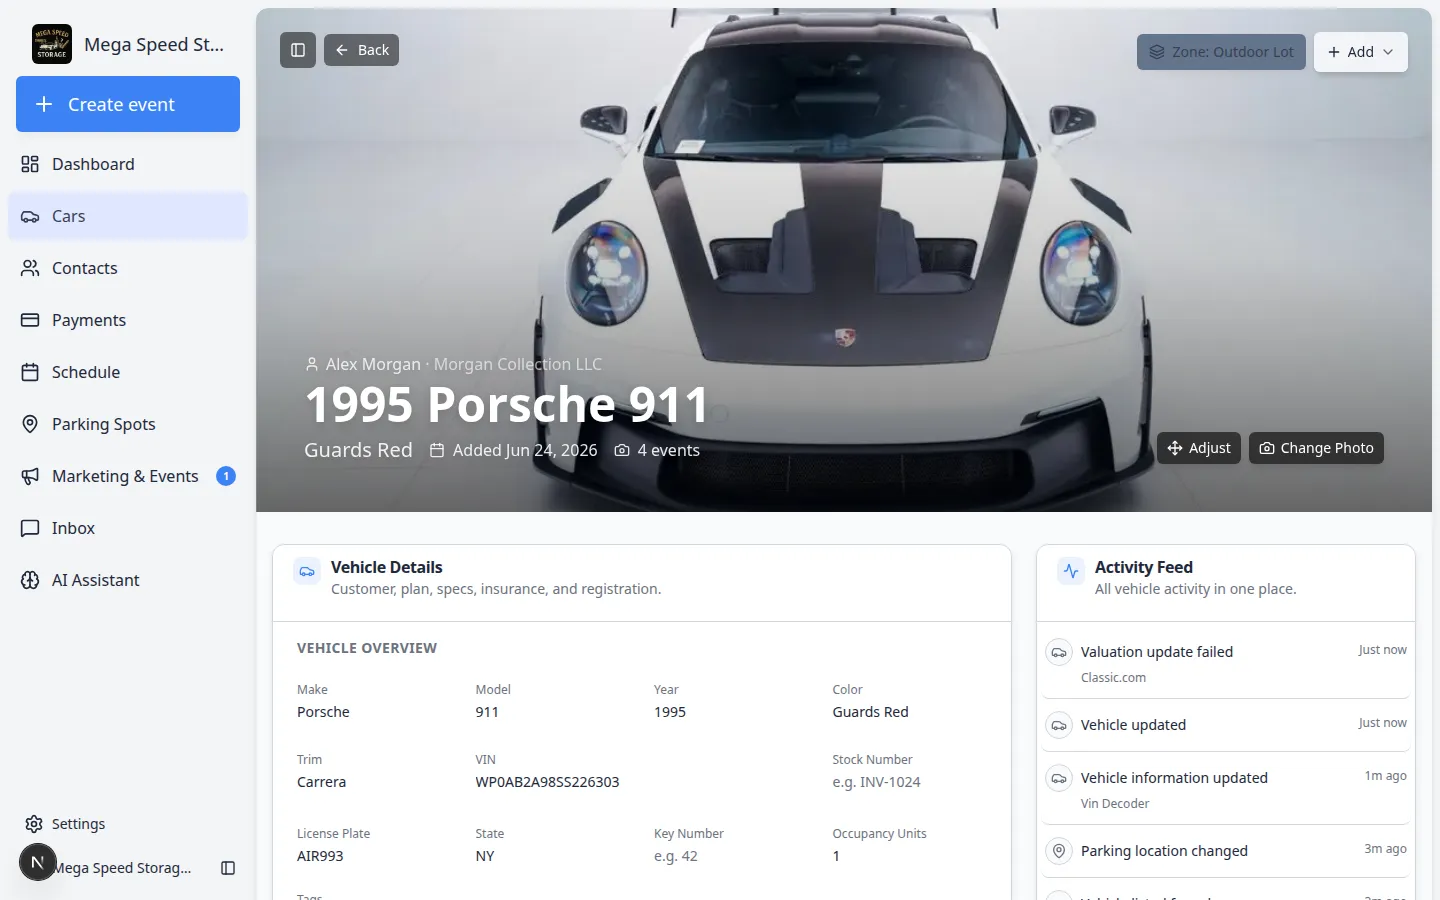
On the right side of the page (or below Vehicle Details on smaller screens), look at the Activity Feed card. Each line is one scheduled, in-progress, or completed event.
Why this matters: Reopening an existing event prevents duplicate appointments for the same visit.
- Open the event
Click the activity row you need to open the session or event detail page.
Expected result: You can finish photos, readings, or signatures there.
- Check the status
If the status still says Scheduled or In progress, the work is not finished yet. Complete the remaining steps before telling the customer the job is done.
Expected outcome: Completed events show a checkmark and a completed label in the Activity Feed.
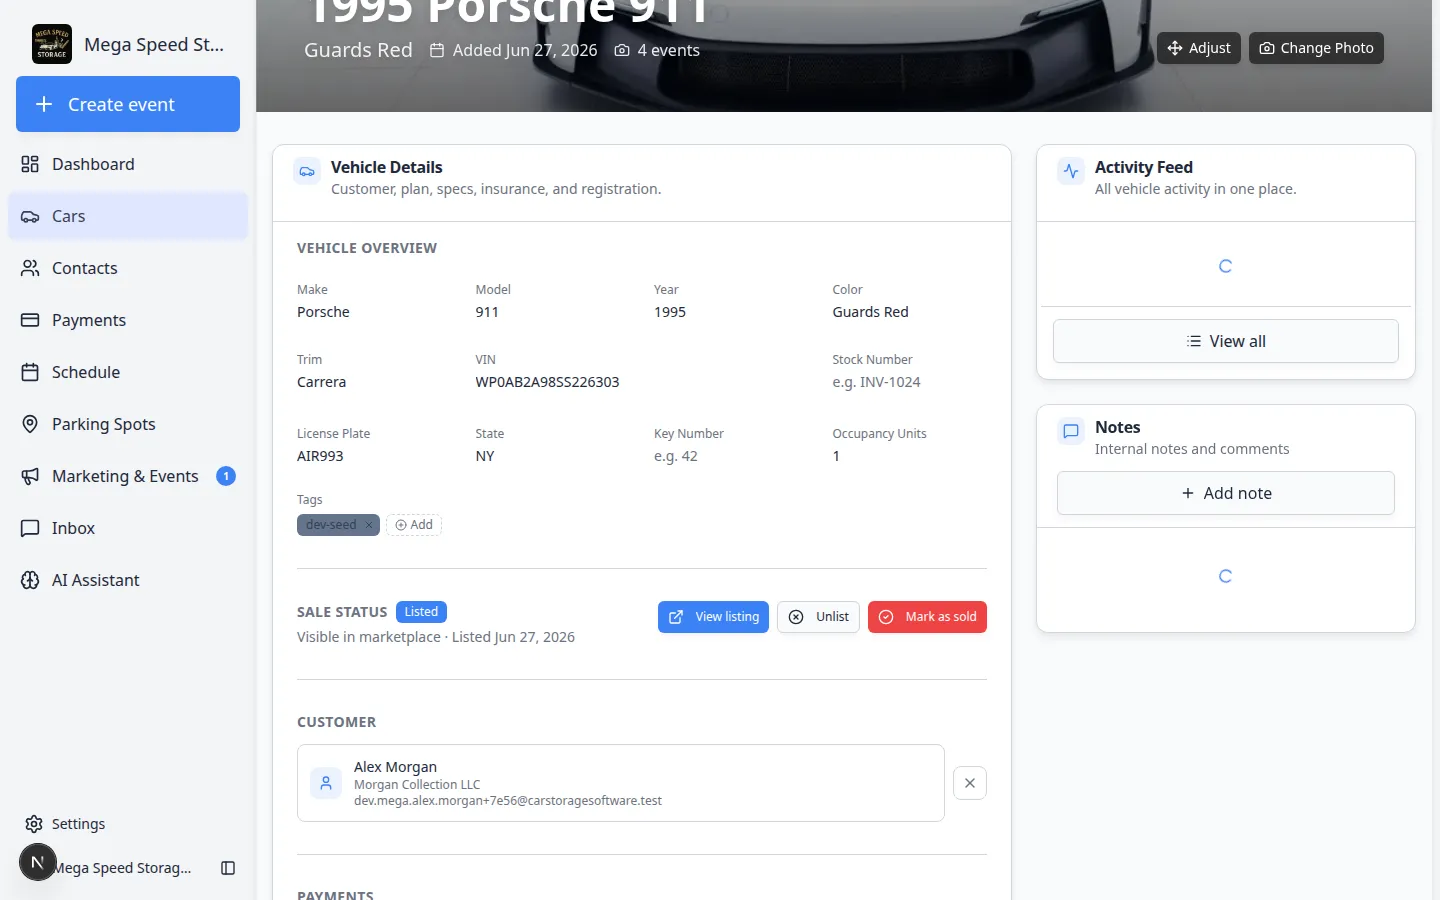
Completed sessions appear in the Activity Feed with a checkmark. Your team—and the customer when notifications are on—can see that the work was finished.
Complete a session walkthrough
After you schedule an event—or when you open work that is already In progress—the session detail page walks your team through each required step in order. Follow these steps to finish the job and save everything to the car record.
- Open the session
From the car's Activity Feed, click the event row that shows Scheduled or In progress. You can also land here right after you click Create Event on a new appointment.
Expected result: The session page opens with the vehicle name, event type, status, and a button to continue the walkthrough (for example Continue walkthrough or Start).
- Start or continue the walkthrough
Click the main action button on the session page. The app shows Step 1 of X at the top so you know how much work remains.
Why this matters: Each step is saved as you go. If you need to pause, you can close the page and return later—the status stays In progress until you submit.
- Complete each photo and reading step
For every step, choose the option that matches what you see in front of you:
- Take Photo — use your device camera to capture the required angle.
- Upload — choose an existing image from your device.
- Not Applicable or N/A — only when your facility allows skipping that step and the item truly does not apply.
Record odometer, fuel, tire pressure, or checklist answers when those steps appear. Take your time on damage photos—customers and insurers may review them later.
Expected result: The step counter advances (for example from Step 2 of 8 to Step 3 of 8) after each step is saved.
- Capture signatures when prompted
Some event types ask for a customer, driver, or staff signature near the end of the walkthrough. Sign on screen with your finger or stylus, then confirm.
Why this matters: Signatures prove who accepted the vehicle condition or release at that moment in time.
- Assign parking if the workflow asks
If a step asks where the car is parked, pick the correct zone or spot on your floor plan—or choose At vendor when the vehicle left your building. See Move a car if you need help with locations.
Expected result: The car banner on the record shows the new Zone: or Spot: after you submit the session.
- Review and submit
When every required step is done, the session page shows a final review or Submit button. Scroll through captured photos and readings one last time, then submit.
Expected outcome: The event status changes to Completed in the Activity Feed. Photos, readings, and signatures are locked on the record—they cannot be edited after submit without admin help.
After you submit, the Activity Feed shows Completed with a timestamp. That is your proof the walkthrough finished.
What happens during a session
Once an event is created, the session detail page guides your team through the configured workflow. Depending on the event type, you may see some or all of the following steps:
- Photo walkthrough — capture photos from required angles, document damage, and record video. The system enforces the photo rules your admin has configured for this event type.
- VIN scanning — scan the vehicle's VIN barcode to verify or auto-populate vehicle data.
- Odometer reading — record the current mileage for the event log.
- Fuel level — record the fuel gauge reading.
- Tire pressure — log tire pressure for each wheel.
- Checklist items — complete a custom checklist of condition or process items defined by your admin.
- Damage documentation — photograph and annotate any existing or new damage.
- Signatures — capture a digital signature from the customer, driver, or staff member.
- Parking spot assignment — assign or update the vehicle's parking location as part of the event flow.
After the session
When all workflow steps are complete and the session is submitted:
- All captured photos, notes, signatures, and readings are saved to the car record and visible in the activity history.
- The event appears in the Activity Feed with a timestamp and summary.
- If the event type is configured to send notifications, the customer receives an update through their portal, email, or SMS.
- If a parking spot was assigned during the event, the car's location is updated on the facility map.
Tips for smooth sessions
Sessions work best when your team prepares before starting:
- Check your device — make sure your phone or tablet has a charged battery, working camera, and stable internet connection before starting a photo walkthrough.
- Know the event type — each type has different required steps. Starting the wrong event type means you may need to redo work.
- Complete the session promptly — unfinished sessions stay open and can cause confusion. If you cannot finish, add a note explaining where you stopped so the next person can pick up.
- Review before submitting — once a session is submitted, the photos and data are locked. Check your work before hitting the final submit button.
What success looks like
When a session is set up and finished the right way:
- The Activity Feed on the car record shows the event with the correct type (intake, inspection, delivery, and so on).
- Photos, readings, checklists, and signatures from the walkthrough are saved on the car record—not only on someone's phone.
- Completed work shows a completed status with a checkmark so your team knows nothing is left open.
- The customer receives an update when your facility has notifications turned on for that event type.
- Parking was updated during the session when the car moved—so Move a car is not a separate guess later.
Common mistakes to avoid
- Do not create a second event when one already appears in the Activity Feed. Reopen the existing row instead.
- Do not pick the wrong event type. Intake, inspection, and delivery workflows have different required steps—starting the wrong type means redoing work.
- Do not use Quick task when you need photos, checklists, or customer notifications. Quick tasks are internal reminders—use Create event for full sessions.
- Do not use Create event when you only need a fast photo. Quick photo starts capturing images immediately without scheduling a calendar slot.
- Do not submit a session before reviewing photos and readings. Submitted data is locked—fix mistakes before the final submit button.
- Do not try Upload document before a customer is linked. Link the owner first on the car record, then upload insurance or registration files.
Troubleshooting
What to do next
- After intake, assign parking with Move a car.
- Update insurance or plate details with View and edit vehicle details.
- Review completed work in Review car activity, notes, and photos.
- When a customer calls with questions, use the phone-call path in the Cars overview.