Settings
Create operations workflows
Build step-by-step checklists for repeated facility work, such as vehicle intake, pickup, transport, or detailing.
Use this guide when your team follows the same steps for a job over and over.
A workflow is a saved checklist. It helps staff do the right work in the right order. You might use a workflow for vehicle intake, vehicle departure, transport, detailing, or a special service package.
When to use a workflow (and when not to)
- Use a workflow when the same steps happen in the same order every time (intake, departure, transport handoff).
- Use a single appointment when the job is one visit with no checklist—for example a one-hour detail with no follow-up steps.
- Build event types first in Settings > Events & schedule before you link them in a workflow.
What you will accomplish
You will create a workflow, add steps, choose the event type for each step, and save it so staff can use it later.
Before you start
- You should be signed in as a team admin or manager.
- Open Settings > Operations.
- Know the real-world process you want to turn into a checklist.
- Confirm each step already exists as an event type in Settings > Events & schedule.
Plan the workflow before you build it
Write the steps in plain English first. This keeps the setup simple.
Example: New Vehicle Intake
- Confirm drop off
- Photo intake and condition check
- Assign first care task
Create a workflow
- Open Operations settings
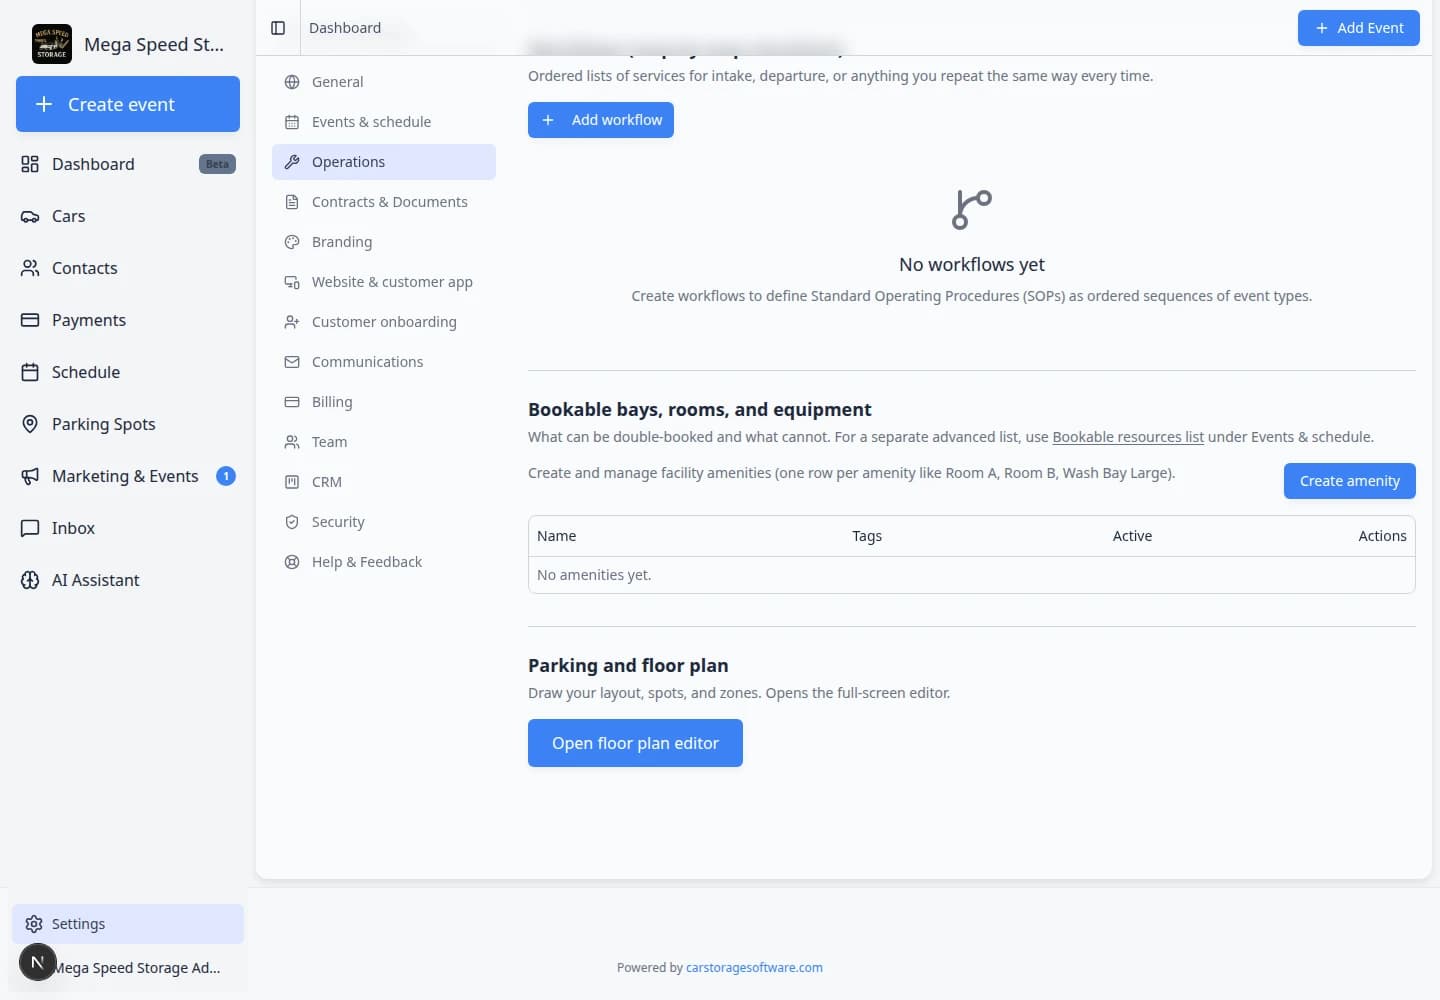
Go to Settings > Operations.
Find the section named Workflows (step-by-step checklists).
- Click Add workflow
Click Add workflow.
A window named Create workflow opens.
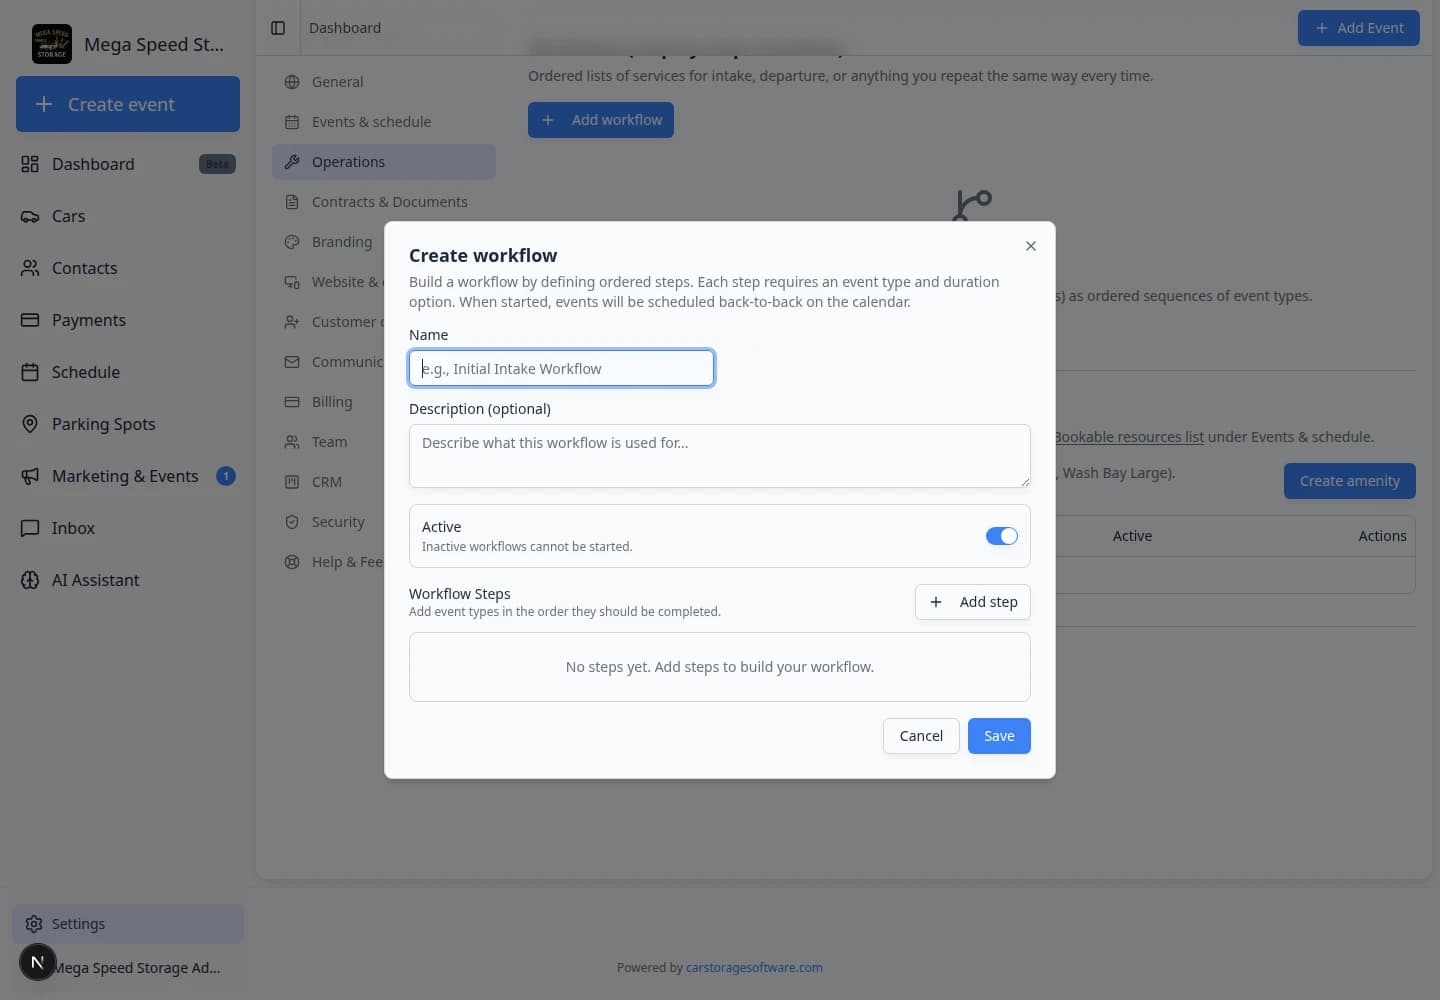
- Enter the workflow name
In Name, type a clear name for the process.
Good examples:
- New Vehicle Intake
- Vehicle Departure
- Transport Checklist
- Detail and Photo Prep
Why this matters: Staff choose workflows by name, so the name should match how your team talks about the work.
- Add a short description
In Description (optional), explain when staff should use this workflow.
Example: Use this checklist when a vehicle arrives for storage or service.
- Keep Active turned on
Leave Active turned on if staff should be able to start this workflow.
Turn Active off if you are drafting the workflow and want to test it before staff use it.
- Add the first step
In Workflow Steps, click Add step.
Choose the Event Type for the first part of the work.
Example: choose Vehicle Drop Off for the first step of an intake workflow.
Click Add step again for each later part of the job. A strong intake workflow often has three or more steps, such as drop off, photo intake, and first care task.
- Review the duration
The Duration area shows how long the step should take.
If the event type has options, choose the option that matches this workflow. If there are no options, the workflow uses a default duration.
Why this matters: Durations help the calendar reserve enough time when the workflow creates scheduled work.
- Add a delay only when needed
Use Delay before this step when the next step should happen later.
Example: if a follow-up inspection should happen one week after intake, set the delay to 1 Week.
Leave the delay at 0 when the next step should happen right away.
- Rename the step if the event type name is not clear enough
Use Custom Name (optional) if staff need a more specific instruction.
Example: an event type may be Internal Service, but the step name could be Assign first care task.
- Mark optional steps only when staff may skip them
Turn on Optional step (can be skipped) only when the step is helpful but not always required.
Expected result: Staff know which steps are required and which ones can be skipped when they do not apply.
- Save the workflow
Click Save.
The workflow appears in the Workflows (step-by-step checklists) table.
Expected result: You see the workflow name in the table with Active turned on. Staff can start it from vehicle or schedule workflows when your team enables that option.
Reorder workflow steps
If steps are in the wrong order, open the workflow with Edit.
Use the handle beside each step to drag it into the correct order. The first step should be the first real action staff take.
Edit or archive a workflow
- Click Edit to update the checklist
Use Edit to change the name, description, active setting, or steps.
Click Save after making changes.
- Click Archive when staff should stop using it
Use Archive when a workflow is outdated or replaced.
Expected result: Staff cannot start the archived workflow for new work, but past records keep their history.
Test the workflow on Schedule
Before you ask the whole team to use a new checklist, run it once on a sample vehicle or test event.
- Create a test appointment
Open Schedule and follow Create an appointment for a test vehicle.
Choose an event type that matches the first step of your workflow.
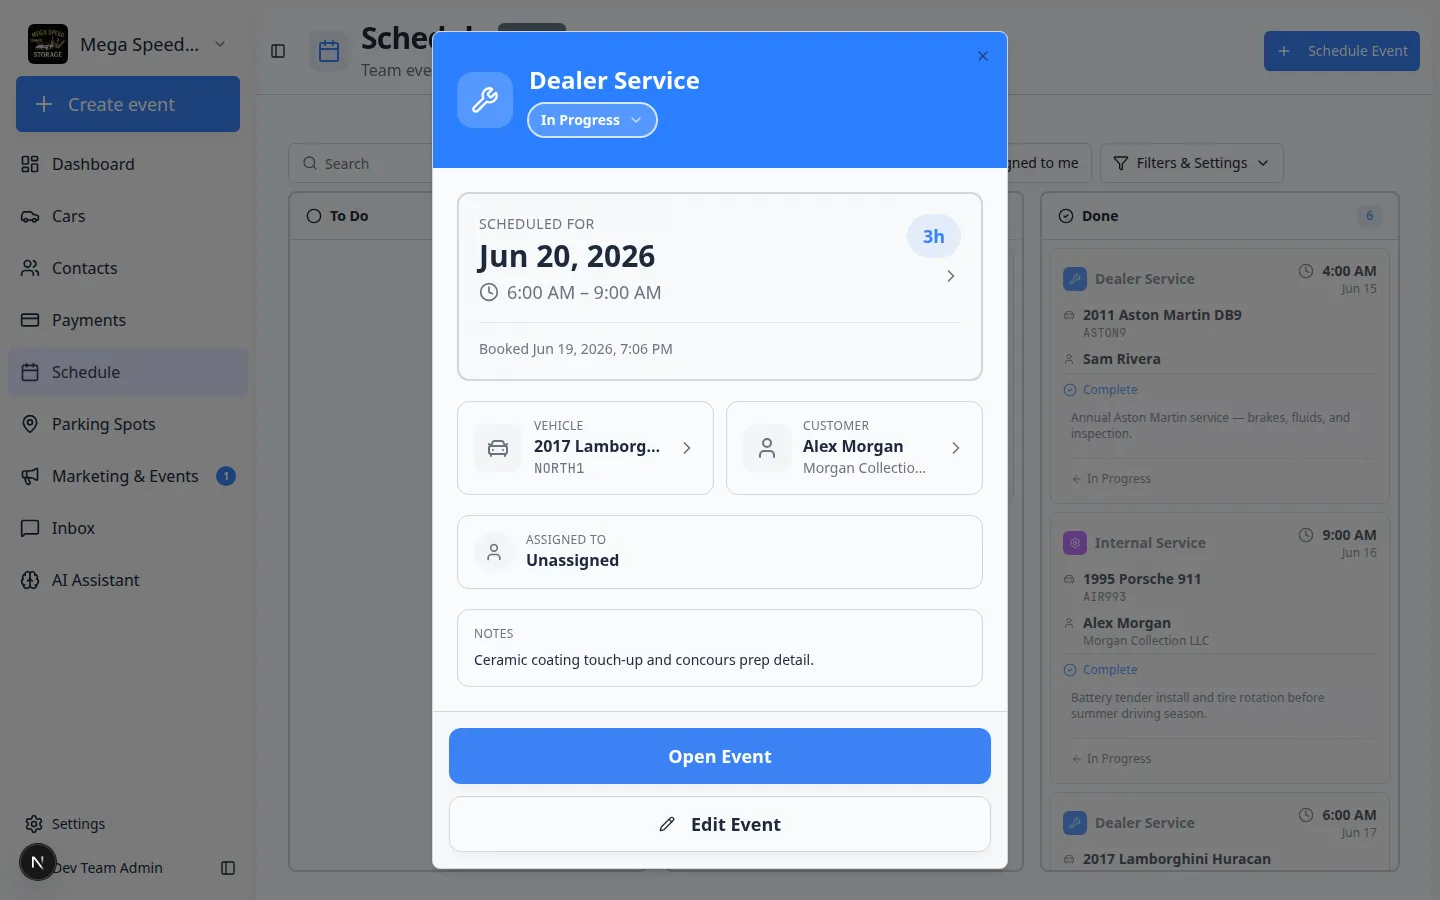
- Open the event and click Open Event
Click the calendar block to open the event detail panel.
Look for Open Event near Edit Event.
Expected result: The floor workflow screen opens with the checklist steps you configured.
- Walk through each step
Complete or skip optional steps the way a technician would on a real visit.
Why this matters: Testing catches missing event types, wrong durations, or steps marked optional by mistake.
What success looks like
- The workflow name matches how your team talks about the job.
- Each step links to an active event type with a sensible duration.
- Required steps are not marked optional.
- A test event shows Open Event and the checklist opens correctly.
- Staff know when to start the workflow from Schedule or a vehicle record.
Helpful tips
Workflow is another word for a repeatable checklist.
Some teams also say "SOP," which means standard operating procedure. You do not need to use that term with your staff. A simple name like New Vehicle Intake is easier to understand.
Troubleshooting
What to do next
After your test run works, train technicians with Run event workflow from Schedule. If staff also need clearer progress labels, continue with Manage custom statuses and amenities.