Inbox
Review calls and transcripts
Use Inbox to review customer call history, recordings, and transcripts before following up.
Use this guide when you need to understand a phone call before replying to a customer or handing work to another teammate.
Call history helps your team see when a call happened, whether it was inbound or outbound, and what was discussed when a transcript is available.
What you will accomplish
- Find call history inside a customer conversation.
- Understand inbound, outbound, and voicemail entries.
- Read or request a transcript when one is available.
- Place a call or send a written follow-up after you review the call.
Before you start
- Calling must be set up for your team. If call buttons are disabled, review Configure communication settings for Inbox.
- Make sure you have permission to view Inbox and customer communication history.
- Use call recordings and transcripts only for legitimate customer support and operations.
- Follow your facility's policy and local laws for call recording and customer consent.
Find call history in a conversation
- Open Inbox
Go to Inbox.
- Select the customer
Click the customer conversation.
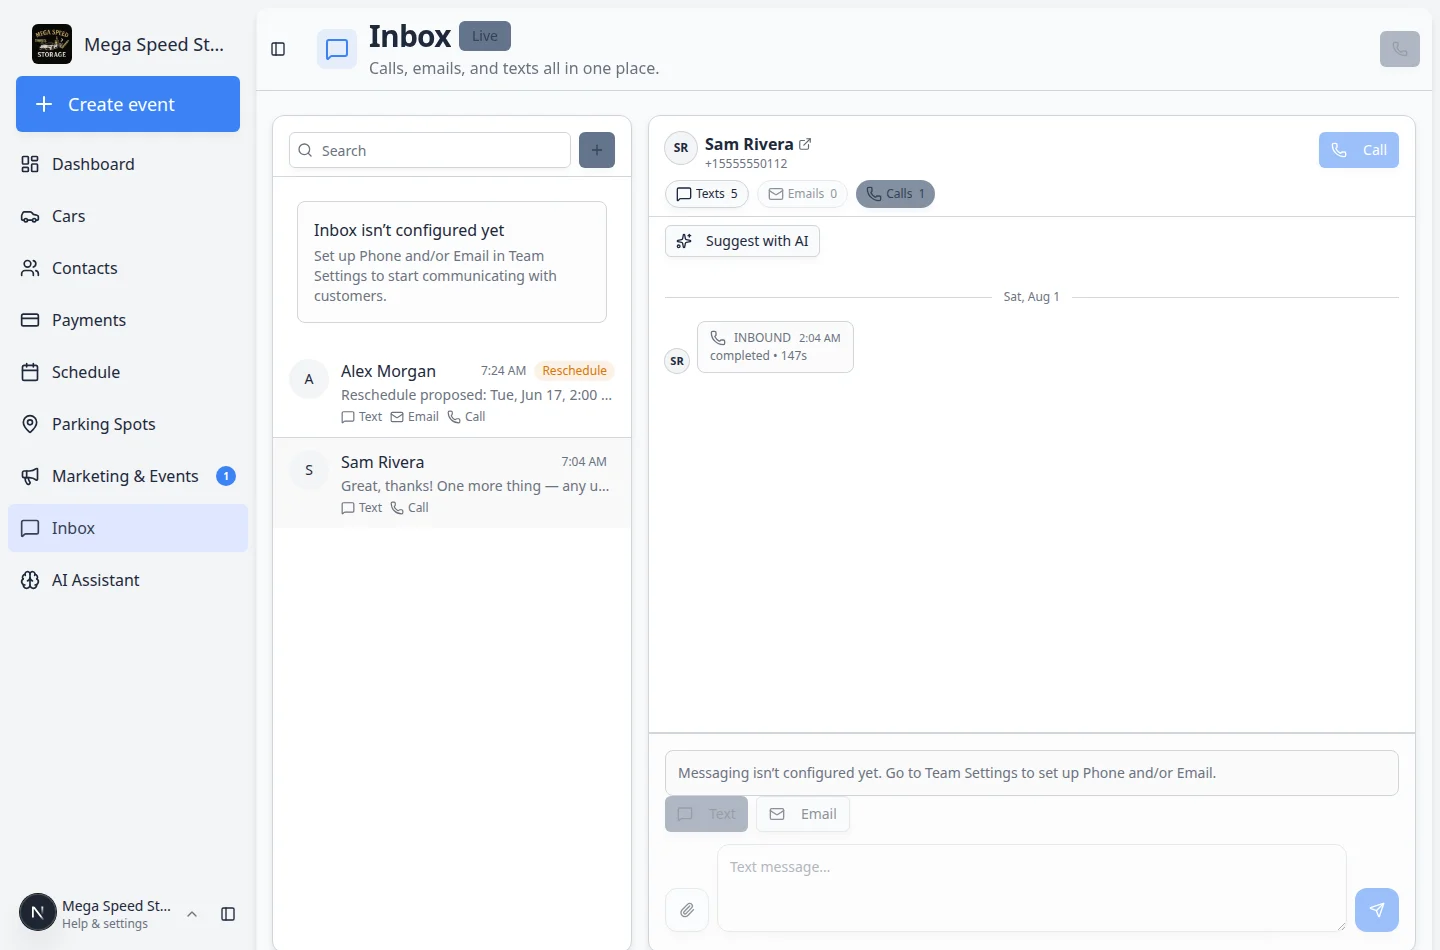
- Click Calls
Near the top of the conversation, click Calls.
The pill shows a number when calls exist—for example Calls 1. If the pill is gray and says Calls 0, this customer has no call history linked to this conversation yet.
Expected result: The timeline shows only phone activity—INBOUND (customer called you), OUTBOUND (your team called them), or Voicemail entries.
Expected result: You see only phone activity for that customer, such as inbound calls, outbound calls, or voicemail entries.
Read a call entry
Call entries use simple labels.
- INBOUND means the customer called your facility.
- OUTBOUND means your team called the customer.
- Voicemail means the customer left a message when nobody answered. A recording may be available.
- The status, such as completed, tells you how the call ended.
- The duration shows how long the call or voicemail lasted.
Open a recording or transcript
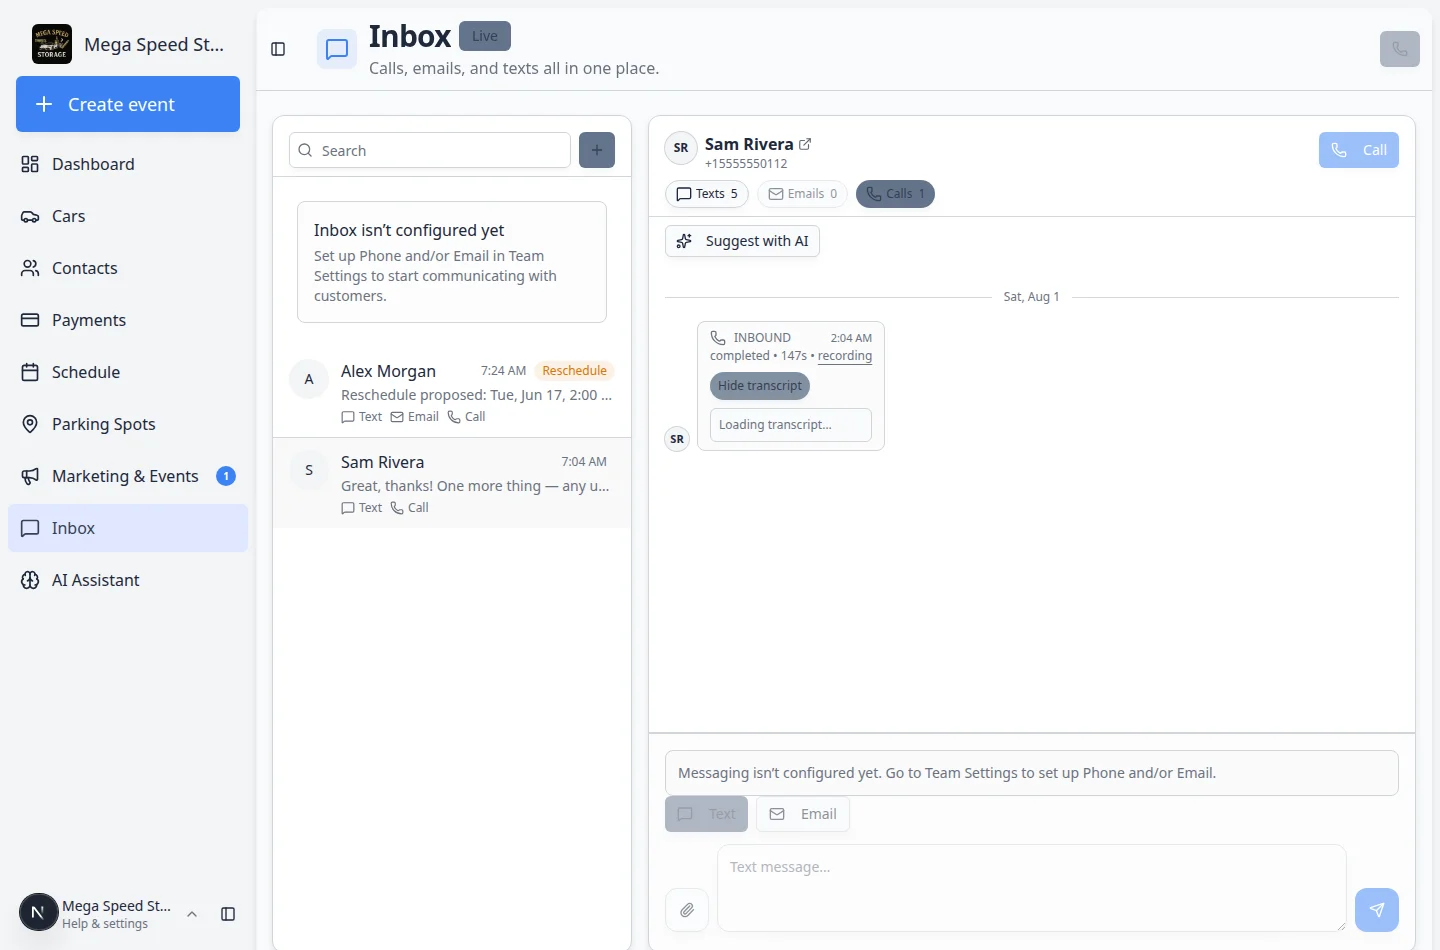
When a call was recorded, you may see a Recording link and a Transcript button on the same entry.
- Find the call
Open the customer (for example Sam Rivera), click the Calls pill near the top of the timeline, and find the call you want to review.
- Open Recording when you need to hear exact wording
Click Recording to open the audio in a new browser tab.
Why this helps: Transcripts can miss names or numbers. Listening once confirms spelling before you promise a time or dollar amount.
If Recording is missing, your facility may not save call audio, or the file may still be processing. Ask an admin to review call recording settings under Settings > Communications.
- Click Transcript for a quick read
Click Transcript on the call entry.
If a transcript is ready, it opens below the call with a written summary of what the customer said.
Expected result: You can read the customer's request without listening to the full recording.
- Read the transcript carefully
Use the transcript to understand the customer's request.
Transcripts can make mistakes—especially with names, dollar amounts, and license plates. If something sounds important or unclear, listen to the Recording link when available or confirm with the customer before you promise a time or price.
- Take notes for your follow-up
Before you leave the call entry, jot down:
- Vehicle name
- Requested date or time
- What you promised to check
Why this helps: Your next teammate may pick up the thread hours later. A short follow-up text in Inbox keeps everyone aligned.
Expected result: You can read a written summary of what the customer asked for during the call or voicemail.
After you review a call
- Decide whether a written follow-up is needed
Send a short text or email when the customer asked for a specific time, price, or next step that should be in writing.
See Send a text message from Inbox or Send an email from Inbox.
- Update Schedule when the call changed an appointment
If the customer moved a visit during the call, open Schedule and save the new time before you tell them it is confirmed.
- Mark unread if someone else should finish
If you cannot complete the follow-up, right-click the customer in the list and choose Mark unread. See Coordinate with your team in Inbox.
Check for or refresh a transcript
If a call has a recording but no transcript yet, you may see Check for transcript.
- Click Check for transcript
Use this when the transcript has not appeared yet.
The app looks for a transcript that may still be processing.
- Wait for the transcript to appear
The transcript may take a short time to show up after the call ends.
- Click Refresh if you still do not see text
Use Refresh to check again whether the transcript is ready.
Place a call from the customer conversation
- Open the customer conversation
Select the customer in Inbox.
- Click Call
Click Call near the top-right of the conversation (phone icon).
This dials the phone number shown for that customer in Inbox.
Expected result: Your team's phone system starts the call. When the call ends, a new entry appears in this customer's timeline.
- Speak with the customer
Confirm the customer's request and explain next steps clearly.
- Add a written follow-up if needed
After the call, send a short text or email if the customer or your team needs a written record.
Expected result: The new call appears in the same customer timeline after it ends.
Use Quick call for a number
Use Quick call when you need to dial a number directly without opening a saved customer first.
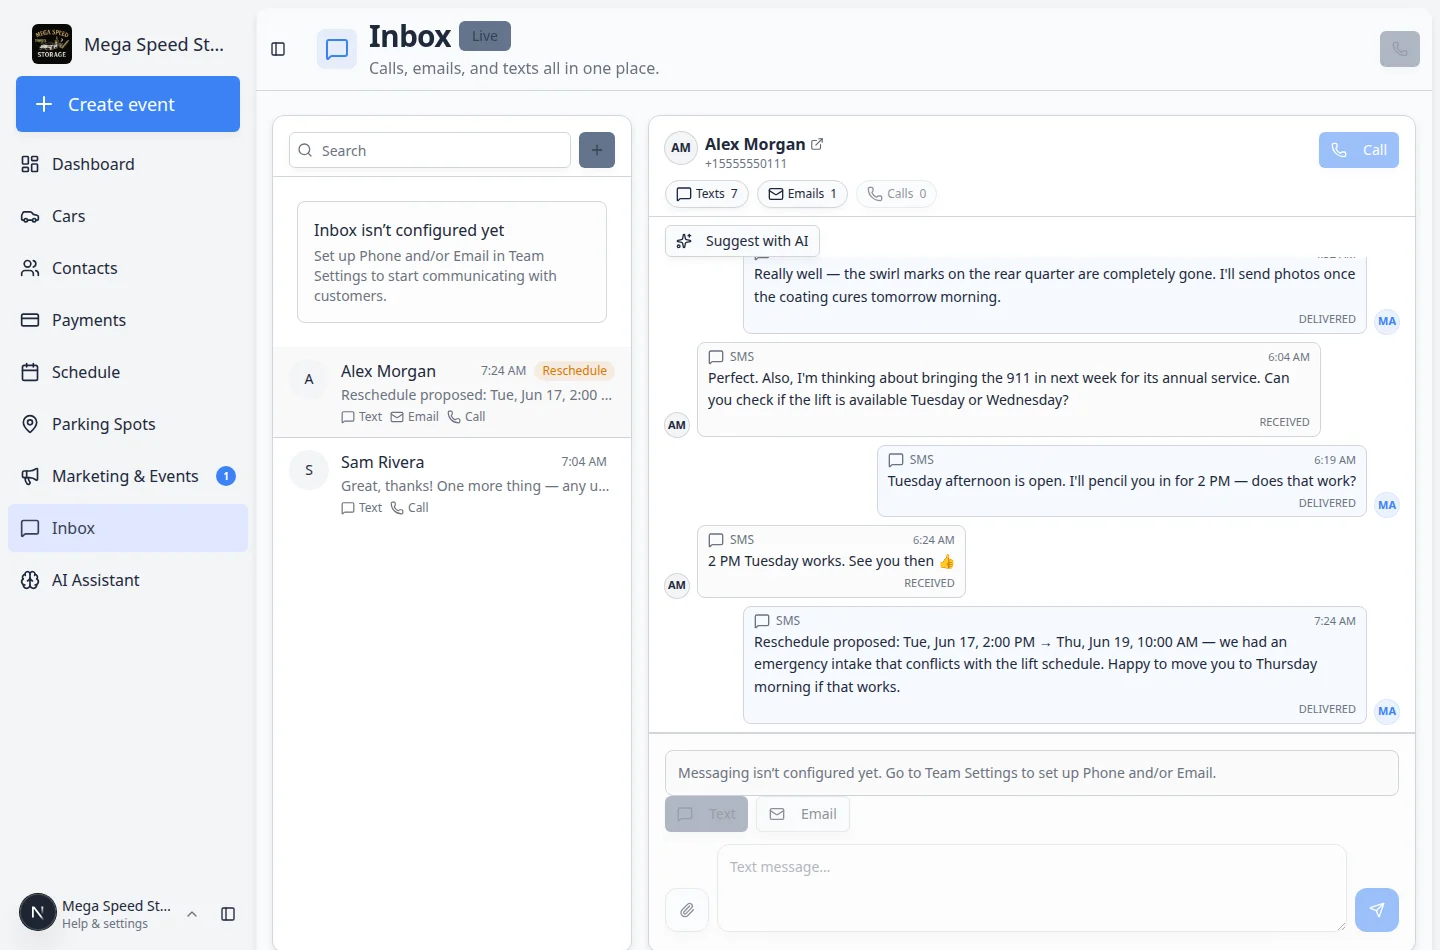
- Click the phone icon
On the Inbox page header, click the phone icon for Quick call.
- Enter the phone number
Type the number on your keyboard or tap the on-screen dial pad.
The dialog shows Will dial with the full number when it is valid.
Use Clear to start over or Backspace to remove the last digit.
- Click Call
Click Call to place the call.
You cannot start a second call while you are already on a call.
For inbound calls that ring while you work elsewhere in the dashboard, see Handle incoming phone calls.
What success looks like
- You can see the call in the customer timeline.
- You understand whether the call was inbound or outbound.
- You can read or request a transcript when a recording is available.
- Your follow-up message or next action matches what the customer asked for.
Troubleshooting
What to do next
After reviewing a call, respond from the same conversation. Use Send a text message from Inbox for a short follow-up or Send an email from Inbox for a longer recap.