Basics
Learn the dashboard
Find your way around the main dashboard, sidebar, and daily work areas without needing technical knowledge.
Use this guide when you are signing in for the first time or helping a teammate learn where things are in the dashboard.
For the full first-week onboarding path, start with Getting started or Getting started overview.
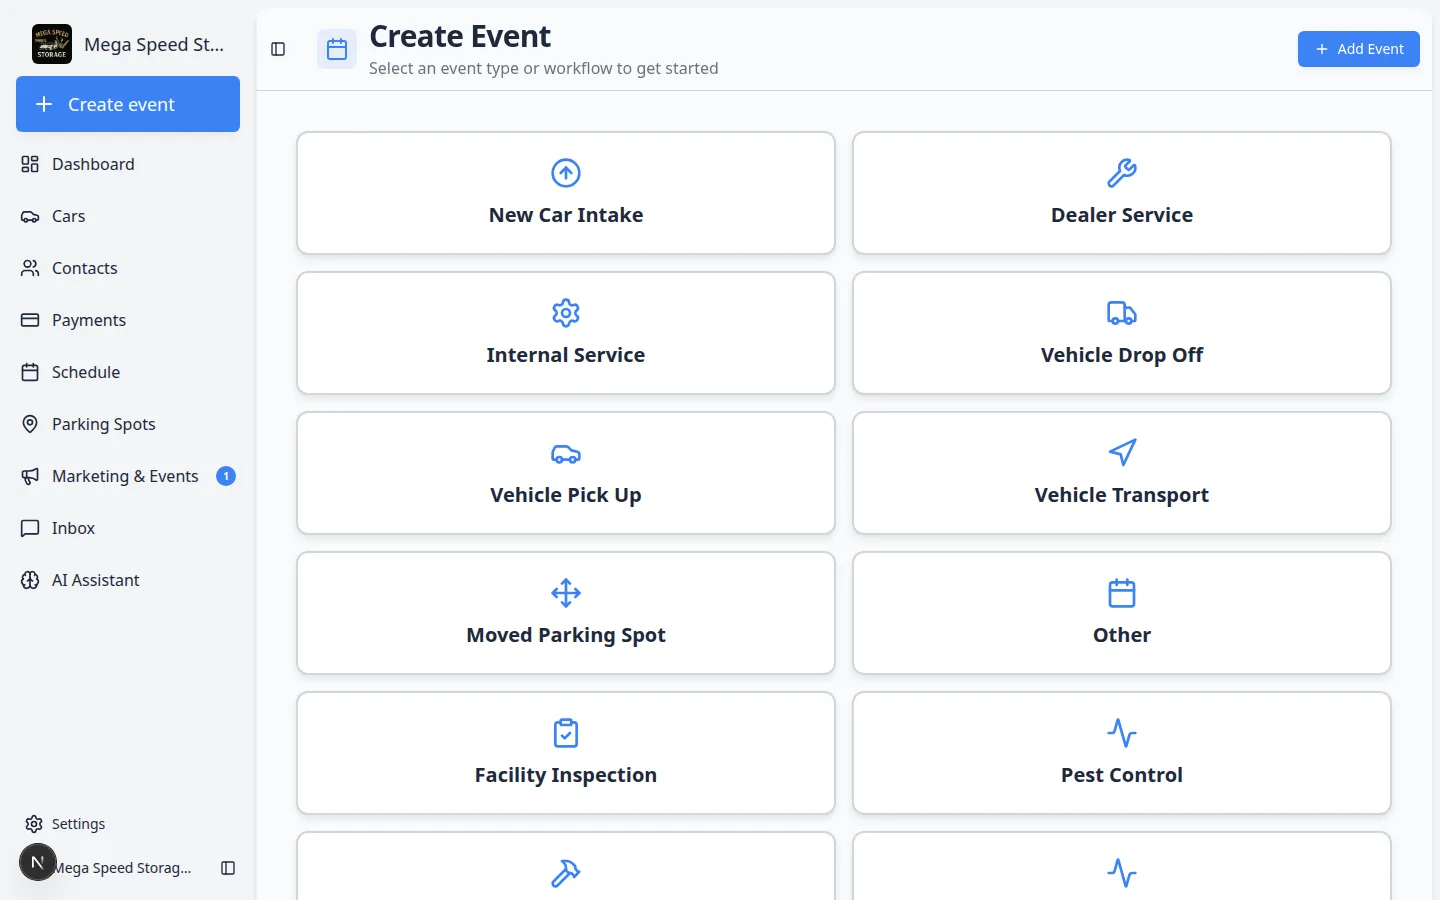
The dashboard is the staff area of Car Storage Software. This is where your team manages customers, cars, appointments, payments, parking, messages, settings, and more.
What you will accomplish
You will learn how to use the sidebar, how to open the main work areas, and how to choose the right page for a task.
Before you start
- You should be signed in as a staff user.
- If you are on a phone or small tablet, the sidebar may appear as a menu button instead of a full list.
- Your facility may hide some areas if your role does not need them.
Understand the sidebar menu
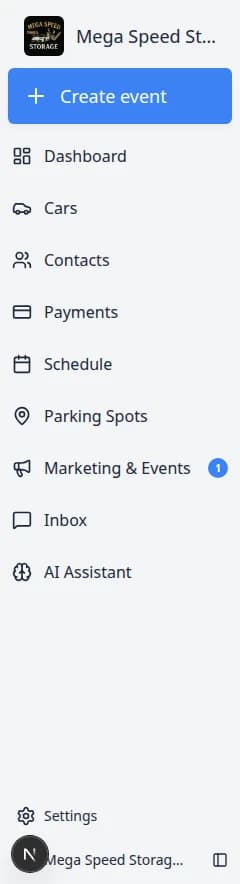
The sidebar is the menu on the left side of the screen. It stays visible on most pages so you can move between areas without getting lost.
- Find the sidebar
Look at the left edge of the screen. You should see menu items such as Dashboard, Cars, Contacts, Schedule, and Payments.
On a small screen, tap the menu icon (often three lines) to open the same list.
Expected result: You can open any main area with one click.
- Use the page title to confirm where you are
Each page has a title near the top, such as Cars, Contacts, or Payments.
Why this matters: If you are unsure where you landed, the page title confirms the area before you change anything.
- Use buttons for actions
Most work starts with a clear button. Examples include Create New Customer, Create New Car, Create Invoice, or Schedule Event.
Expected result: Clicking an action button opens a form, page, or dialog where you can complete the task.
- Use tables, cards, and search to find records
Many pages show records in a list, table, or card view. Use search or filters when the list is long.
Why this matters: Searching first helps prevent duplicate customers, duplicate cars, or work on the wrong record.
Create event: the classic home screen
The large Create event button at the top of the sidebar opens Create event. This is where front-desk staff pick an event type card (drop-off, detail, pickup, and more) and start work on a vehicle.
Read Use the Create event home page for step-by-step help with event cards, vehicle search, and the Continue button.
Dashboard (beta): your customizable home
Dashboard is an optional widget page you can tailor with charts, schedule calendars, parking maps, inbox lists, and more. In the sidebar it appears as Dashboard with a Beta badge.
- Open Dashboard in edit mode to add or rearrange panels.
- Click Add panel to insert views from Schedule, Cars, Parking, and other areas.
- Team admins set the starting layout for new staff in Settings → Team.
Read Customize your Overview dashboard for step-by-step help with screenshots.
Find anything with facility search (Ctrl+K / ⌘K)
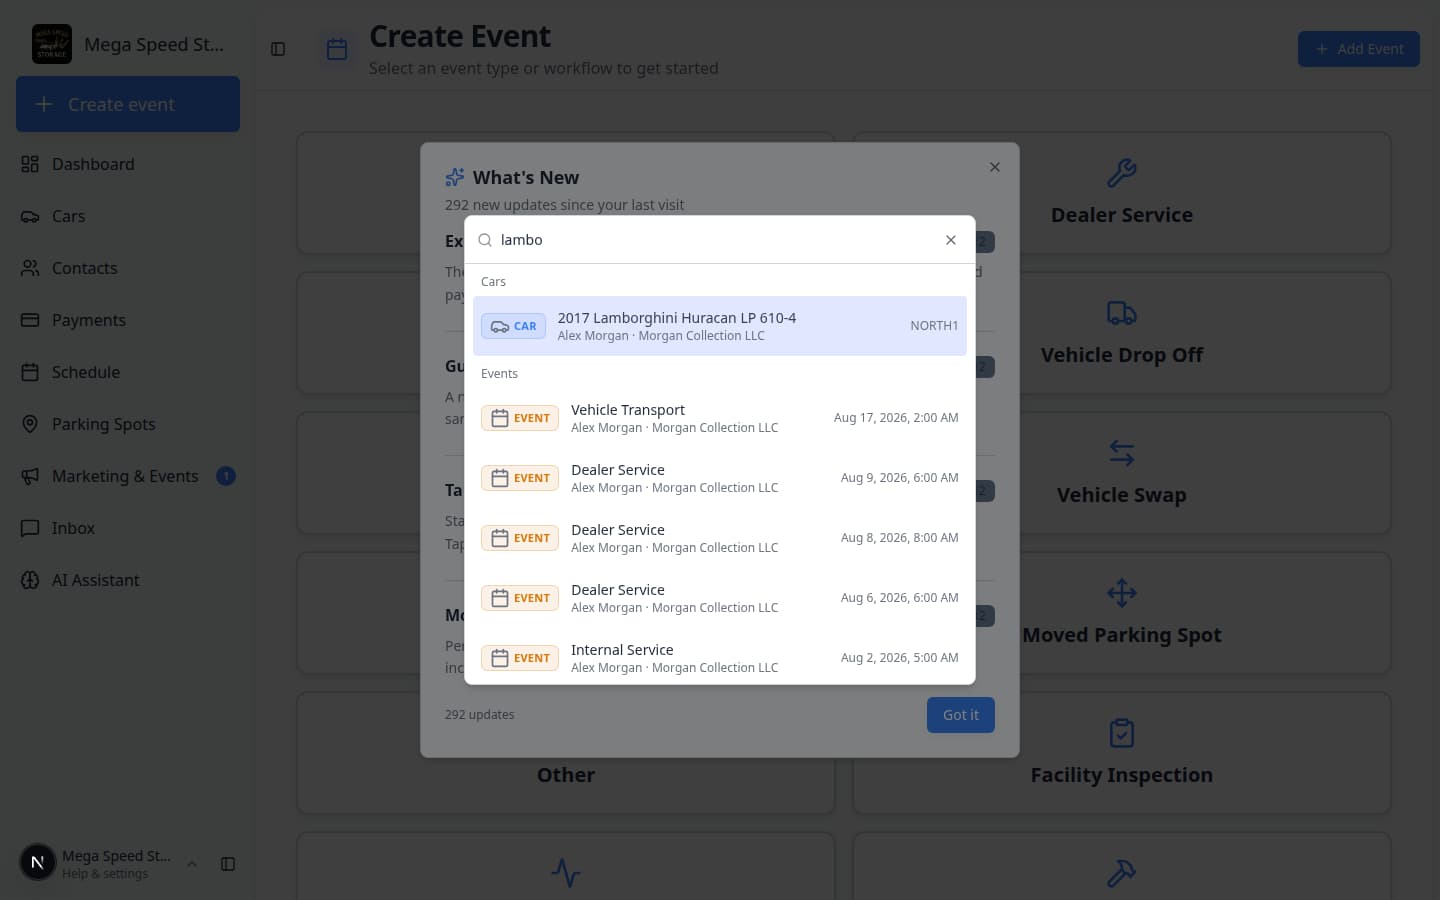
You do not need to open Cars or Contacts first when you only need to look up a record. From almost any dashboard page, press Ctrl+K on Windows or ⌘K on Mac to open Search your facility.
- Open search
Press Ctrl+K or ⌘K. A search window opens in the center of the screen.
On Dashboard, you can also click the search bar that says Search cars, customers, parking, events….
- Type at least two characters
Try a customer name, plate, VIN fragment, spot name, or event title.
Expected result: Matching cars, customers, parking spots, zones, and events appear in labeled groups.
- Click a result
Click the row you need. The app opens that record immediately.
Why this matters: When a customer calls, search is often faster than clicking through sidebar pages.
Read Search your facility quickly for troubleshooting and tips.
Choose the right page for common tasks
Cars is for vehicles your facility stores, services, moves, photographs, or tracks.
Contacts is for customers, owners, family members, business contacts, and other people connected to vehicles or billing.
Schedule is for appointments, pickups, drop-offs, service work, and team calendar planning.
Payments is for invoices, quotes, products, services, recurring billing, and vendors.
Parking Spots is for your floor plan, parking locations, and spot assignment.
Inbox is for customer conversations by text, email, and phone — all in one timeline.
Marketing & Events is for campaigns, community, reviews, and social events.
AI Assistant is for searching records and getting help with tasks inside the app.
Settings is for facility setup, team access, billing setup, communications, portal settings, and security.
Setup Guide (when shown in your sidebar) is the in-app checklist for first-time facility setup at Setup Guide.
Practice a safe first tour
If you are new, follow this tour before editing live records. You are only looking around, and you do not need to save anything.
- Open Cars
Go to Cars. Notice the vehicle list, search, filters, and Create New Car button.
Do not add or edit anything yet. This first pass is only to understand the page.
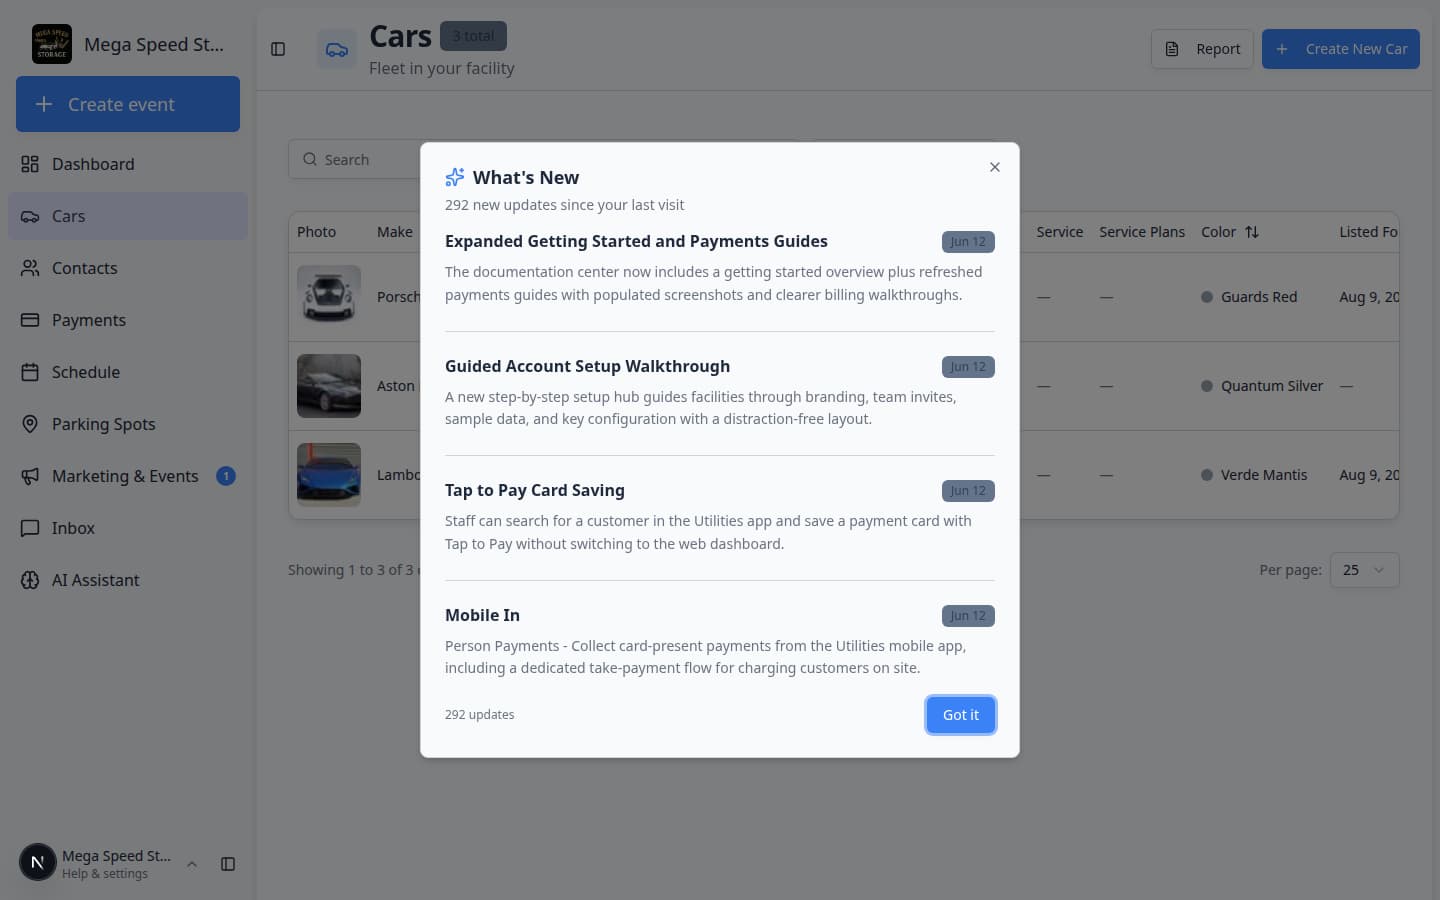
The Cars page lists every vehicle your facility tracks. Search before you create a new car. - Open Contacts
Go to Contacts. Notice the customer list and Create New Customer button.
Expected result: You understand where customer records live.
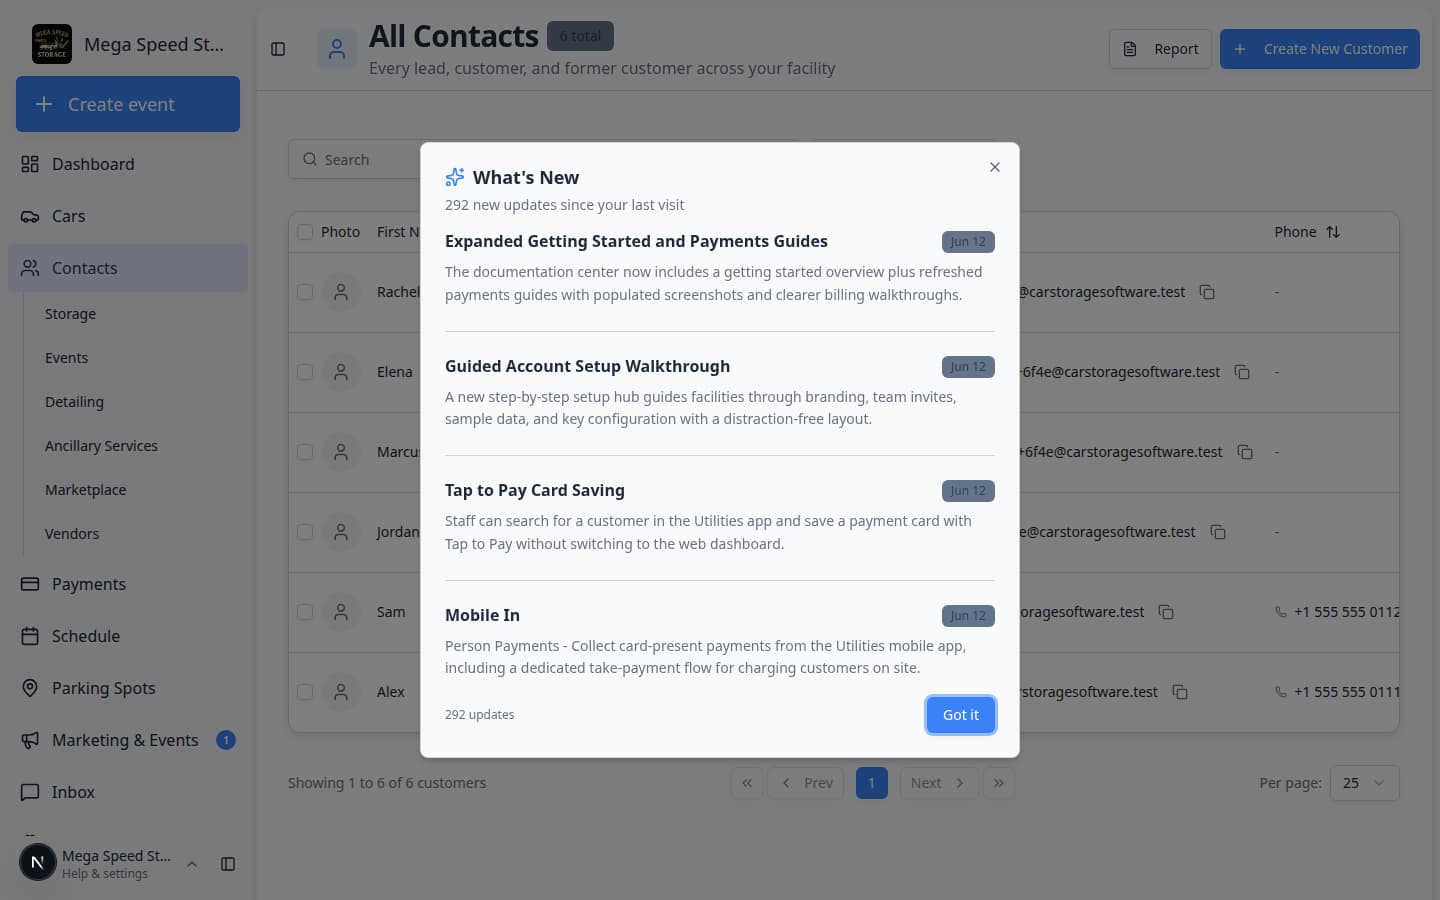
The Contacts page is where you add and find customer records before linking cars or sending invoices. - Open Schedule
Go to Schedule. Notice the calendar or table of events, plus buttons such as Schedule Event and Filters & Settings.
Why this matters: Many teams use Schedule every day to plan arrivals, departures, inspections, and service.
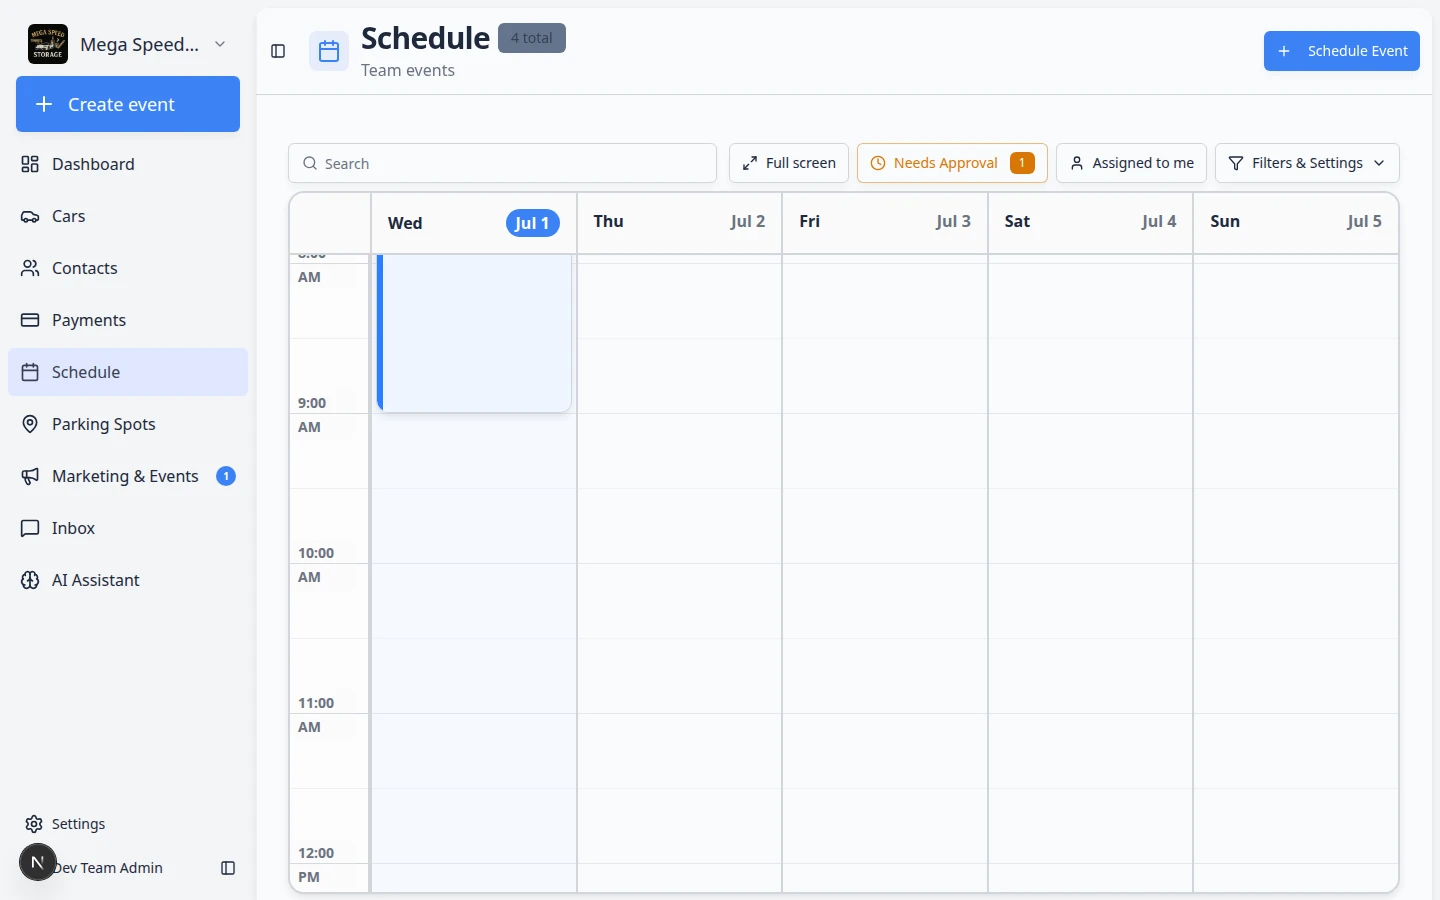
Schedule shows when work happens. Color blocks are individual events — open one to see customer, vehicle, and status details. When you are ready to book work, read Schedule overview.
- Open Payments
- Open Parking Spots
Go to Parking Spots. Notice the floor plan or spot list and tools to assign or find spaces.
Why this matters: Storage facilities use this area daily to know where each vehicle is parked.
Expected result: You can see how spots link to cars on the layout or in a list.
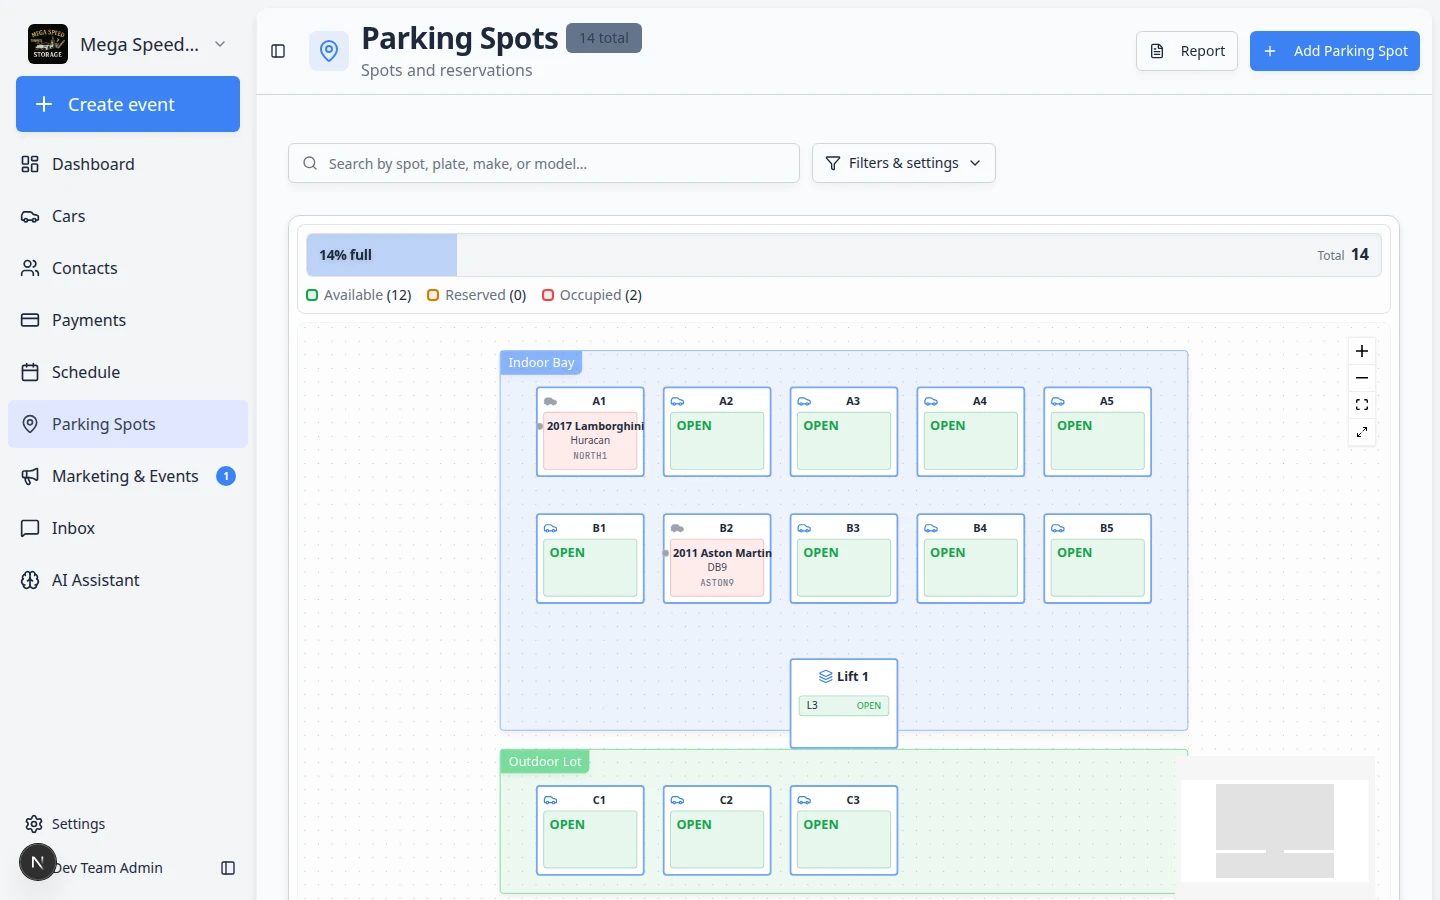
Parking Spots shows where cars sit in your building. Green or open spots are available; filled spots show the assigned vehicle. When you are ready to assign spaces, read Parking Spots overview.
- Open Marketing & Events
Go to Marketing & Events. Notice tabs or sections for campaigns, social events, community, and reviews.
Why this matters: This area is for customer outreach and facility events — not the same as daily service scheduling on Schedule.
Expected result: You understand where campaigns and car-show RSVPs live.
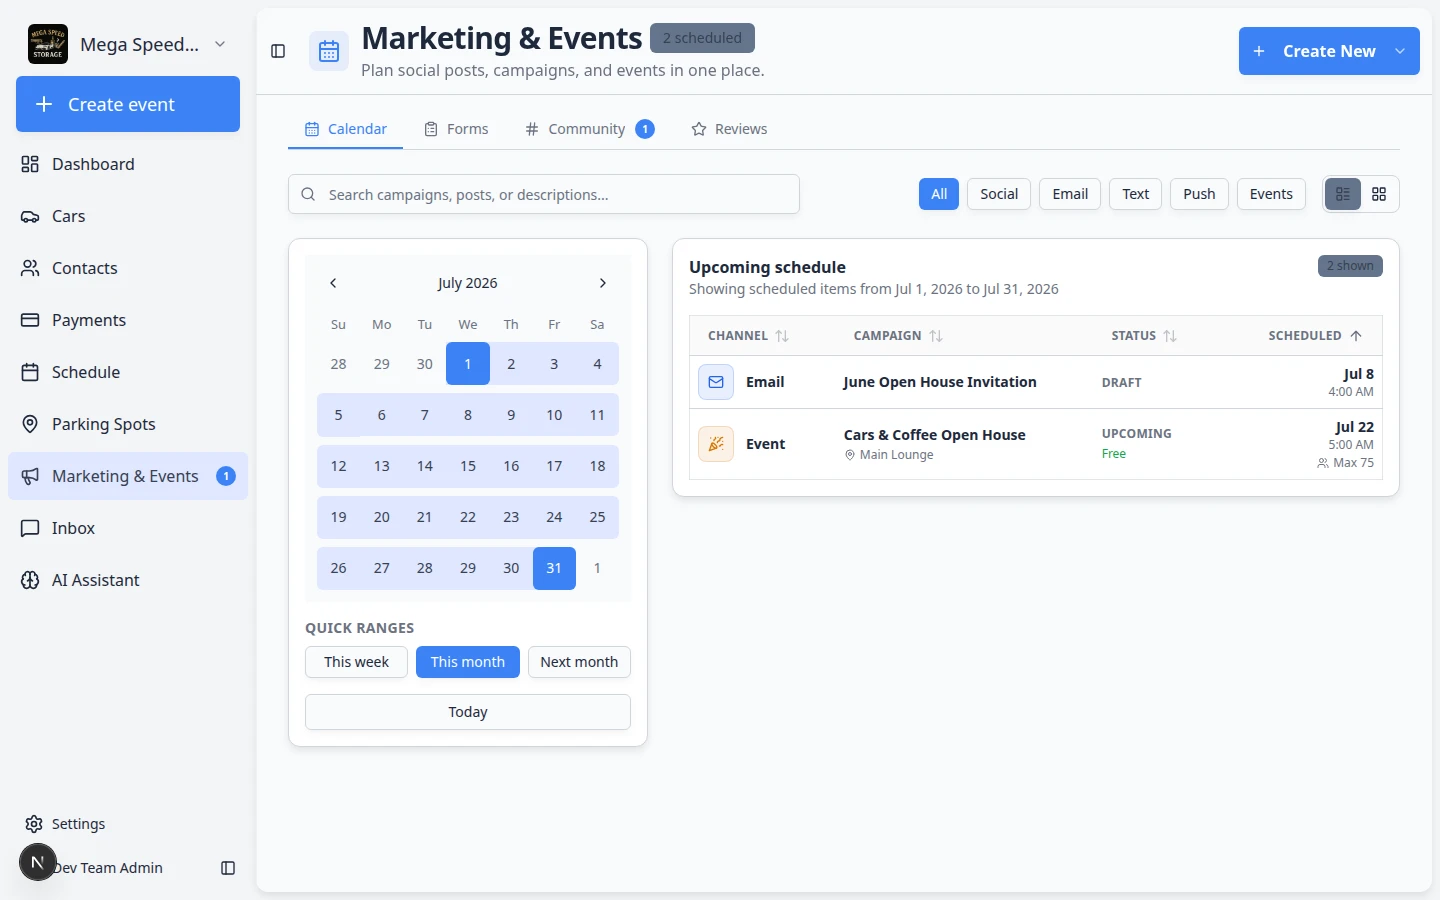
Marketing & Events is for newsletters, car shows, community channels, and review requests — separate from your shop Schedule calendar. Read Marketing & Events overview when your team runs events or email campaigns.
- Open AI Assistant
Go to AI Assistant. Notice the microphone area and suggestion buttons such as “What's on the schedule today?”
Why this matters: Staff can ask plain-language questions about cars, customers, schedule, and parking without clicking through multiple pages.
Expected result: You see the starting screen where you type or speak a question.
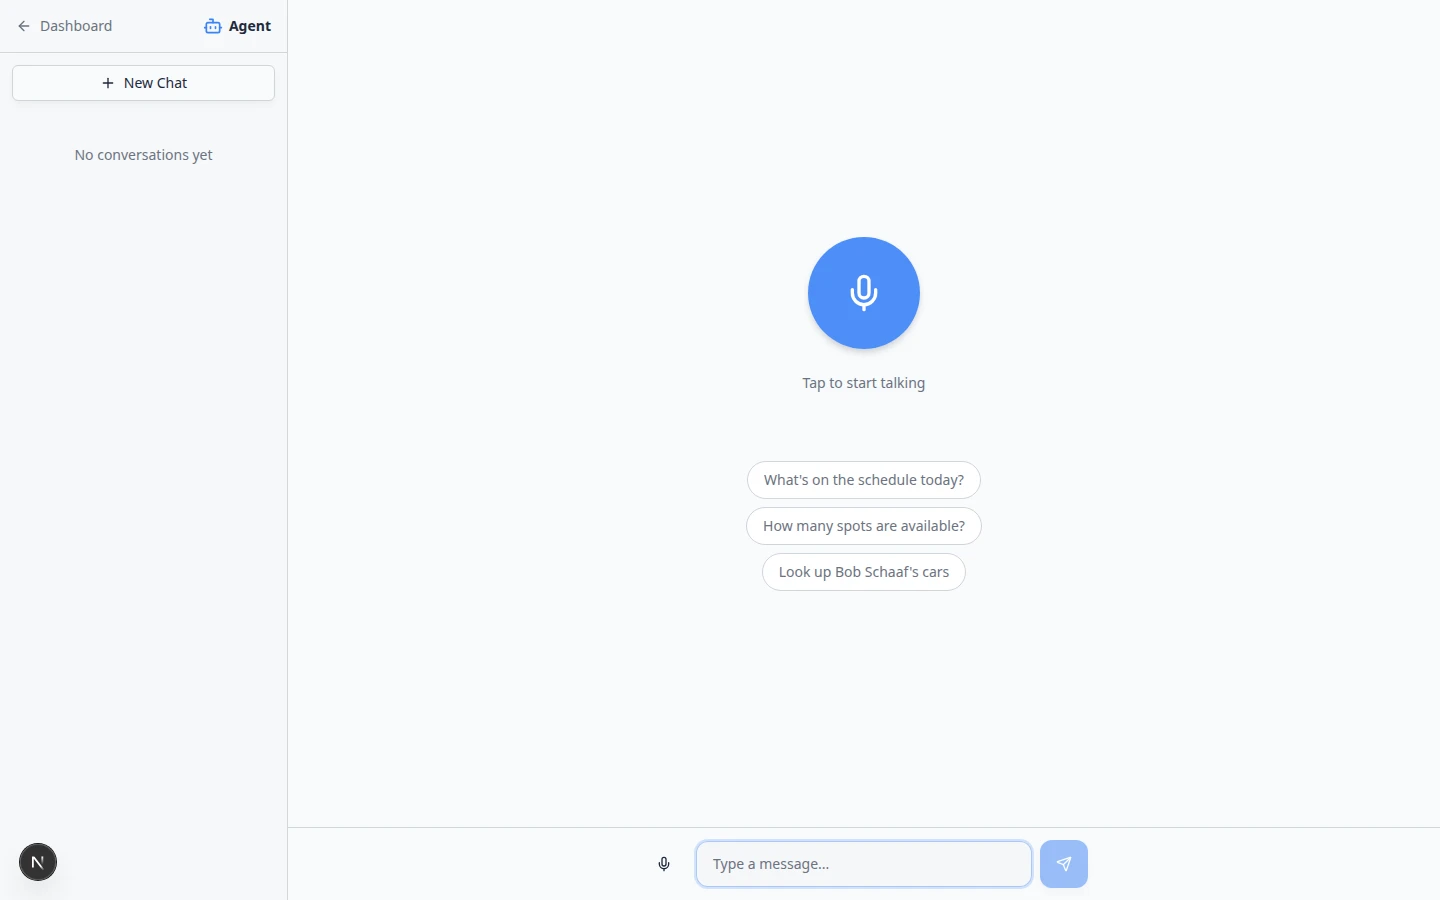
AI Assistant answers questions about your facility’s records. Click a suggestion or type your own question to start. Read AI Assistant overview before relying on it for billing or contract decisions.
- Open Inbox
Go to Inbox. Notice the conversation list on the left. When you click a customer name, the message timeline opens on the right.
Why this matters: Most customer questions arrive by text, email, or phone. Inbox keeps every message in one place next to the customer record — so you do not need to search email and texts separately.
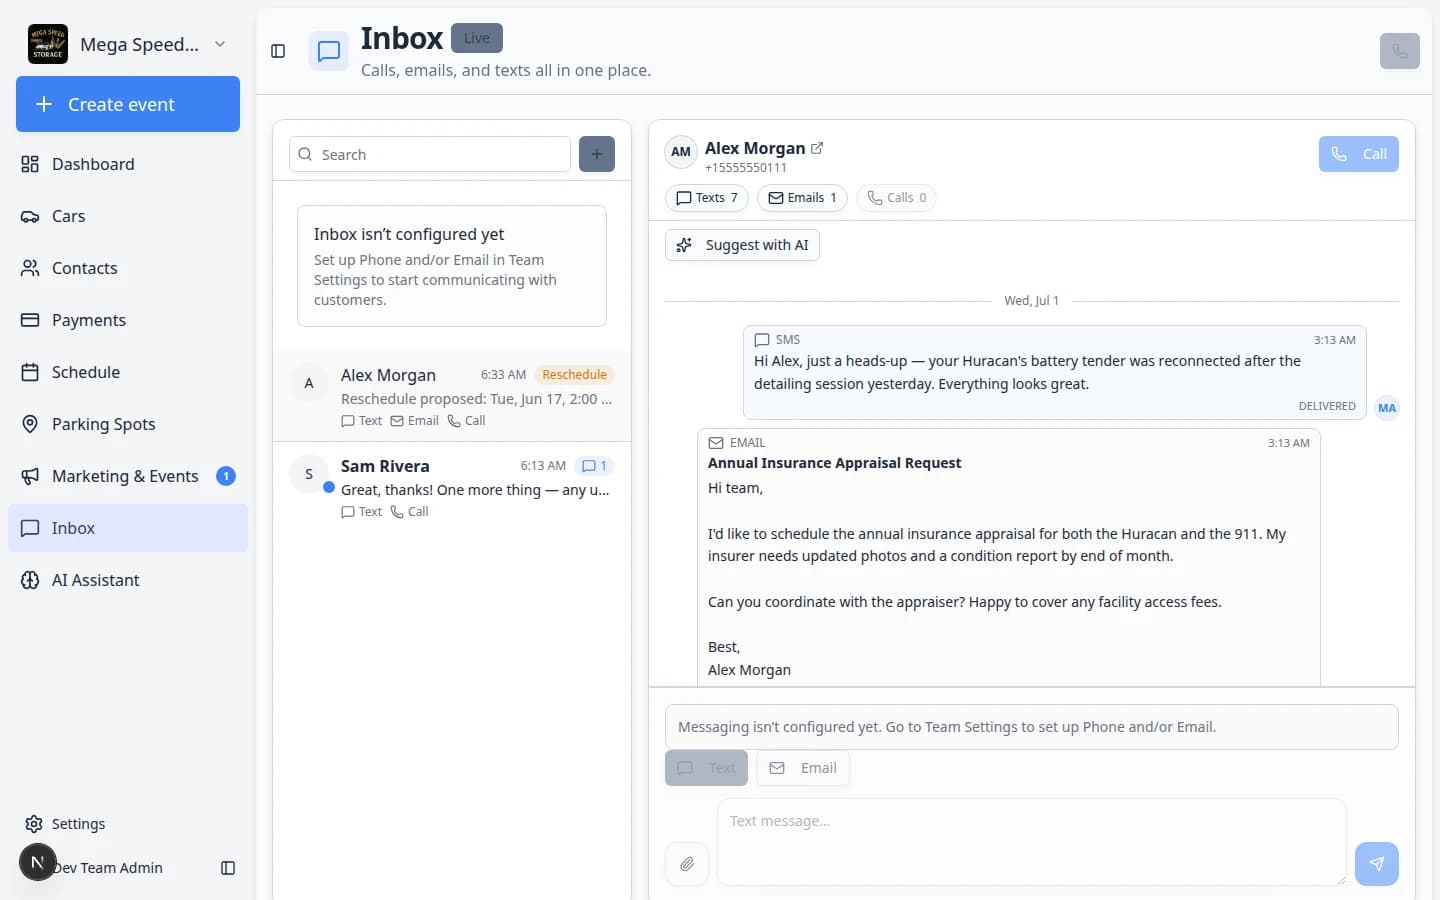
Inbox lists recent conversations on the left. Click a name to read and reply on the right. New messages from customers appear here automatically when communications are set up. Expected result: You see recent threads with customer names (or a helpful empty state if messaging is not configured yet).
When communications are ready, read Inbox overview.
- Open Settings last
Go to Settings. Settings affects the whole facility, so move slowly here.
Why this matters: A small settings change can affect emails, customer forms, billing, or teammate access. Front-desk staff usually read settings to understand what is enabled; managers and owners edit them.
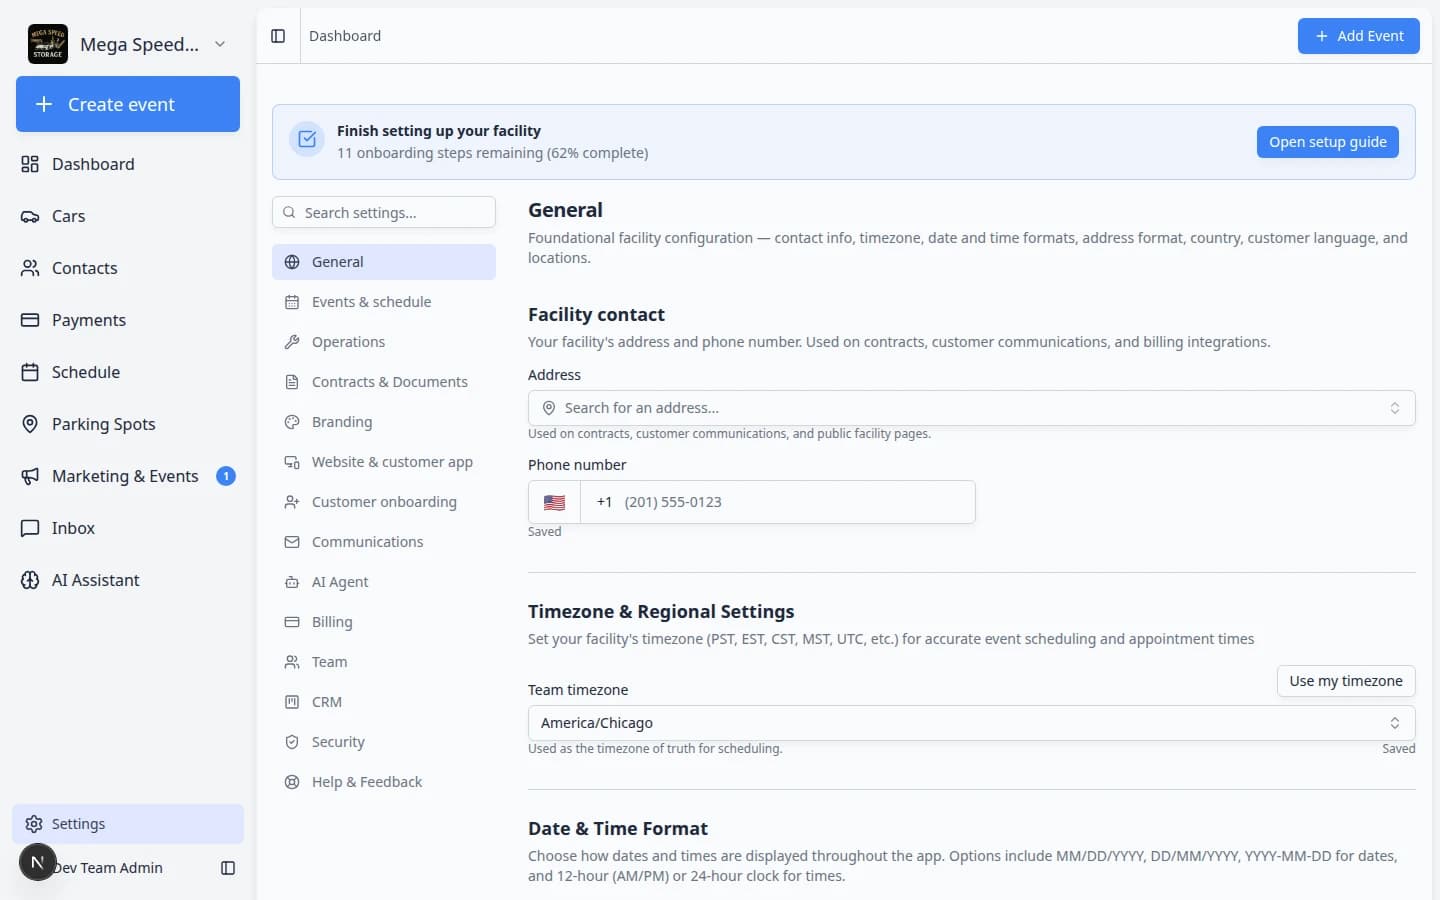
Settings is organized by topic. Use the menu on the left to open Branding, Team, Billing, Communications, and other facility-wide options. Expected result: You see a menu of setup areas. You do not need to change anything during this tour.
Start with Settings overview when a manager asks you to help with setup.
Sign out and switch accounts safely
- Find your profile menu
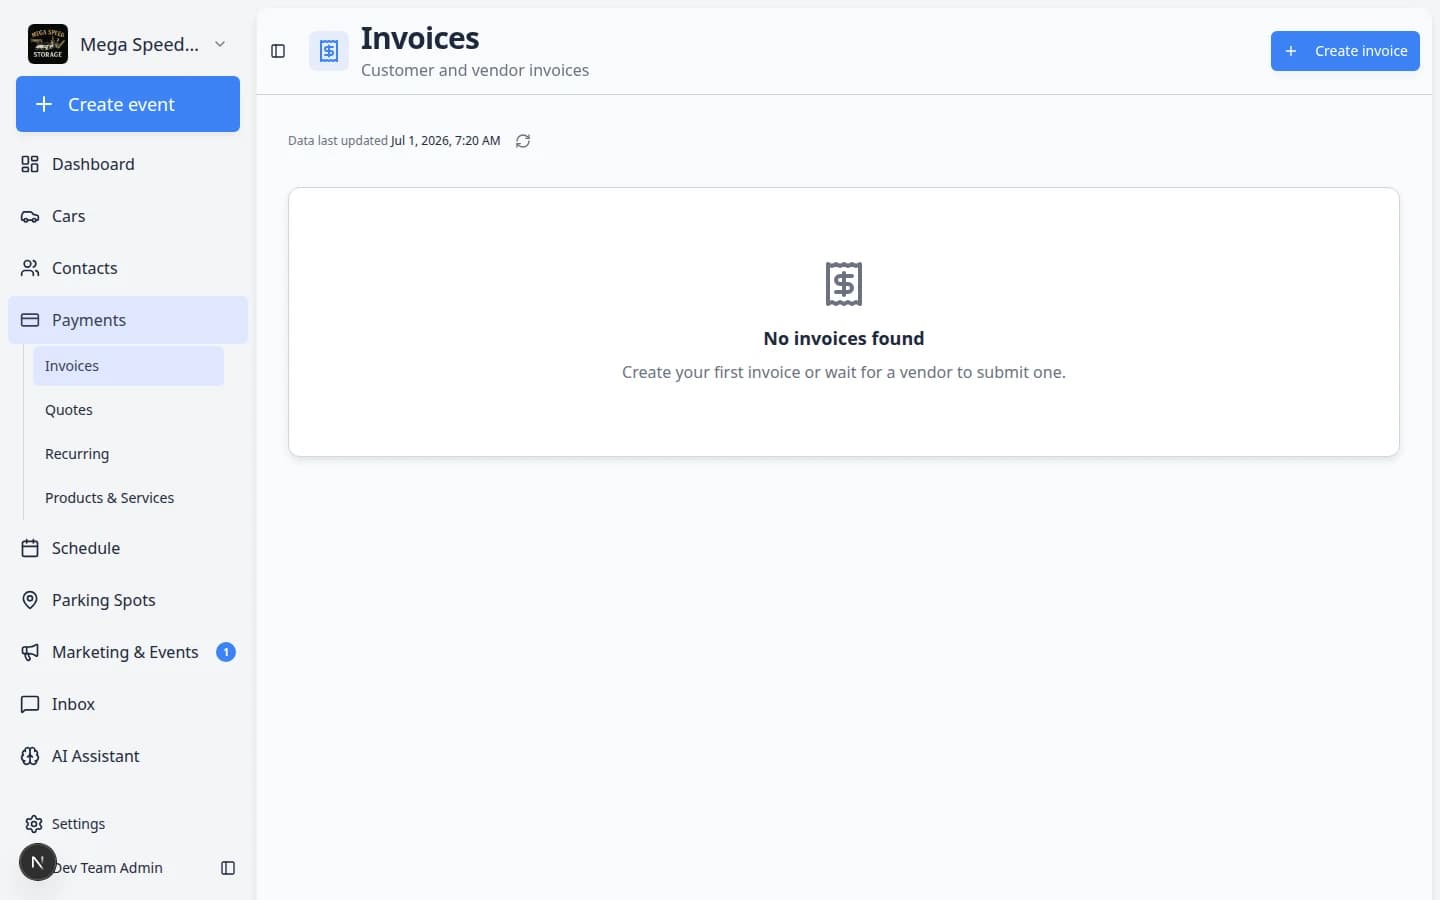
Look at the bottom of the left sidebar for your name or email.
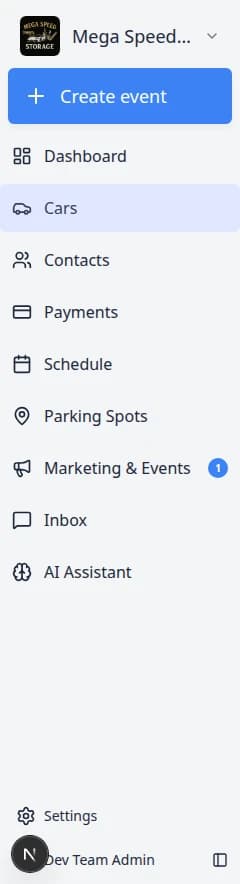
Your account area is at the bottom of the sidebar. Open it to sign out on shared front-desk computers. Expected result: A menu opens with options such as Sign out or Log out.
- Sign out on shared computers
Always sign out when you finish on a front-desk computer other staff share.
Why this matters: Staying signed in lets the next person see customer records and send messages as your account.
- Sign in again with your staff link
Use the login link your facility gave you. Do not use a customer portal link for staff work.
Expected result: You land on Create event or Dashboard with your facility name in the sidebar.
Using the app on a phone or tablet
- Tap the menu icon (three horizontal lines) to open the sidebar when it is hidden.
- Tap the page title area to confirm which section you are in before you tap action buttons.
- Some tables scroll sideways — swipe left on column headers to see more fields.
- For parking and photos, a tablet often works better than a small phone screen.
Common mistakes to avoid
Find Setup Guide in the sidebar
Some facilities show Setup Guide in the left menu during first-time setup. It links to Setup Guide — the same checklist described in Complete the Setup Guide.
What success looks like
When you know the dashboard well:
- You can open Cars, Contacts, and Create event without asking where they are.
- You know the difference between Schedule (planning) and Create event (starting work now).
- You search before creating customers or cars to avoid duplicates.
- You know Inbox is for messages and Settings is for facility-wide setup.
- You sign out on shared computers at the end of your shift.
Troubleshooting
What to do next
If your team starts work from the home screen, read Use the Create event home page.
If your team is ready to enter real data, read Prepare your first customer and car.
If you want a customizable home screen, read Customize your Overview dashboard.
If you are still setting up the workspace, read Complete the Setup Guide and Complete the onboarding wizard.
If you need to find a record quickly, read Search your facility quickly.